Several years ago my sister, Trisch, and I attended the AQS show in Nashville, TN. While there we had the opportunity to go to an event with Mary Ellen Hopkins as the main speaker. I had heard of her but not much more than that. I left that evening a fan. She was hilarious and inspiring. The one thing that has stuck with me all these years was her insistence at having your own PPM (Personal, Private Measurement). Her point was that an exact 1/4″ isn’t necessary as long as whatever measurement you use for seam allowances are the same throughout the quilt.
I don’t disagree with the concept of a Private, Personal Measurement as long as it is in your Private, Personal Quilt. However, when you make blocks for a Public quilt there needs to be a standard and the industry standard is 1/4″. If we didn’t have a standard we would have blocks of all sizes. A seam allowance that is a few threads off is multiplied exponentially with each seam that is sewn. That being said, today’s post is about how to achieve that 1/4″ seam.
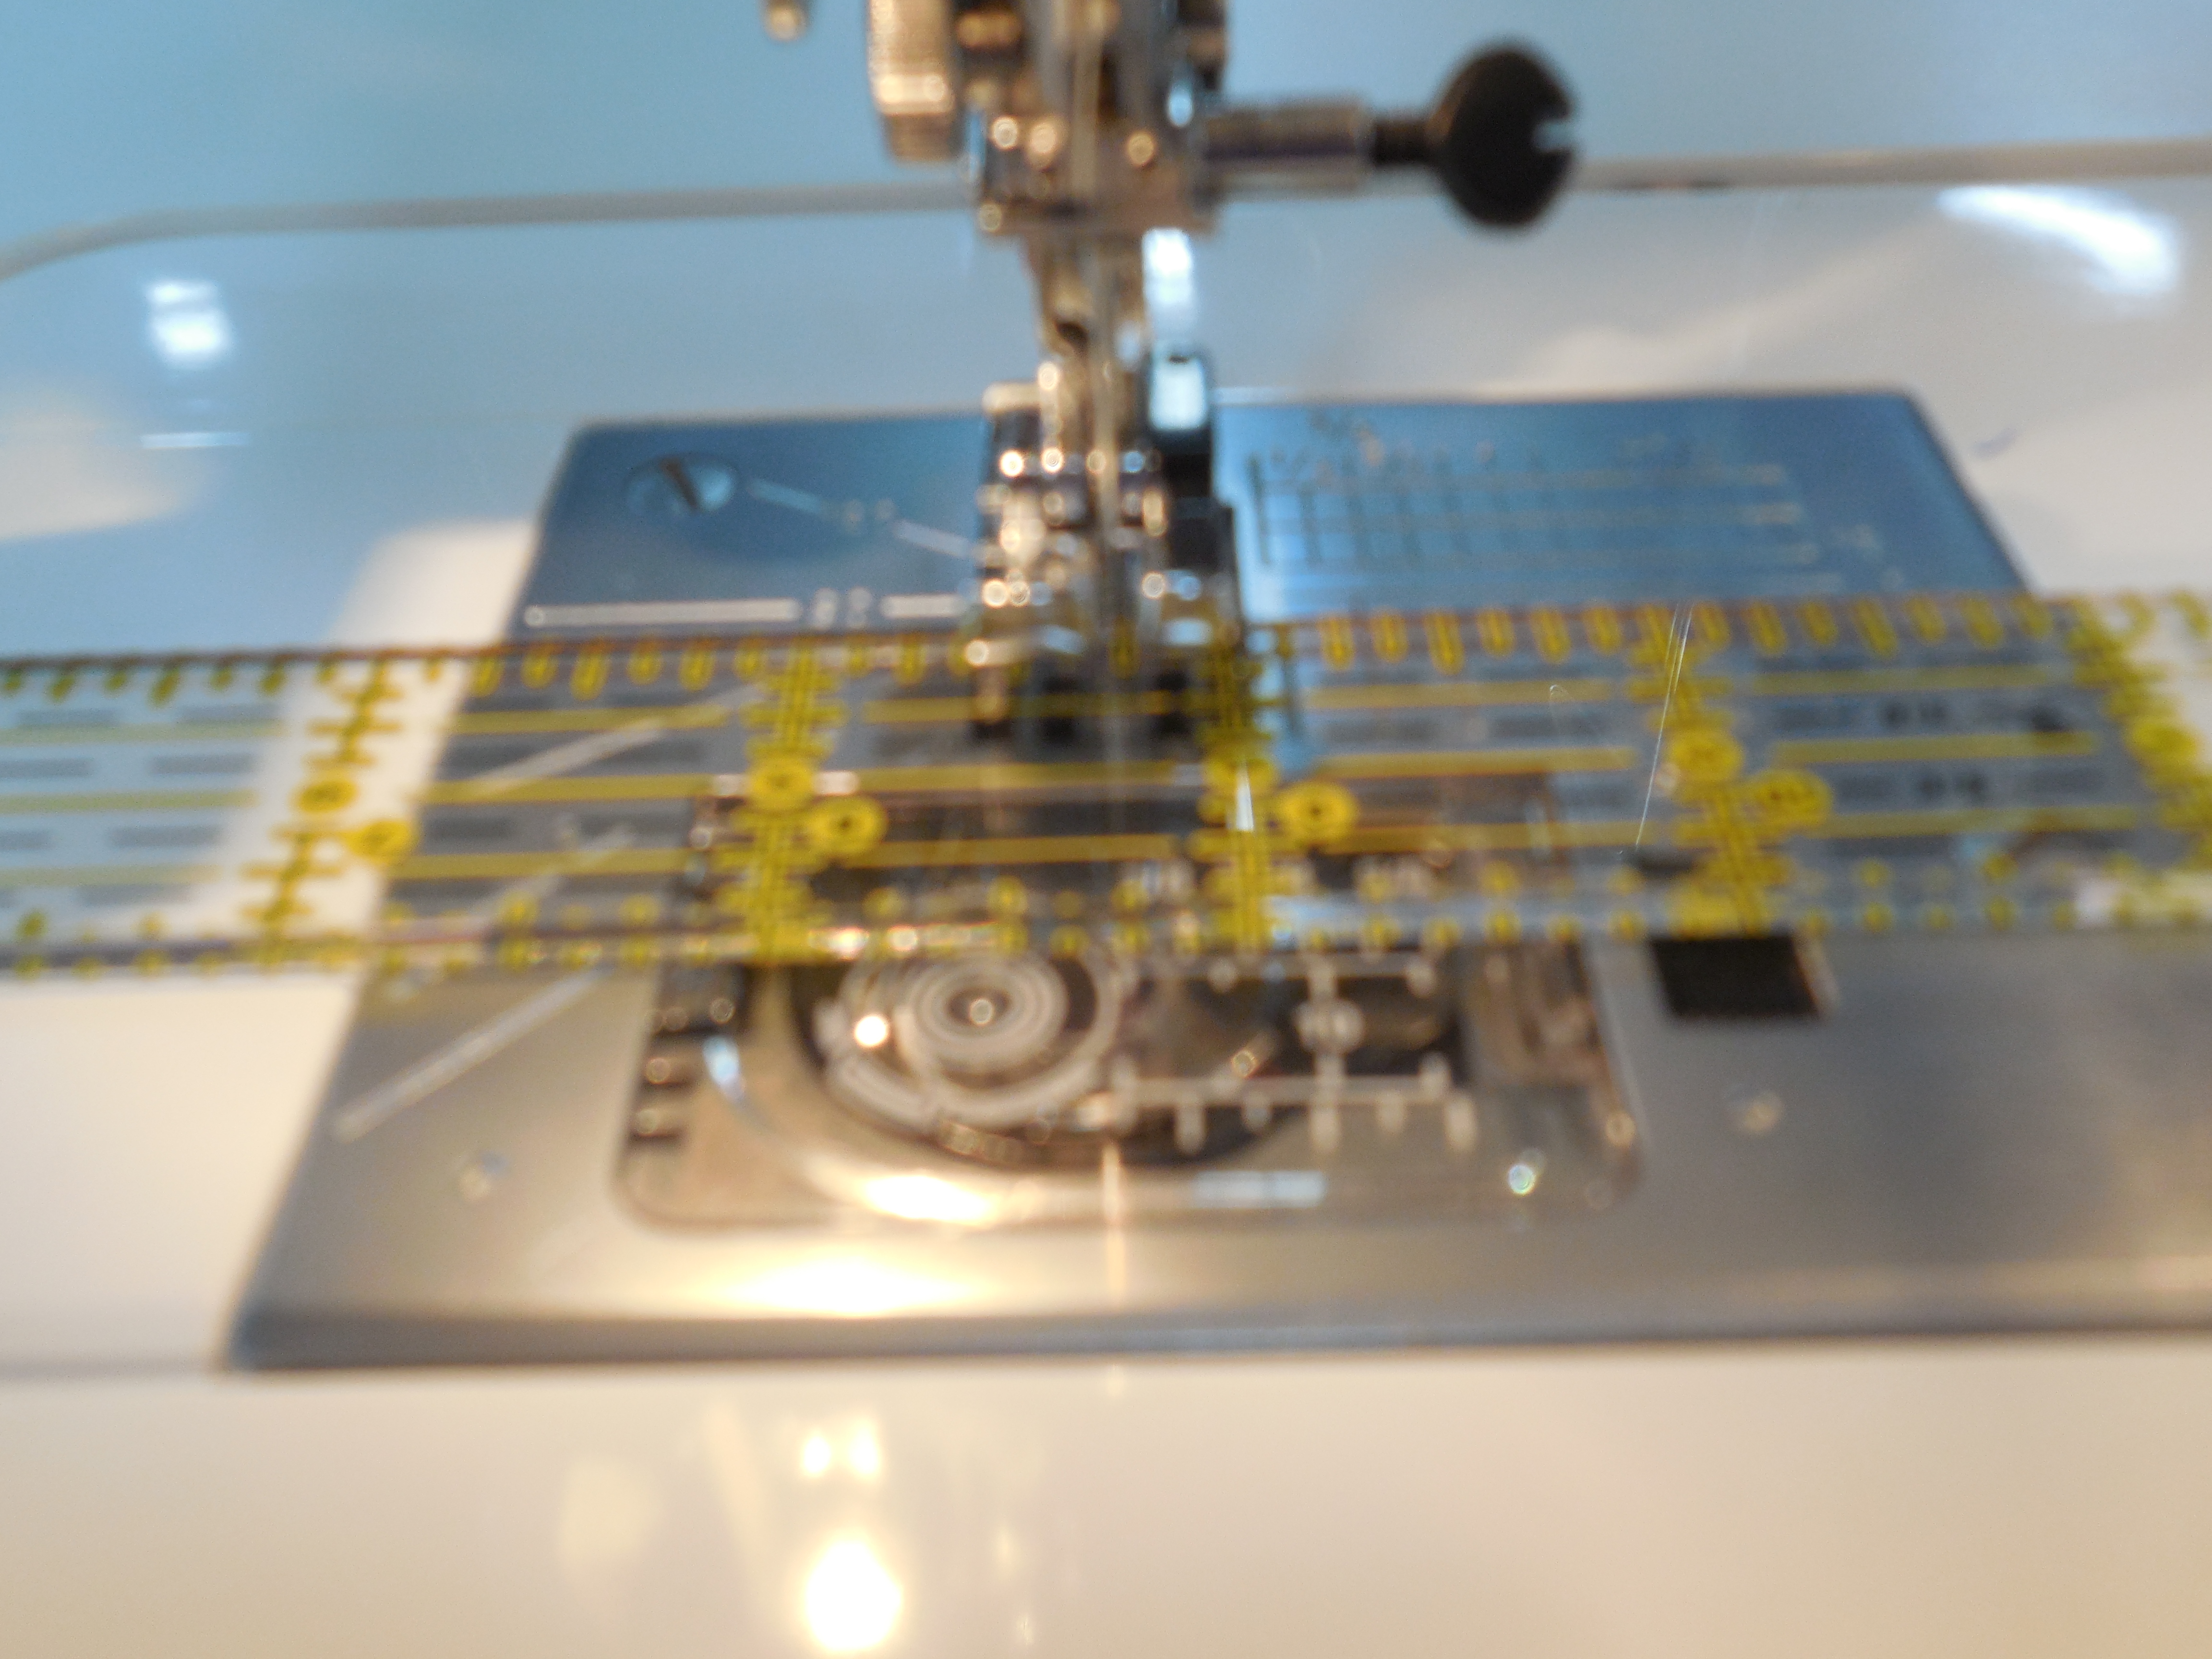
Before you can fix something you have to know where the problem lies. That starts with your machine and a ruler. Use a ruler with clear markings and your 1/4″ foot. Lower your needle into the down position and measure the distance between the edge of your 1/4″ foot and the needle. It should be exactly 1/4″. My machine is not. When I turn on my machine the needle position is in the center at 3.5.


The distance on my machine is more than 1/4″. My 1/4″ foot allows me to reposition my needle somewhat. I found that moving my needle position to 4.5 will give me a 1/4″ seam.
But that isn’t enough. Now it is time to check the measurement in practice.
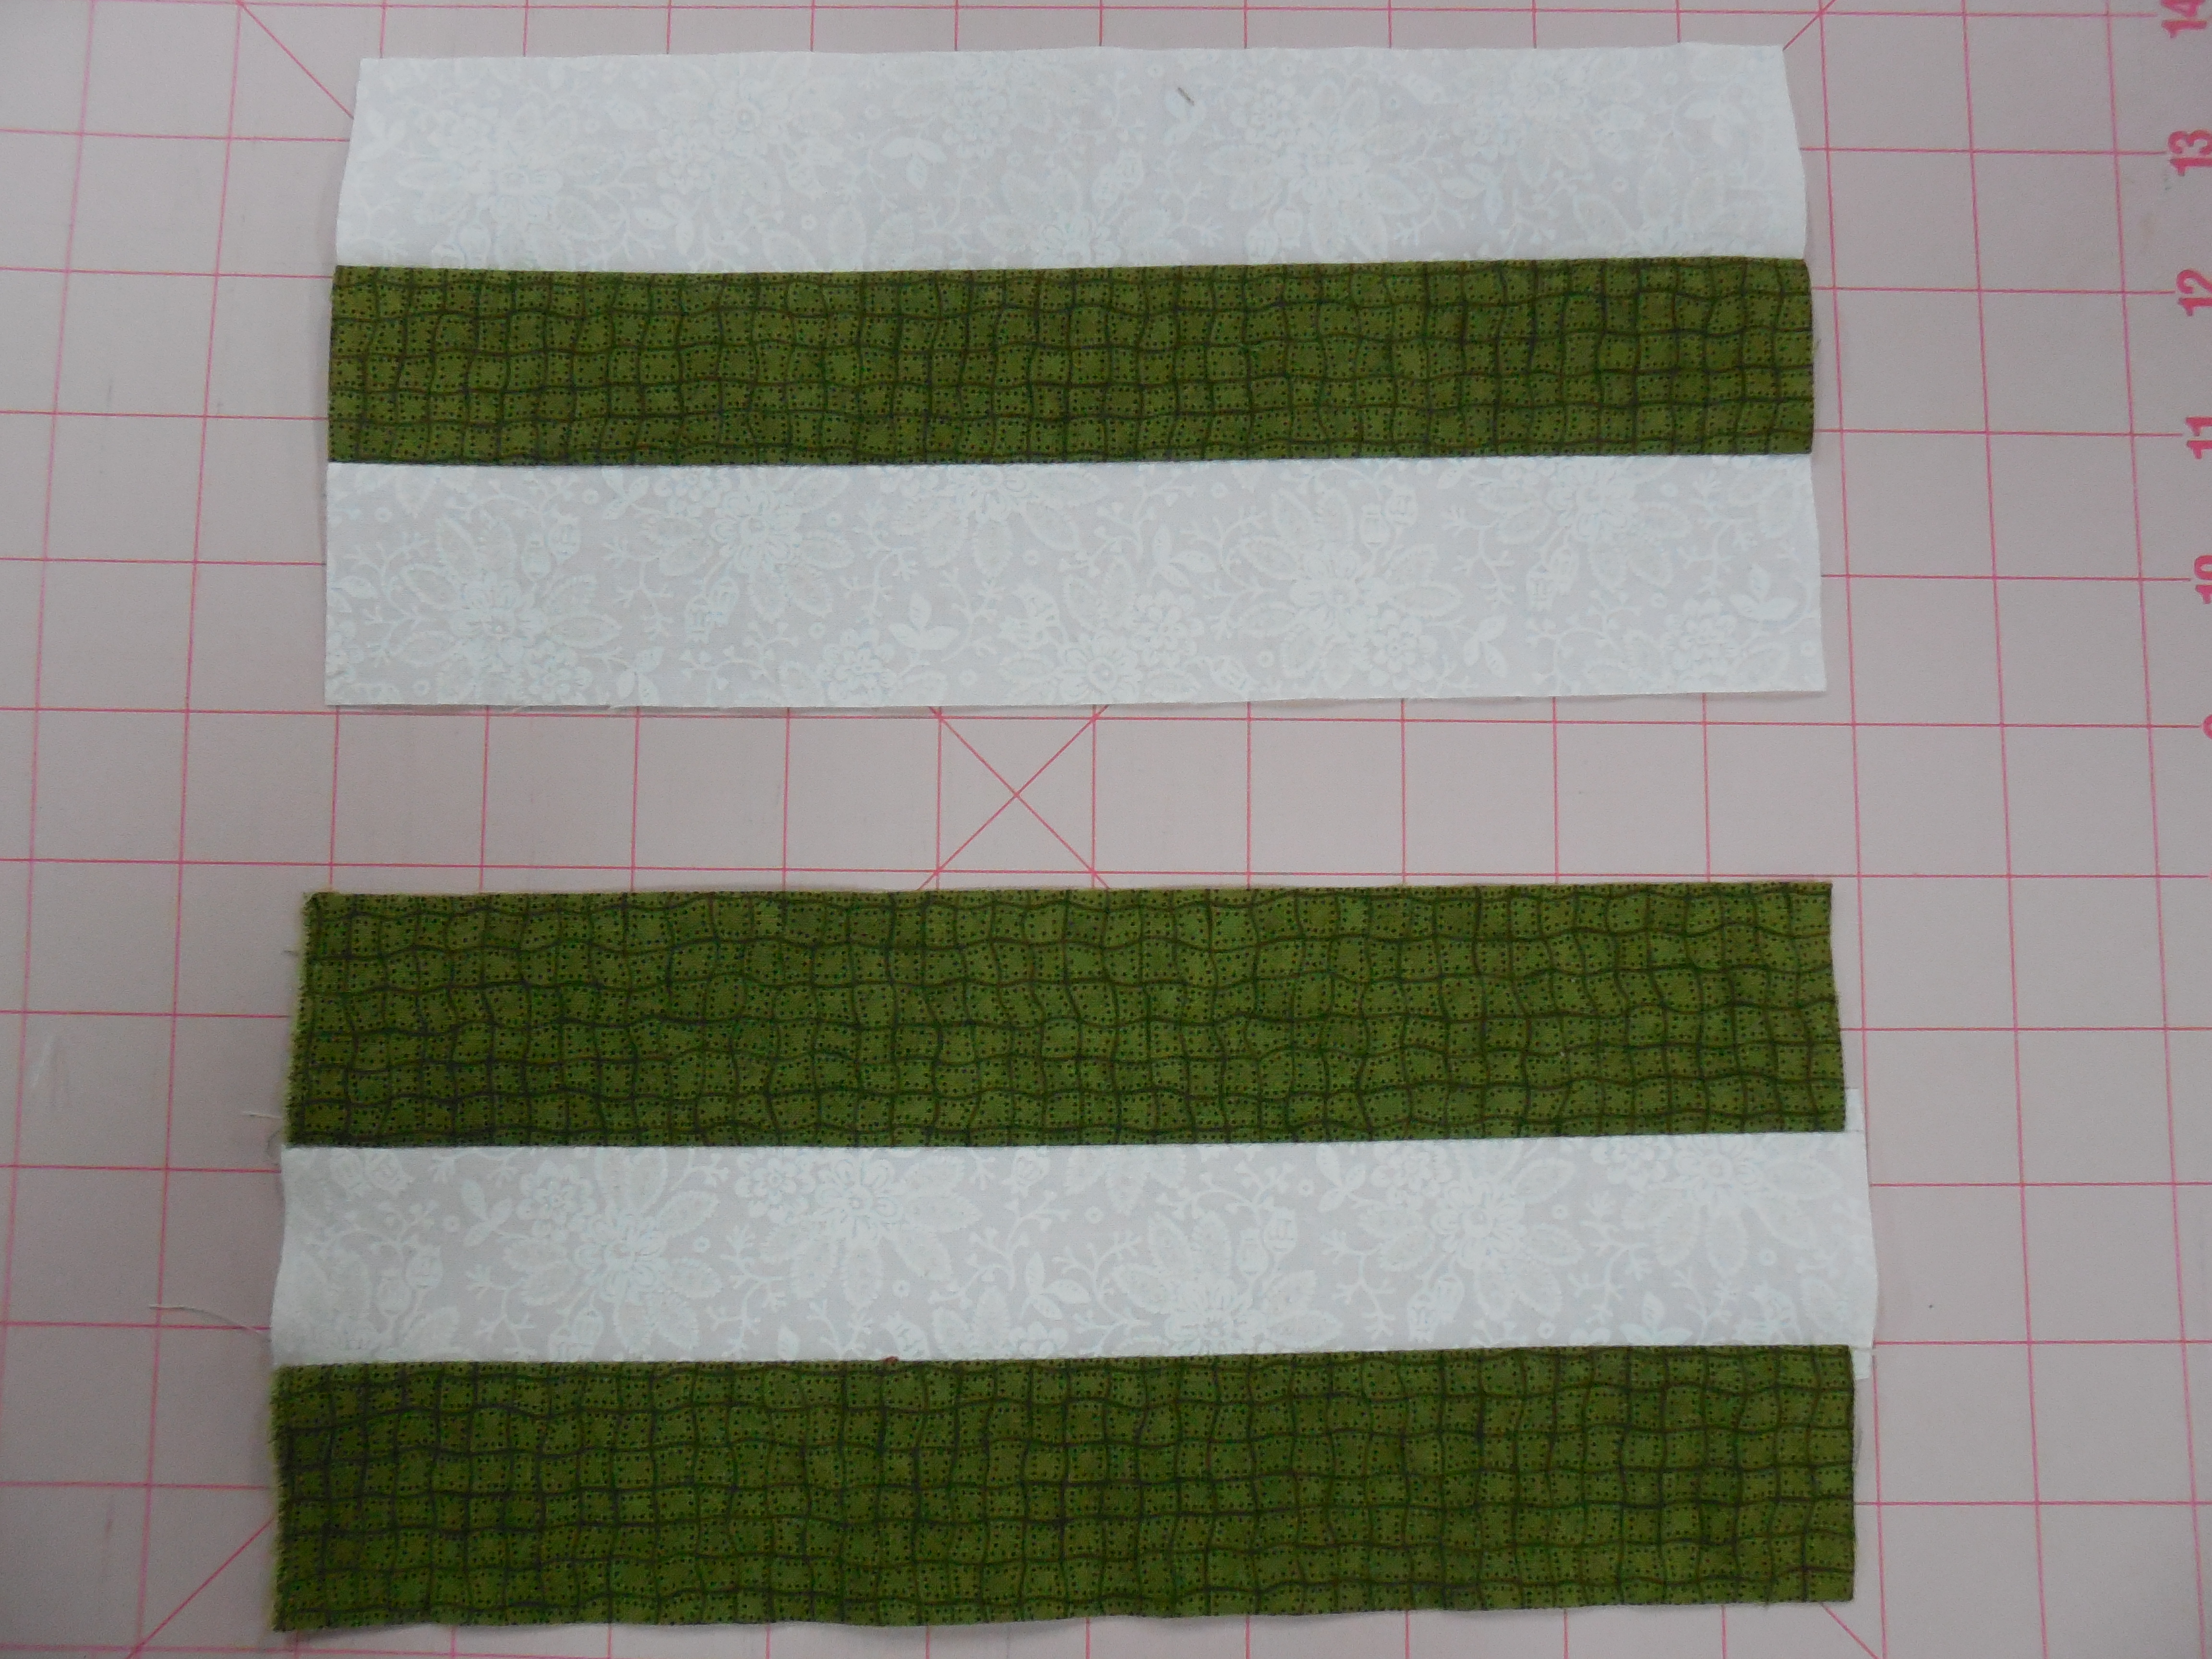
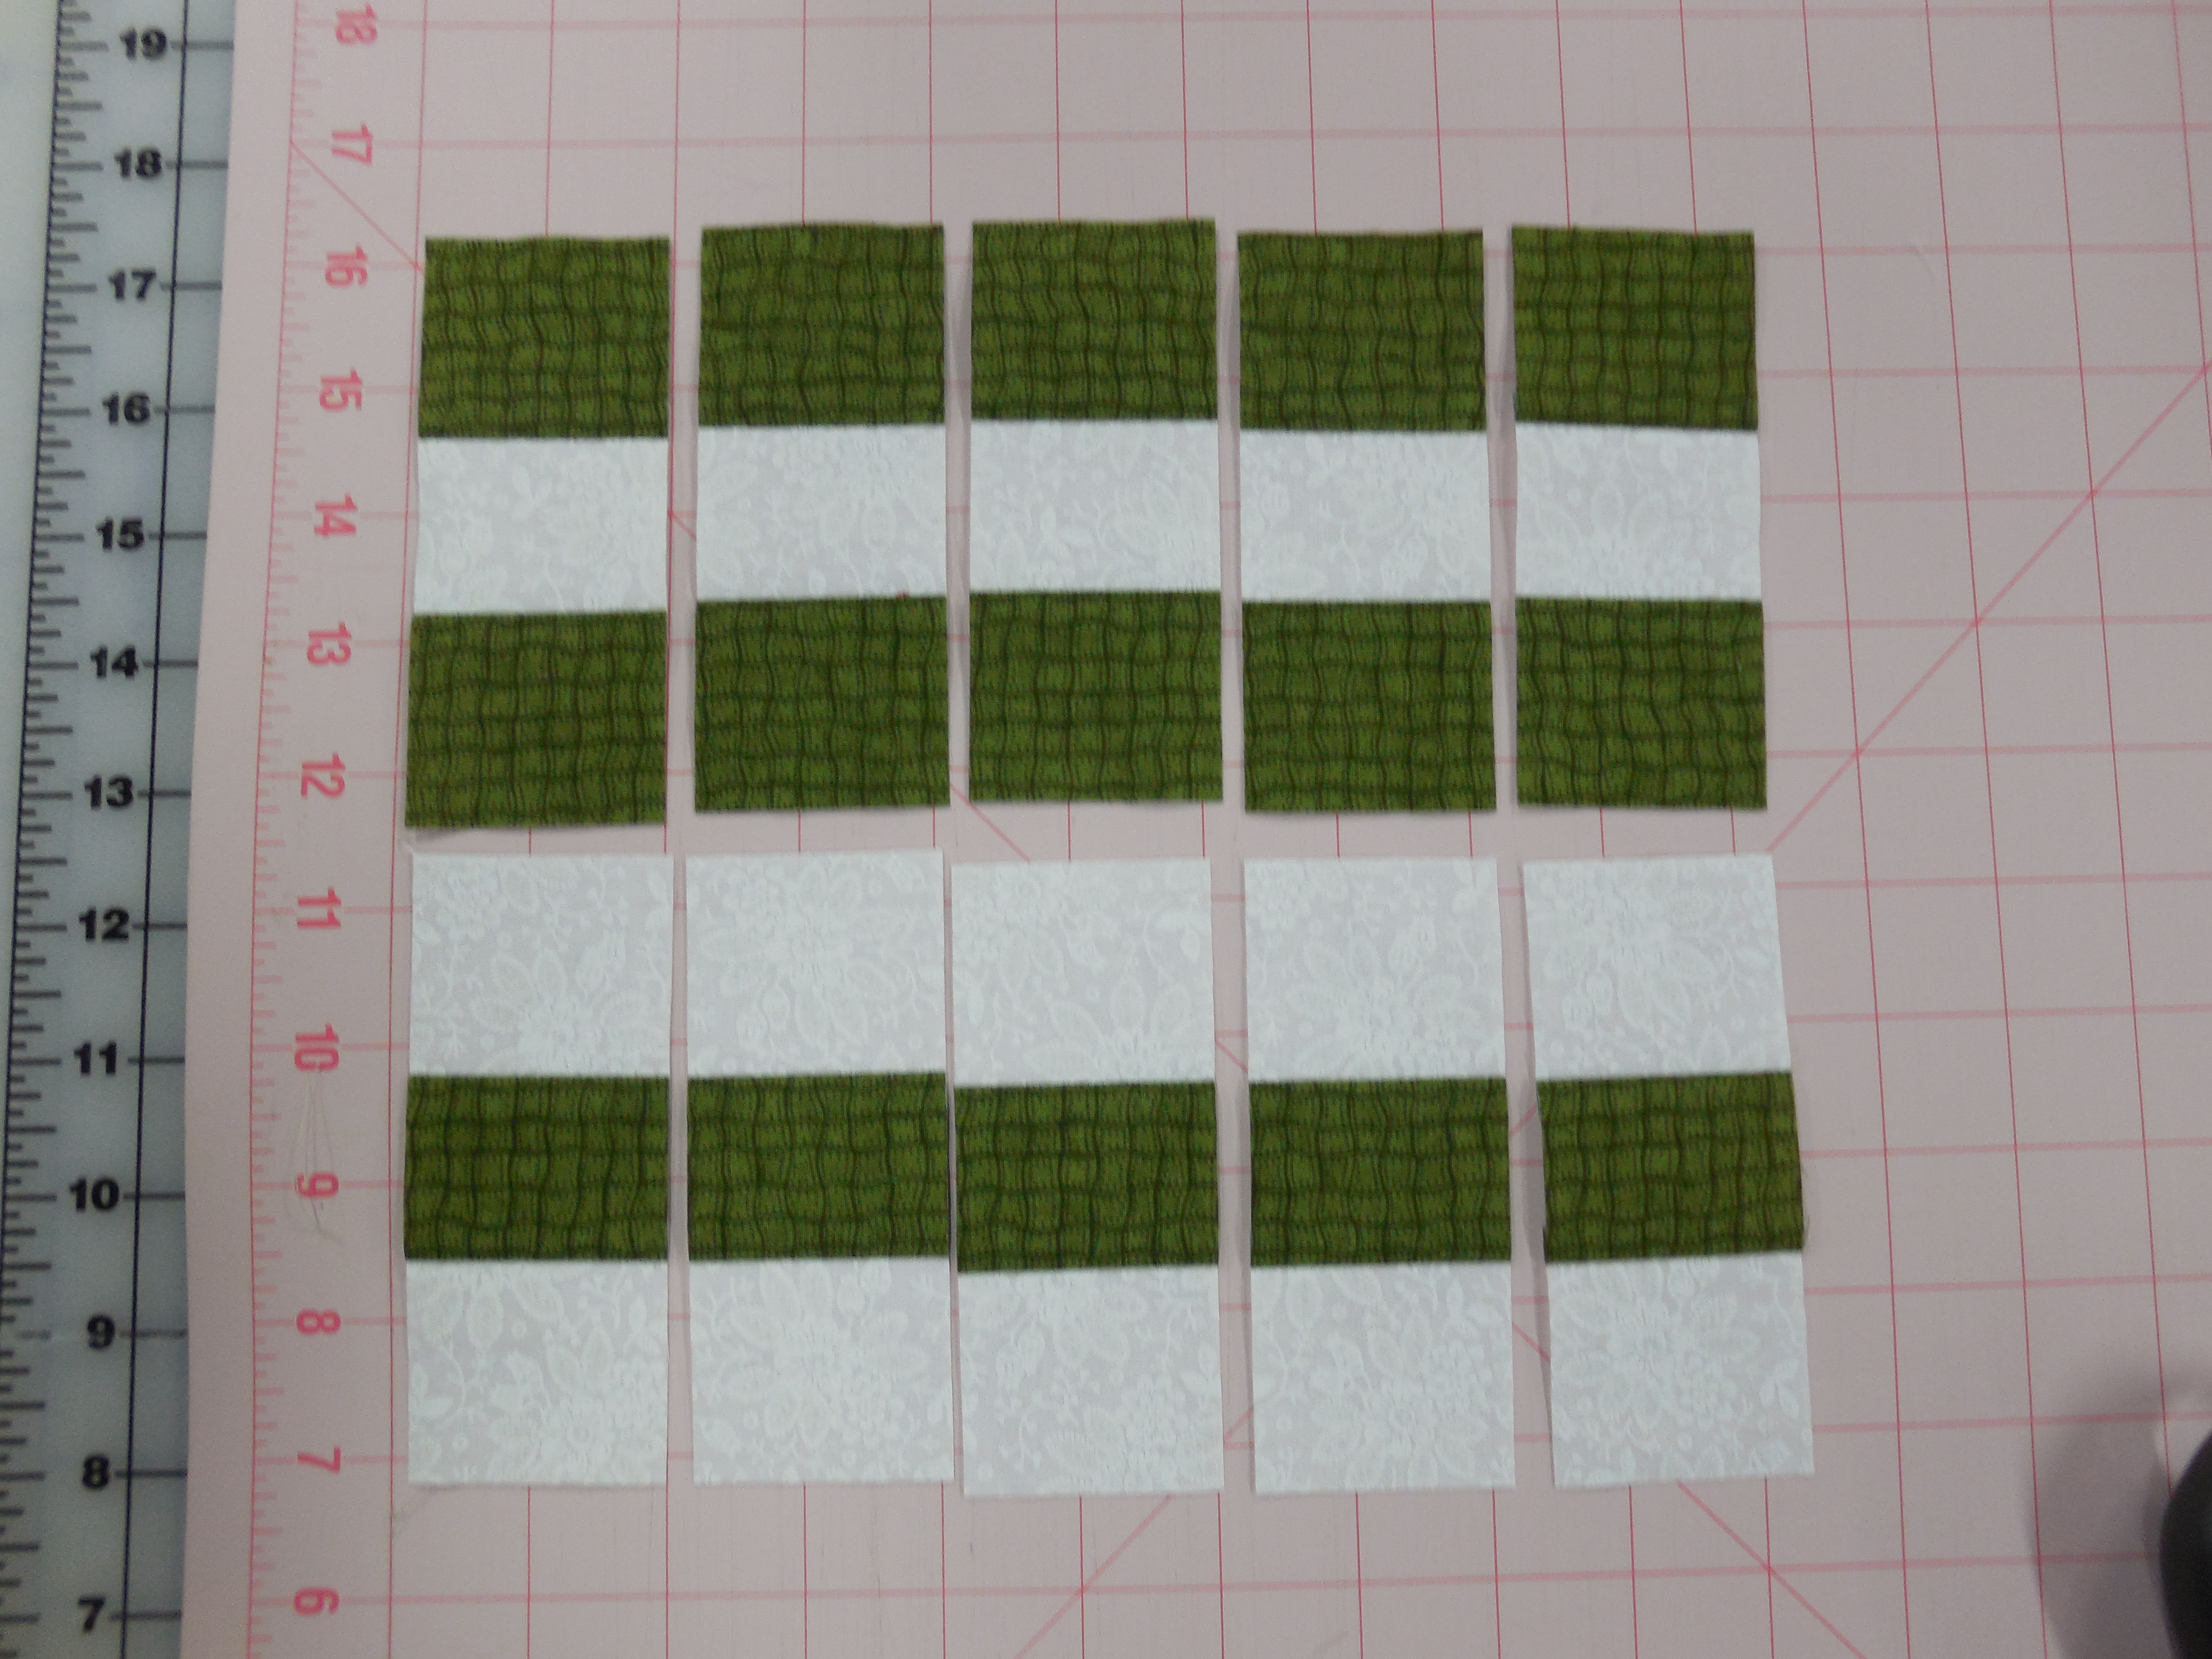
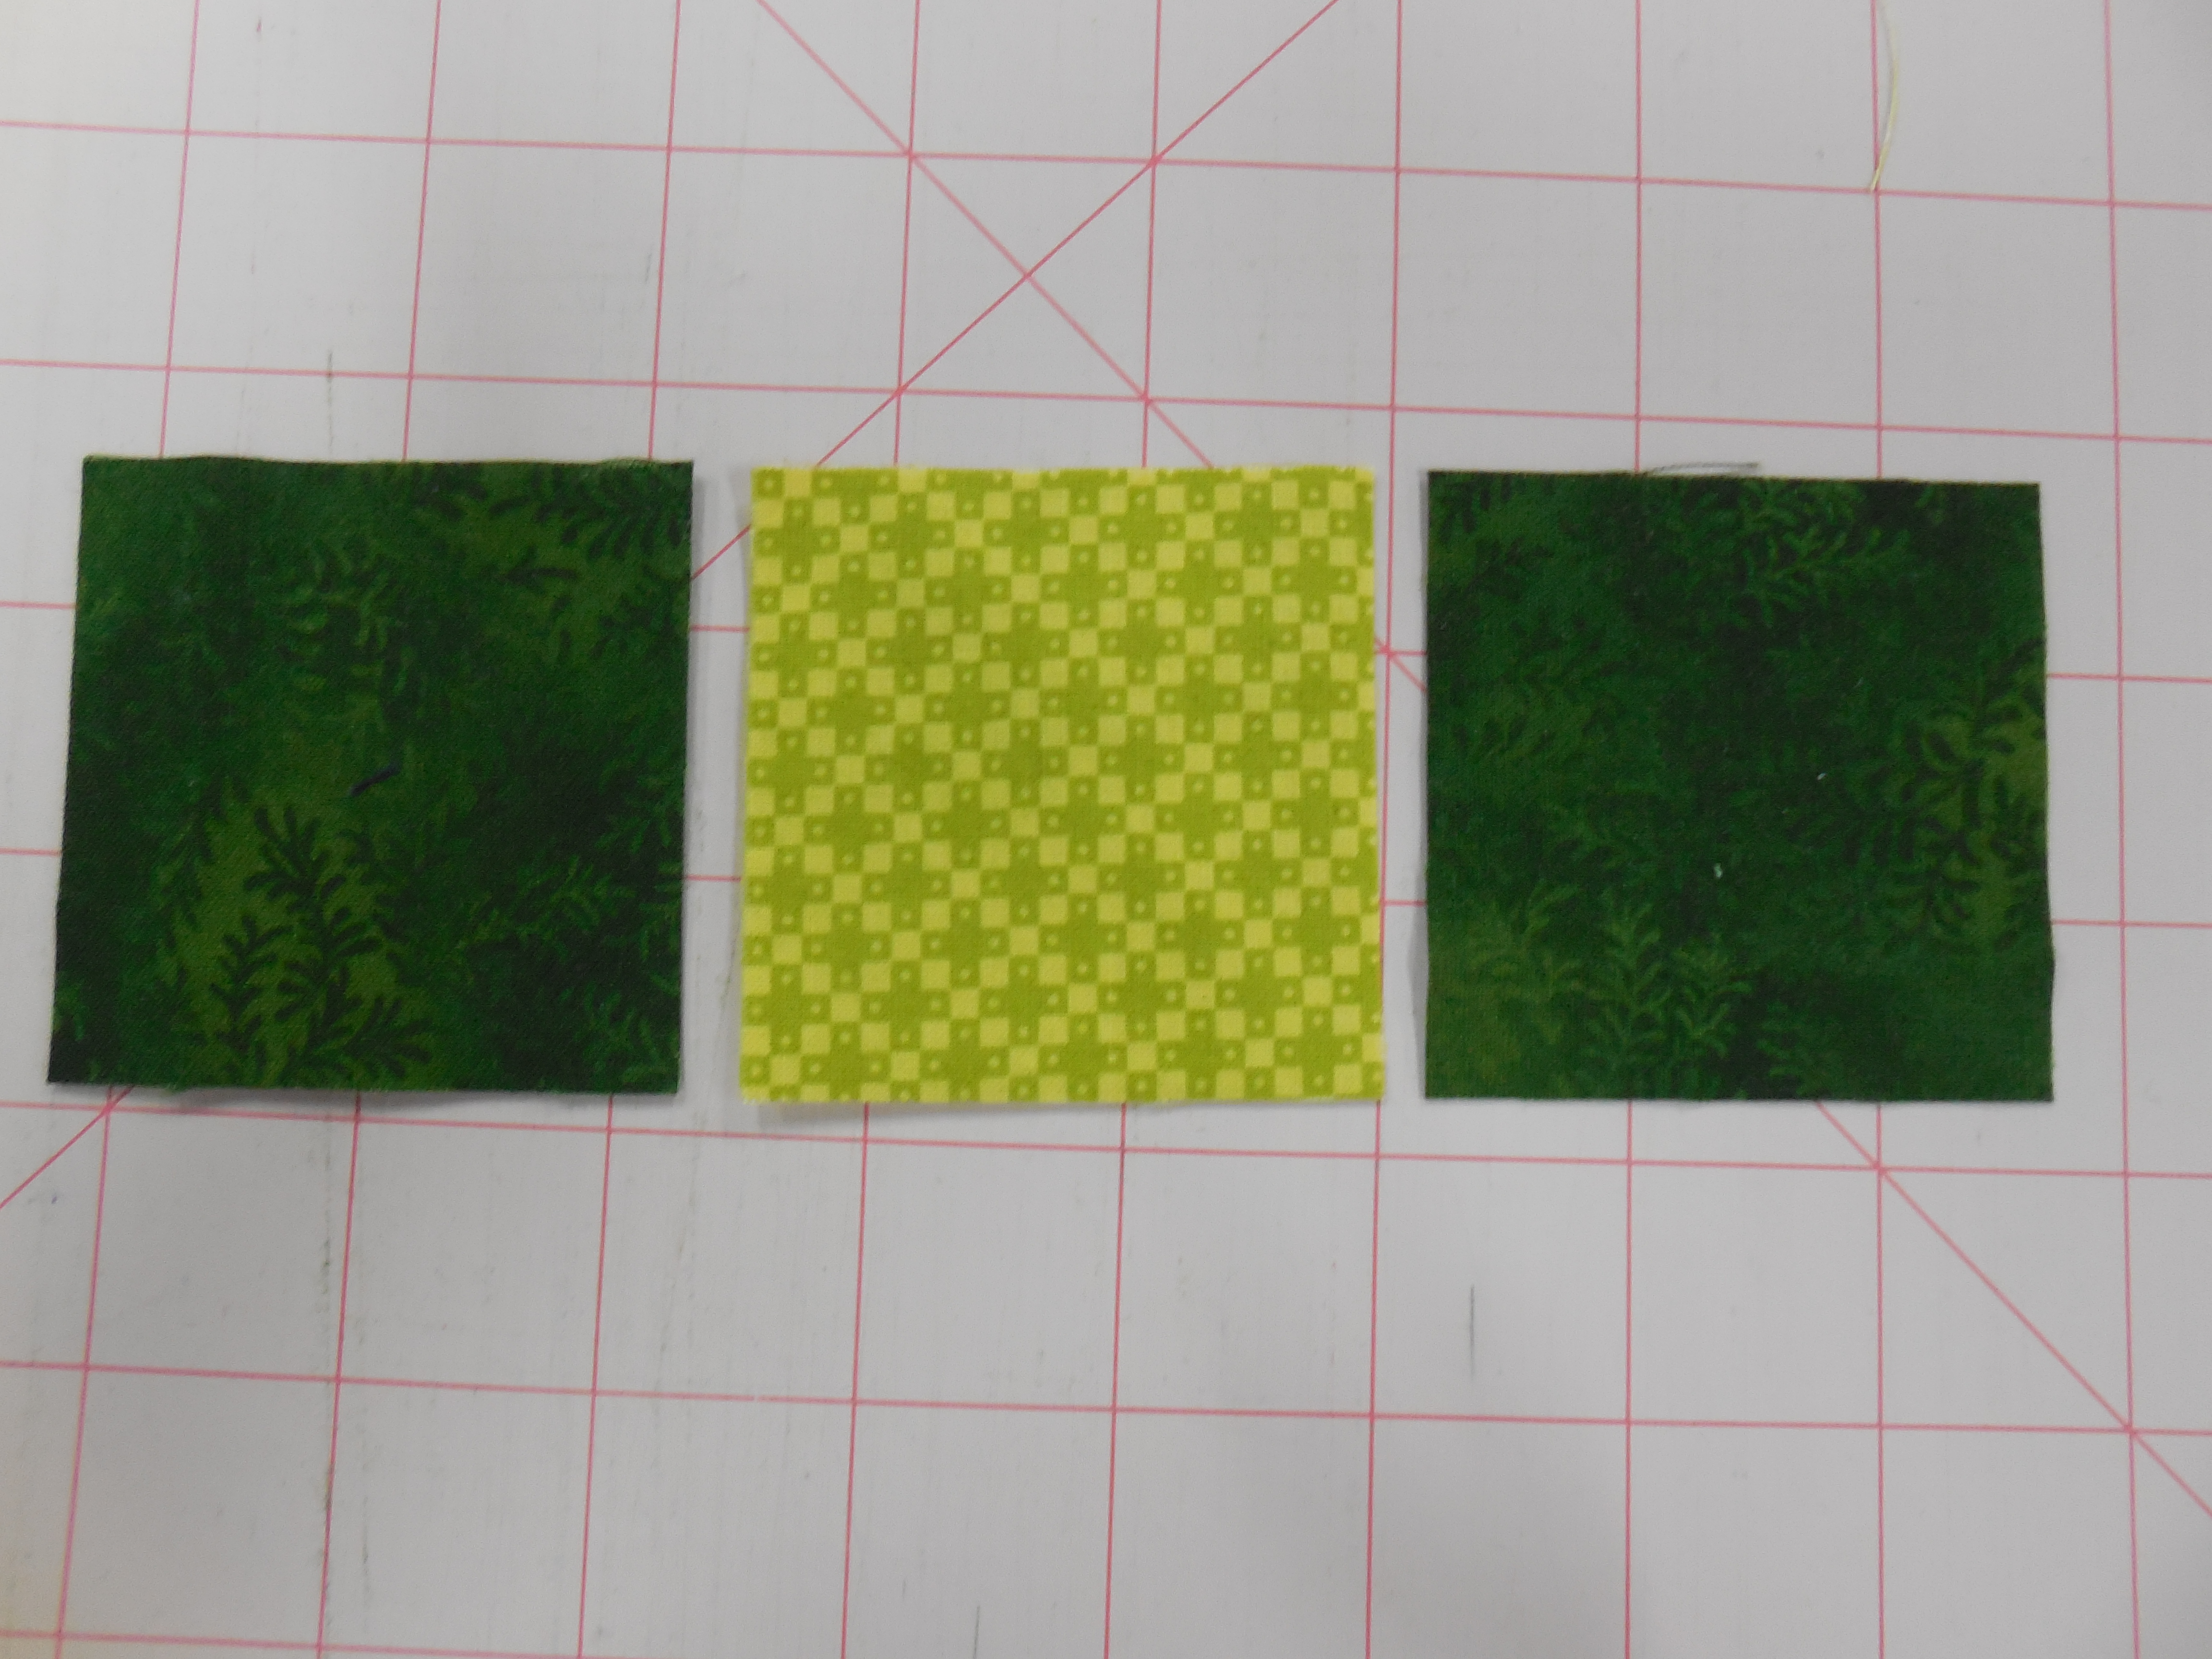
Start with three 2 1/2″ squares.

Sew them together using your newly found (or confirmed) 1/4″ seam. After pressing well you should have an exact measurement of 6 1/2″.

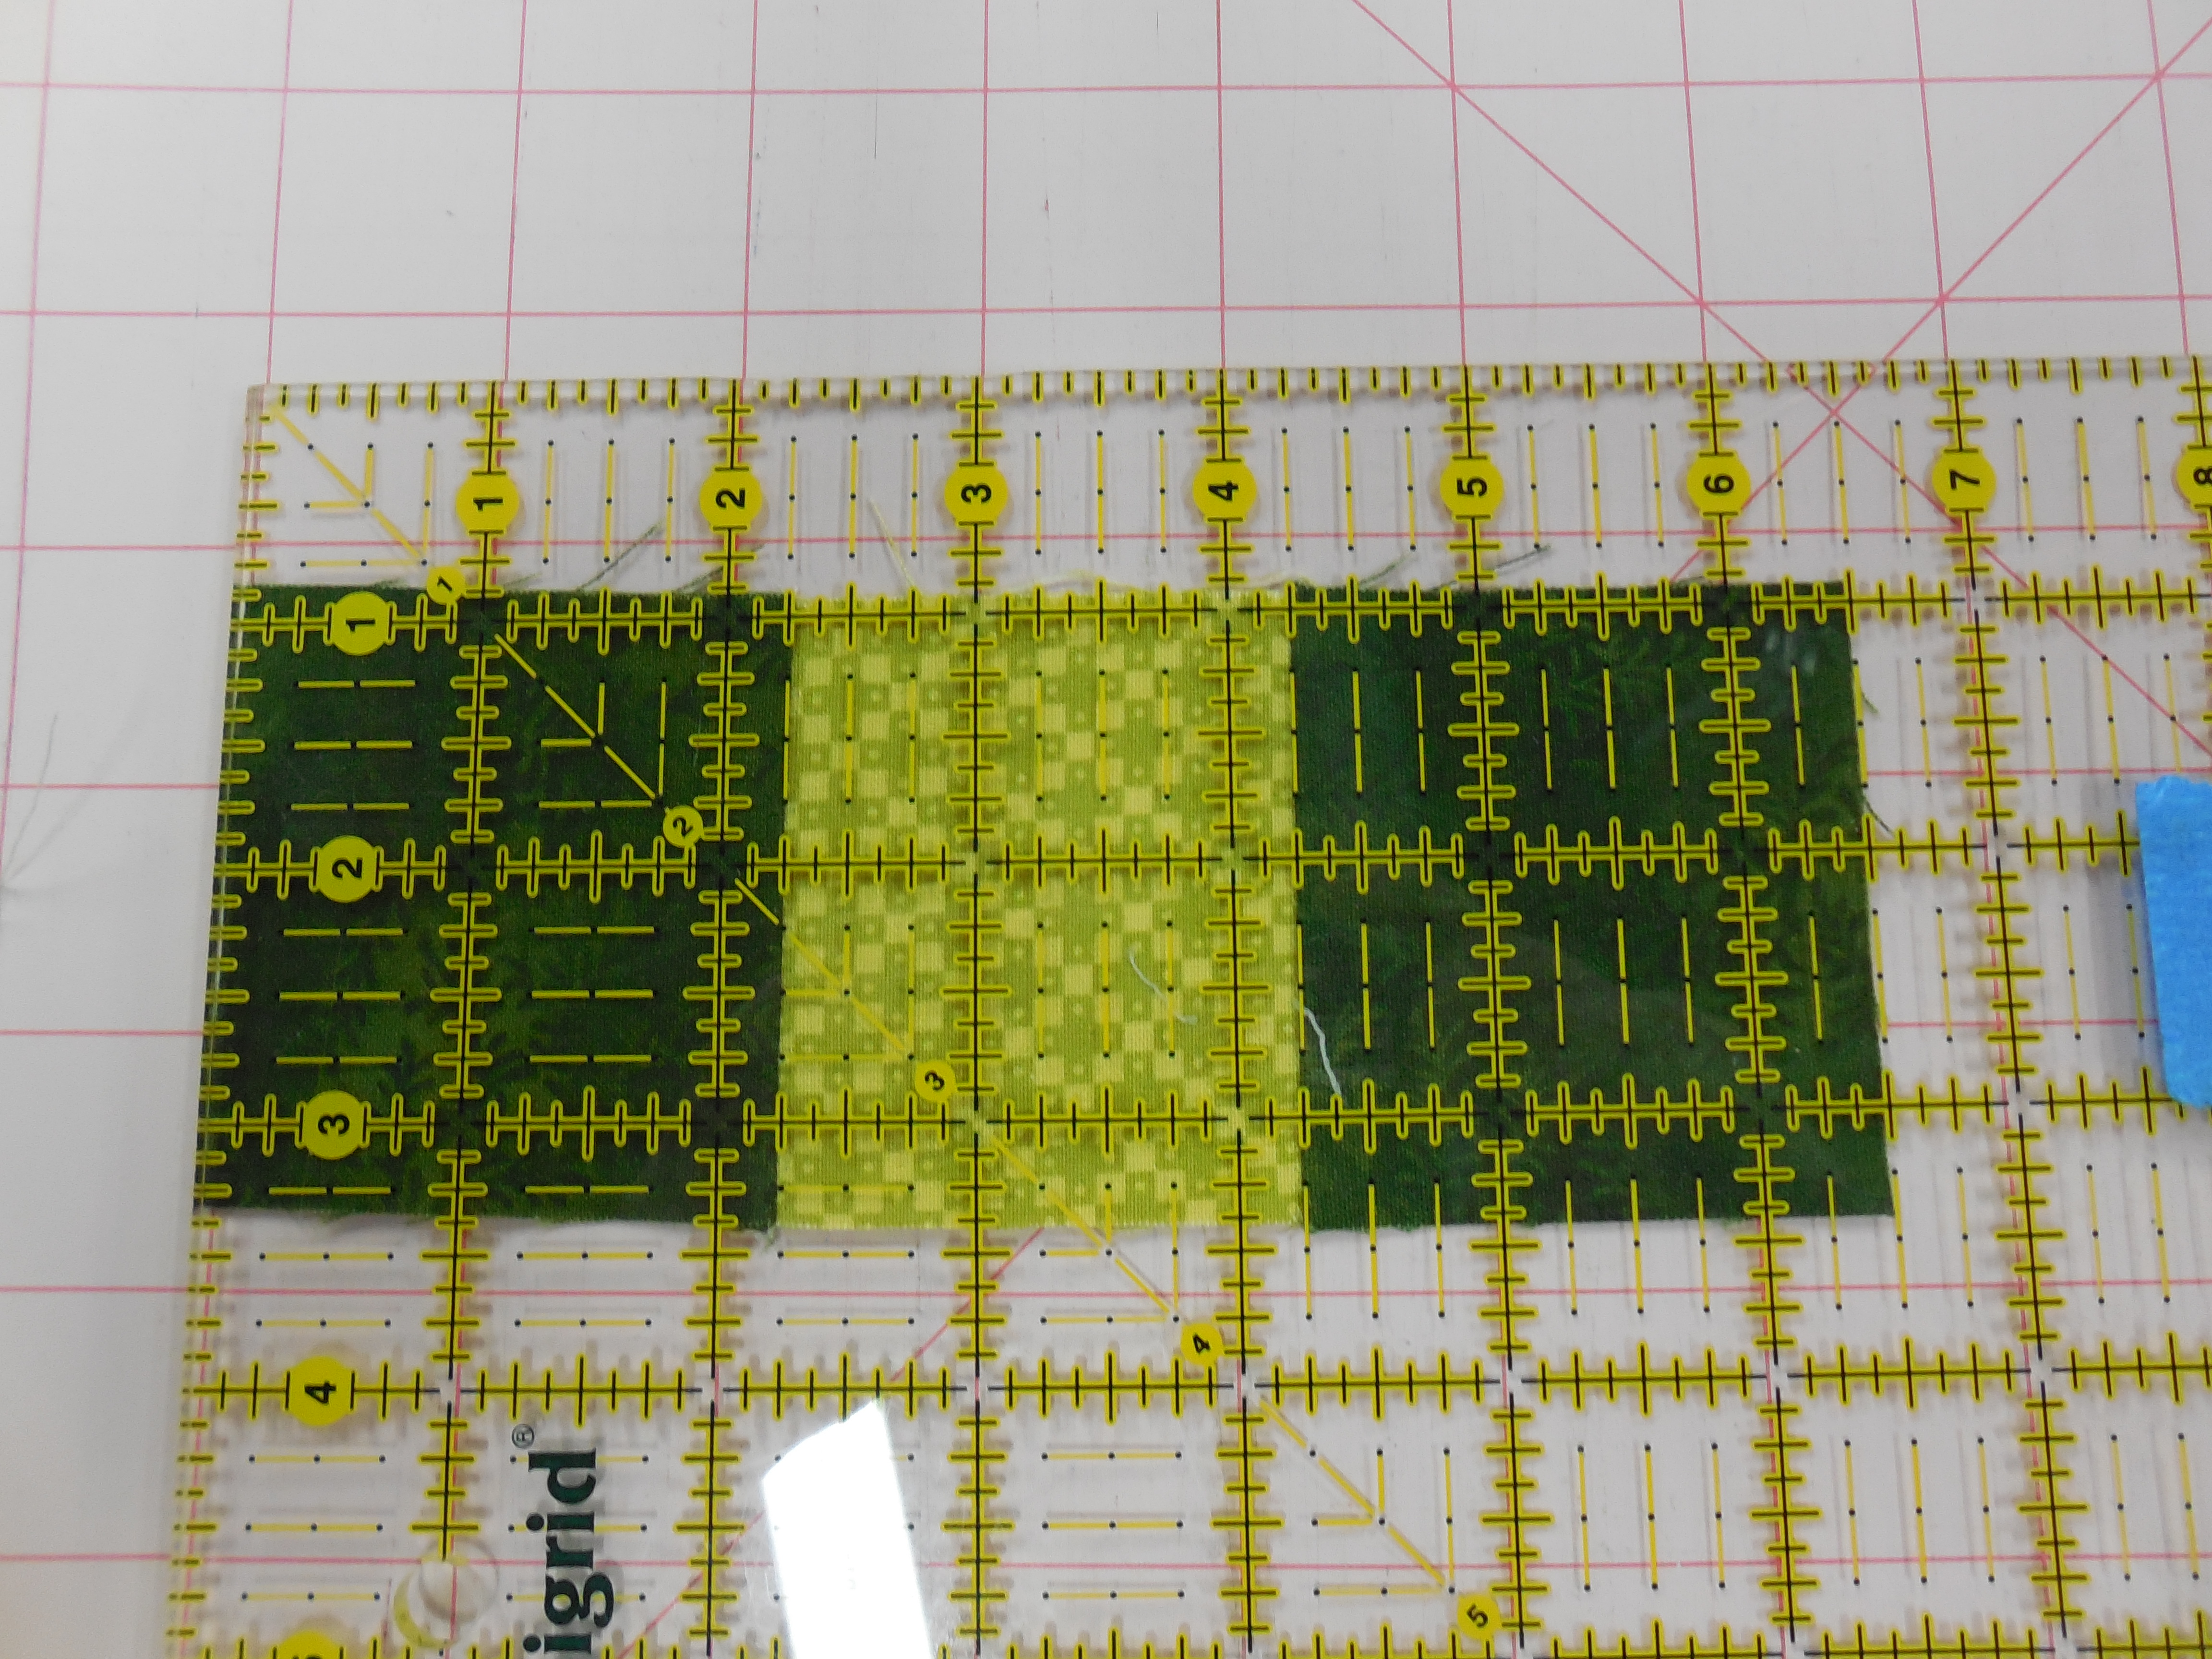
As I said, it only takes being off by a couple of threads to make a huge difference. Below is a picture of the squares sewn together before making the needle position adjustment. See the difference? That is about 1/8″! Two more seams and it would be off an entire 1/4″.

Not all machines or 1/4″ feet allow you to move your needle to make the adjustment. If that is the case, there is always the old standby of placing a piece of painters’ tape on the bed of your machine. But most importantly, however you make the adjustment double check it with the 3 square method.
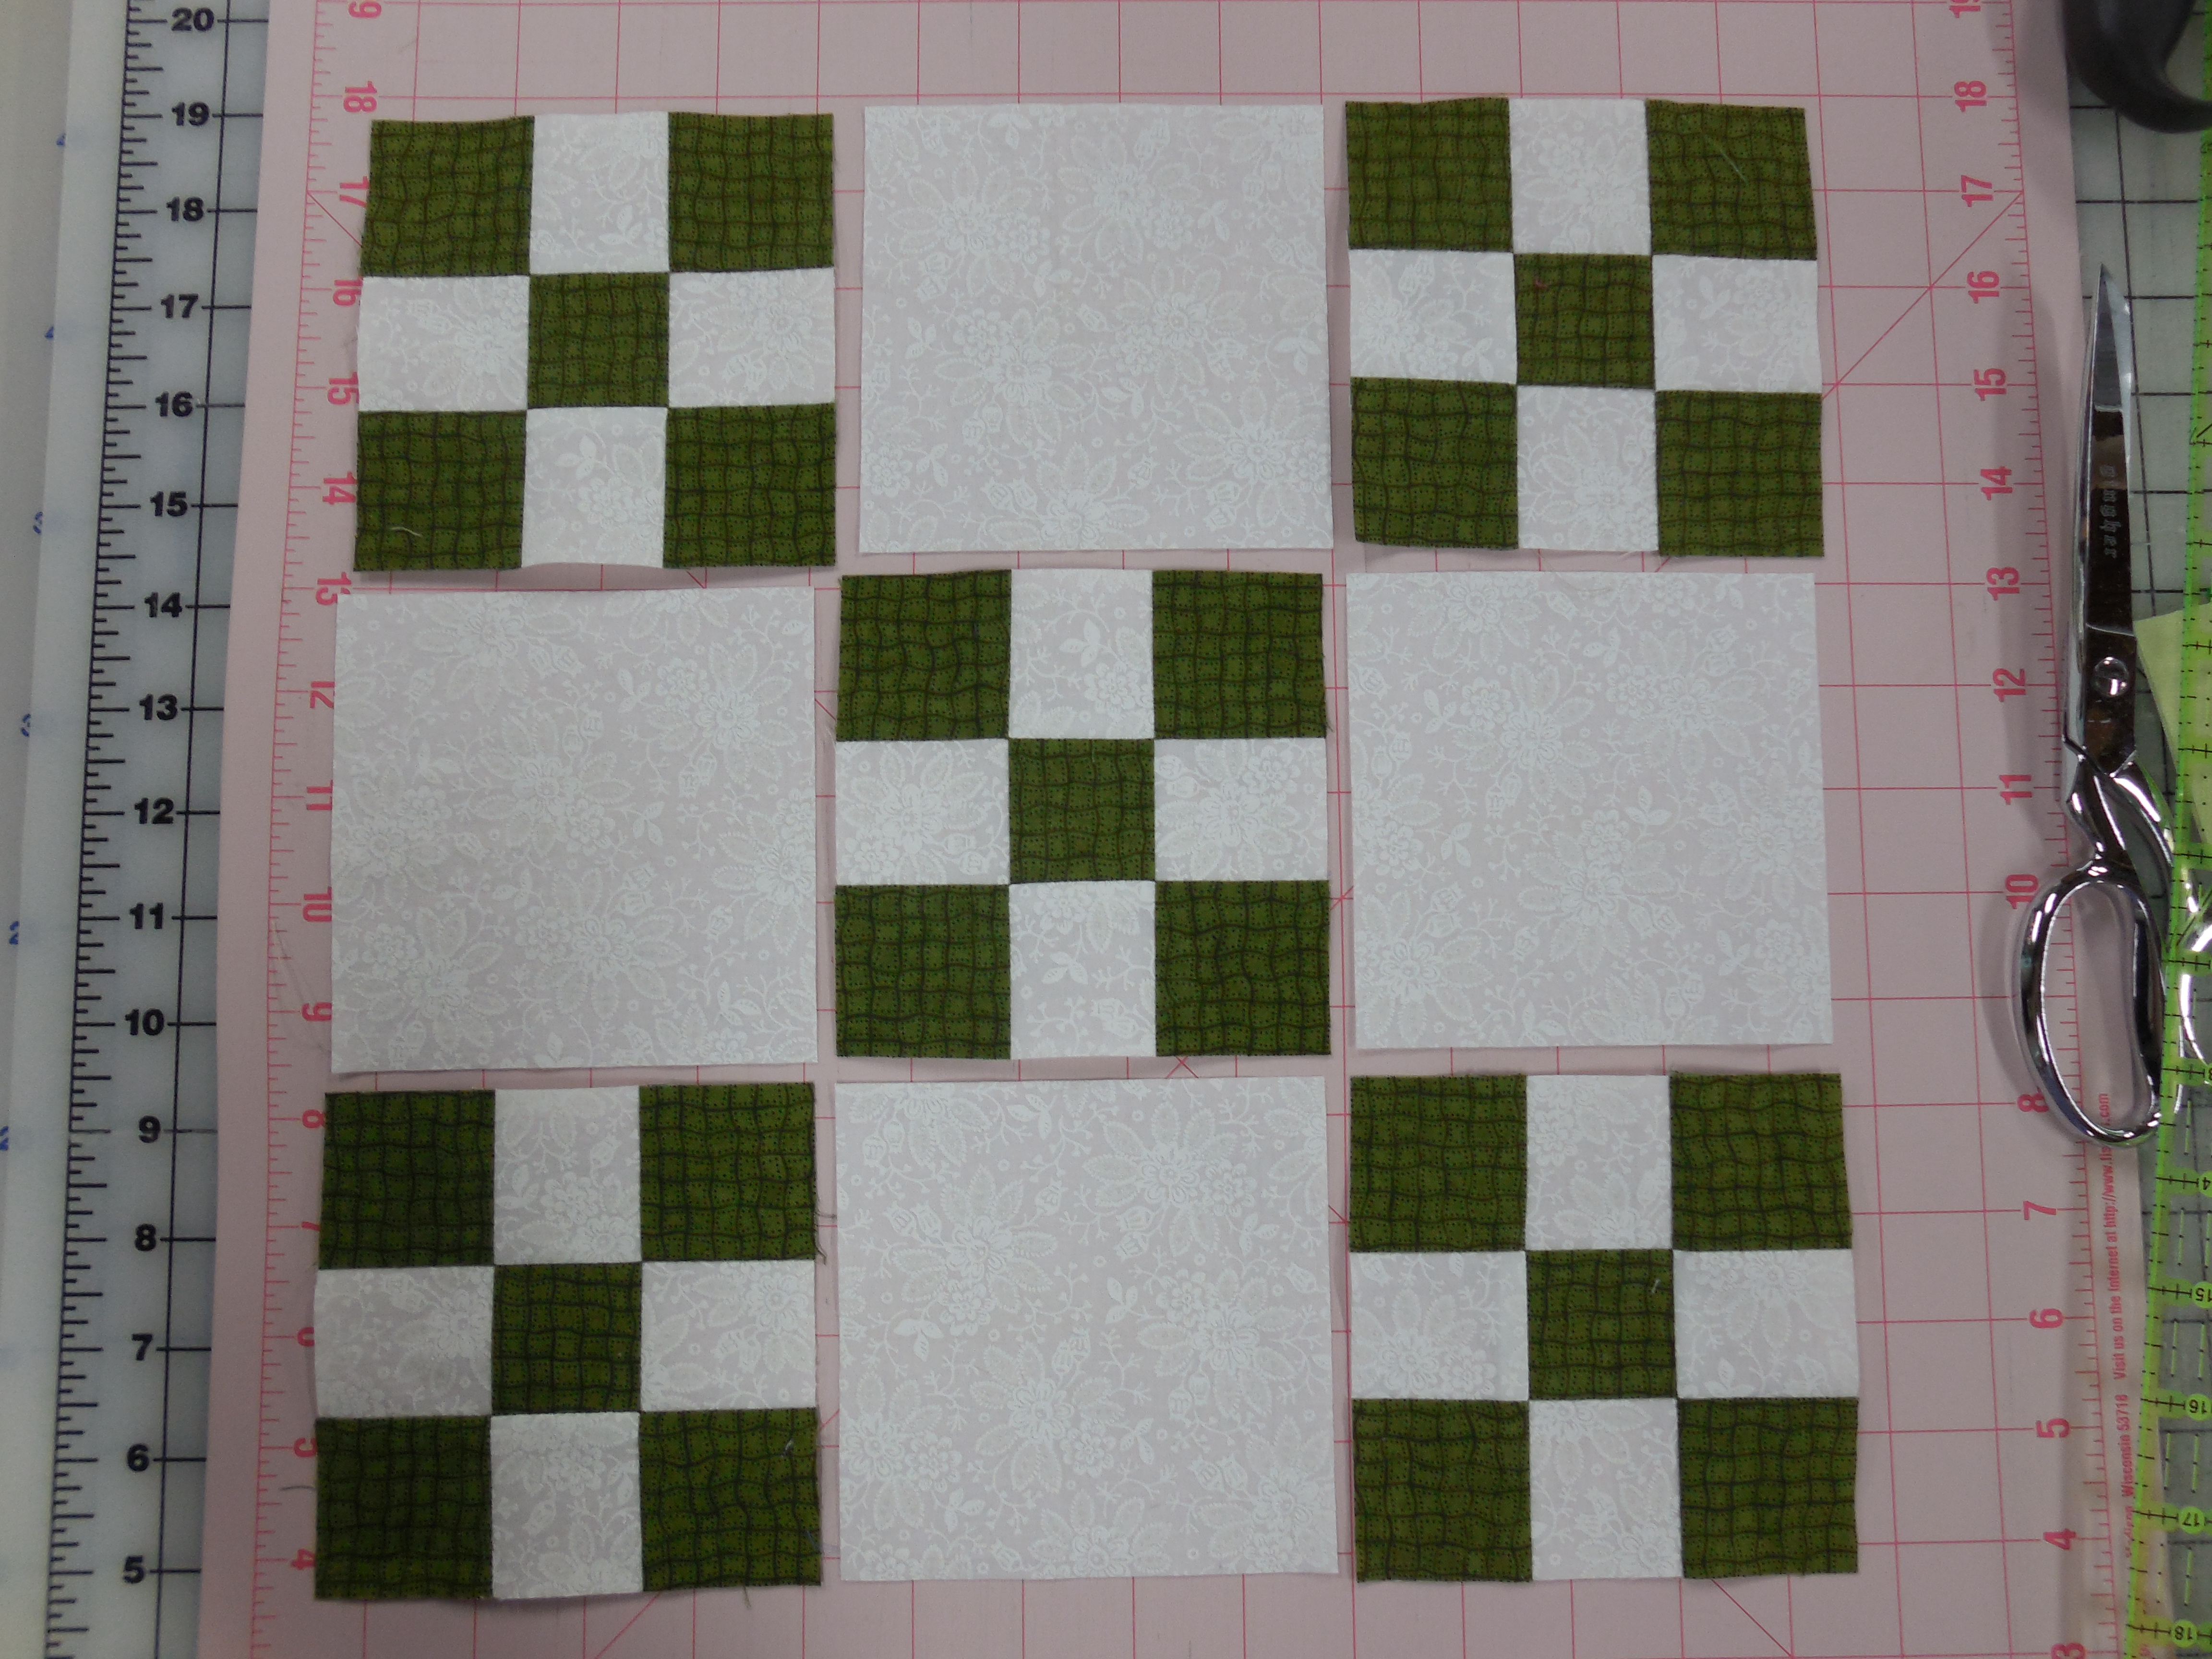
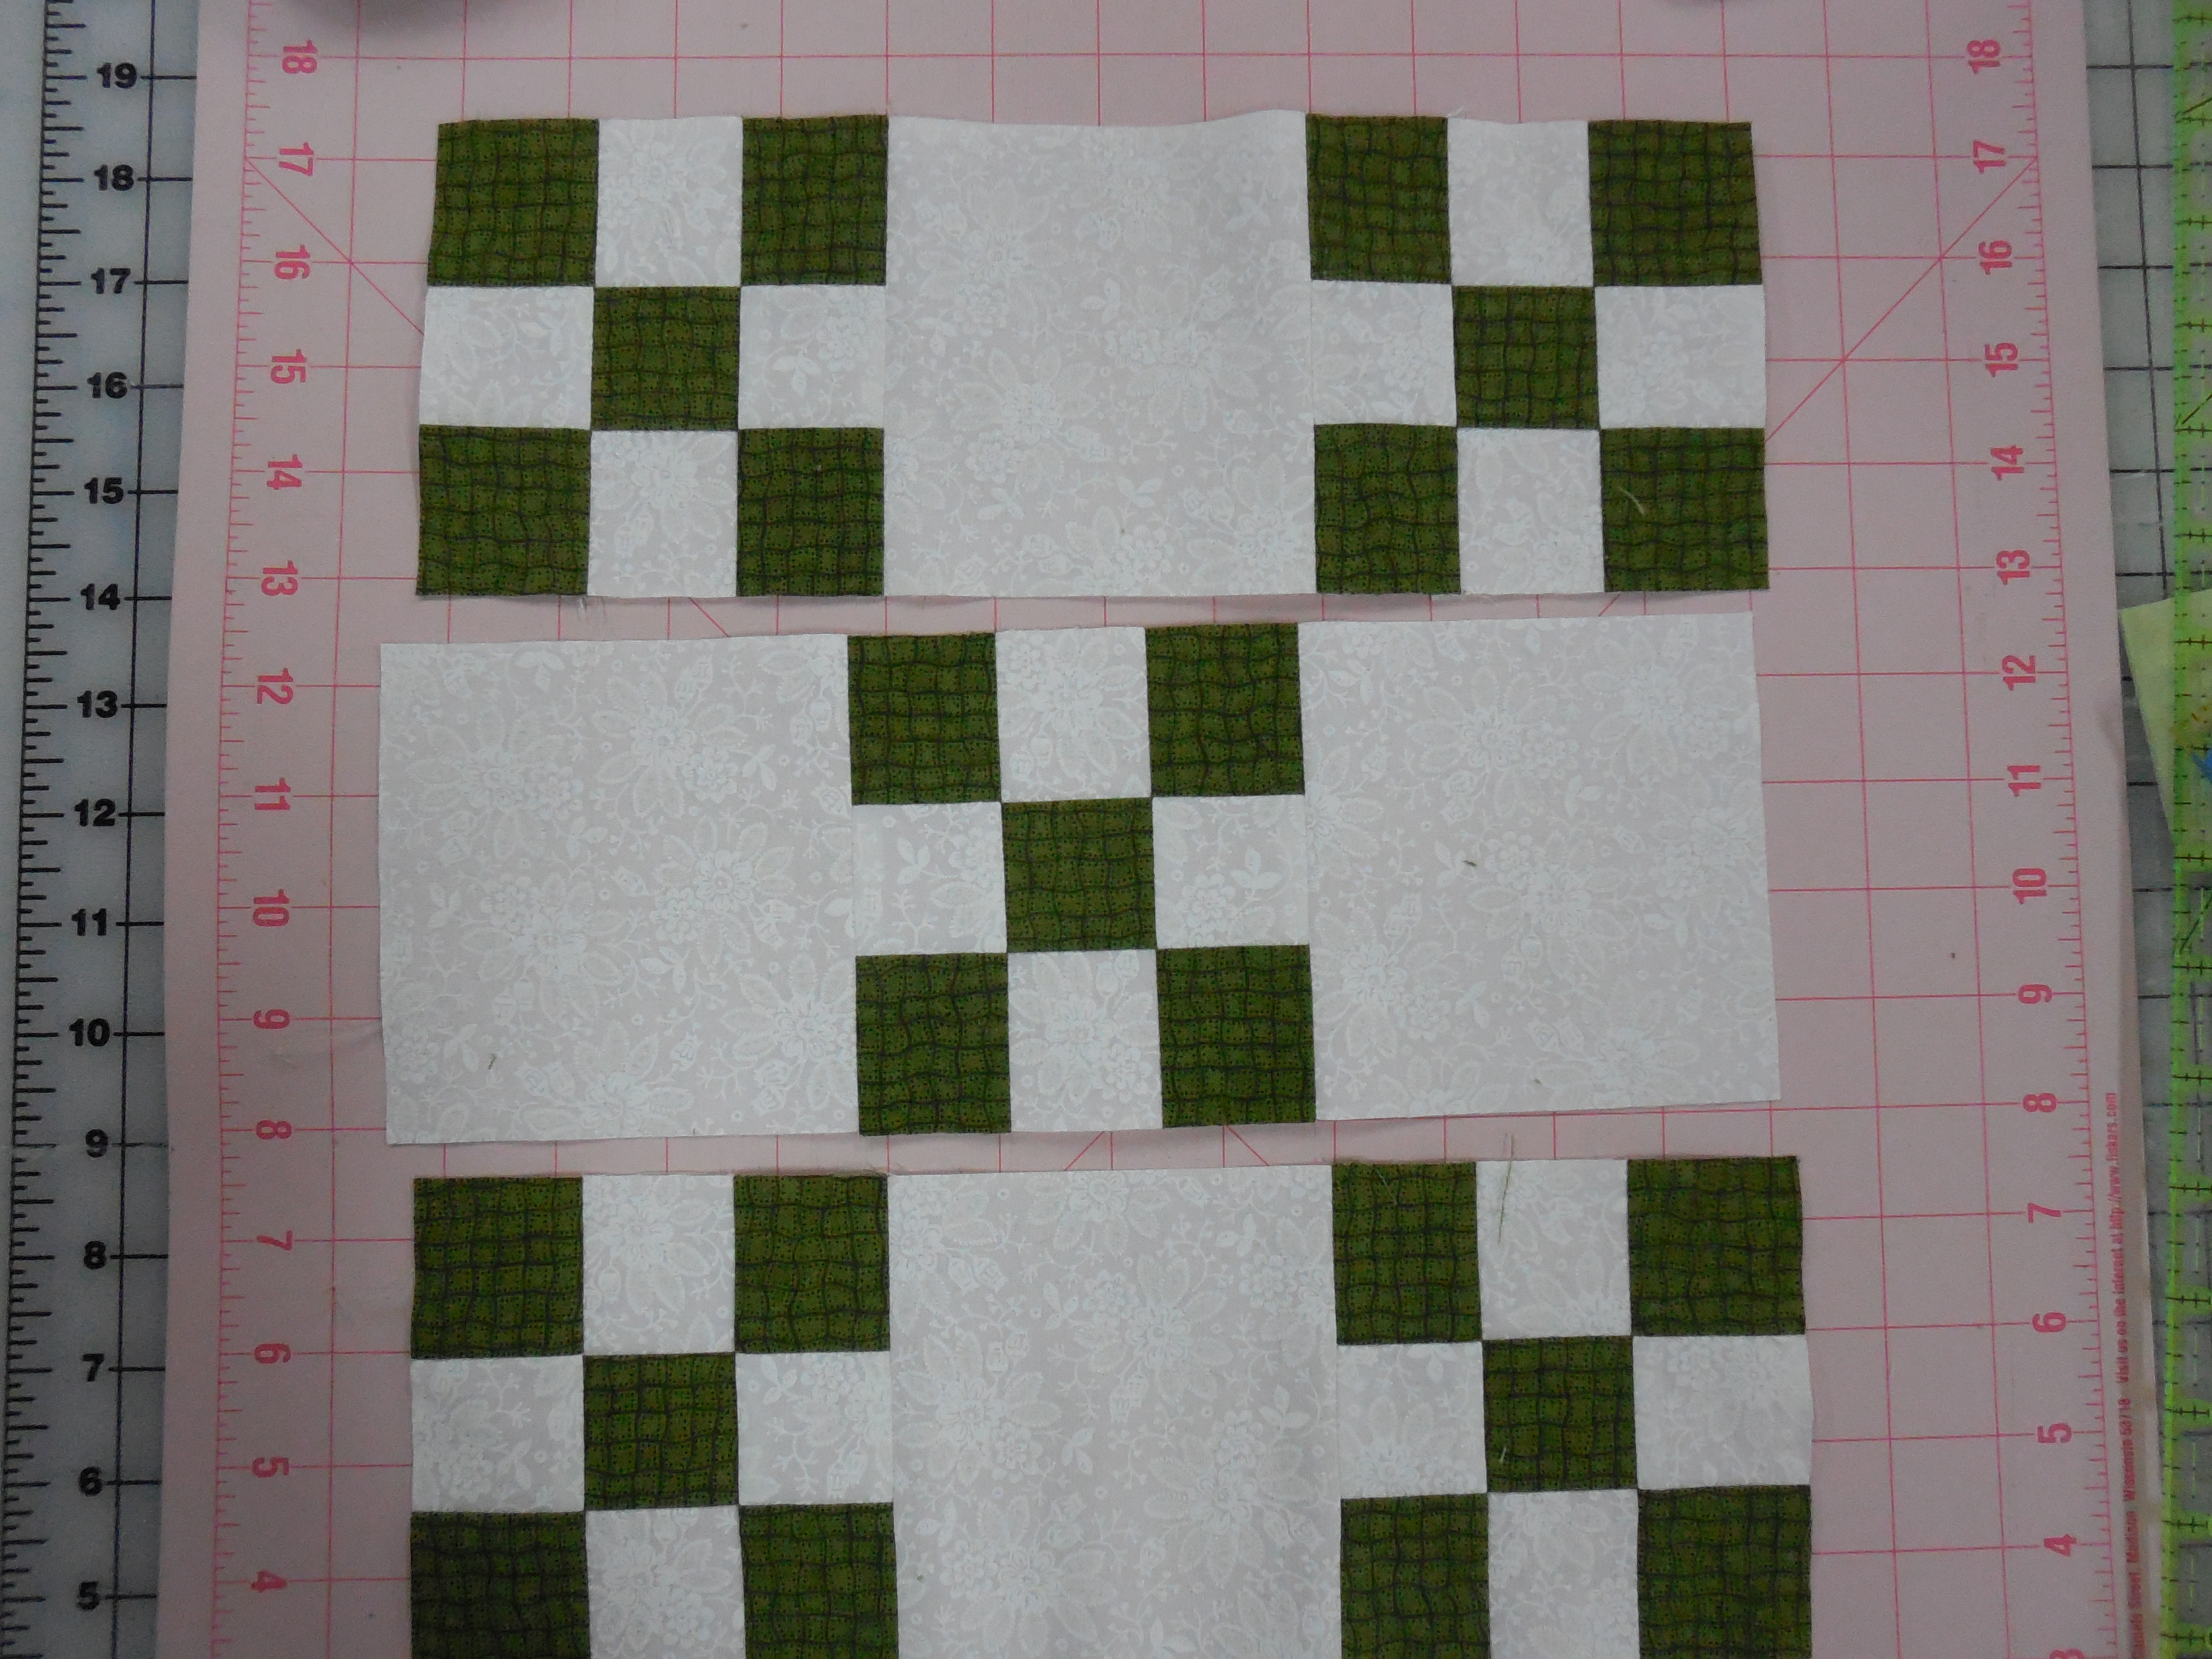
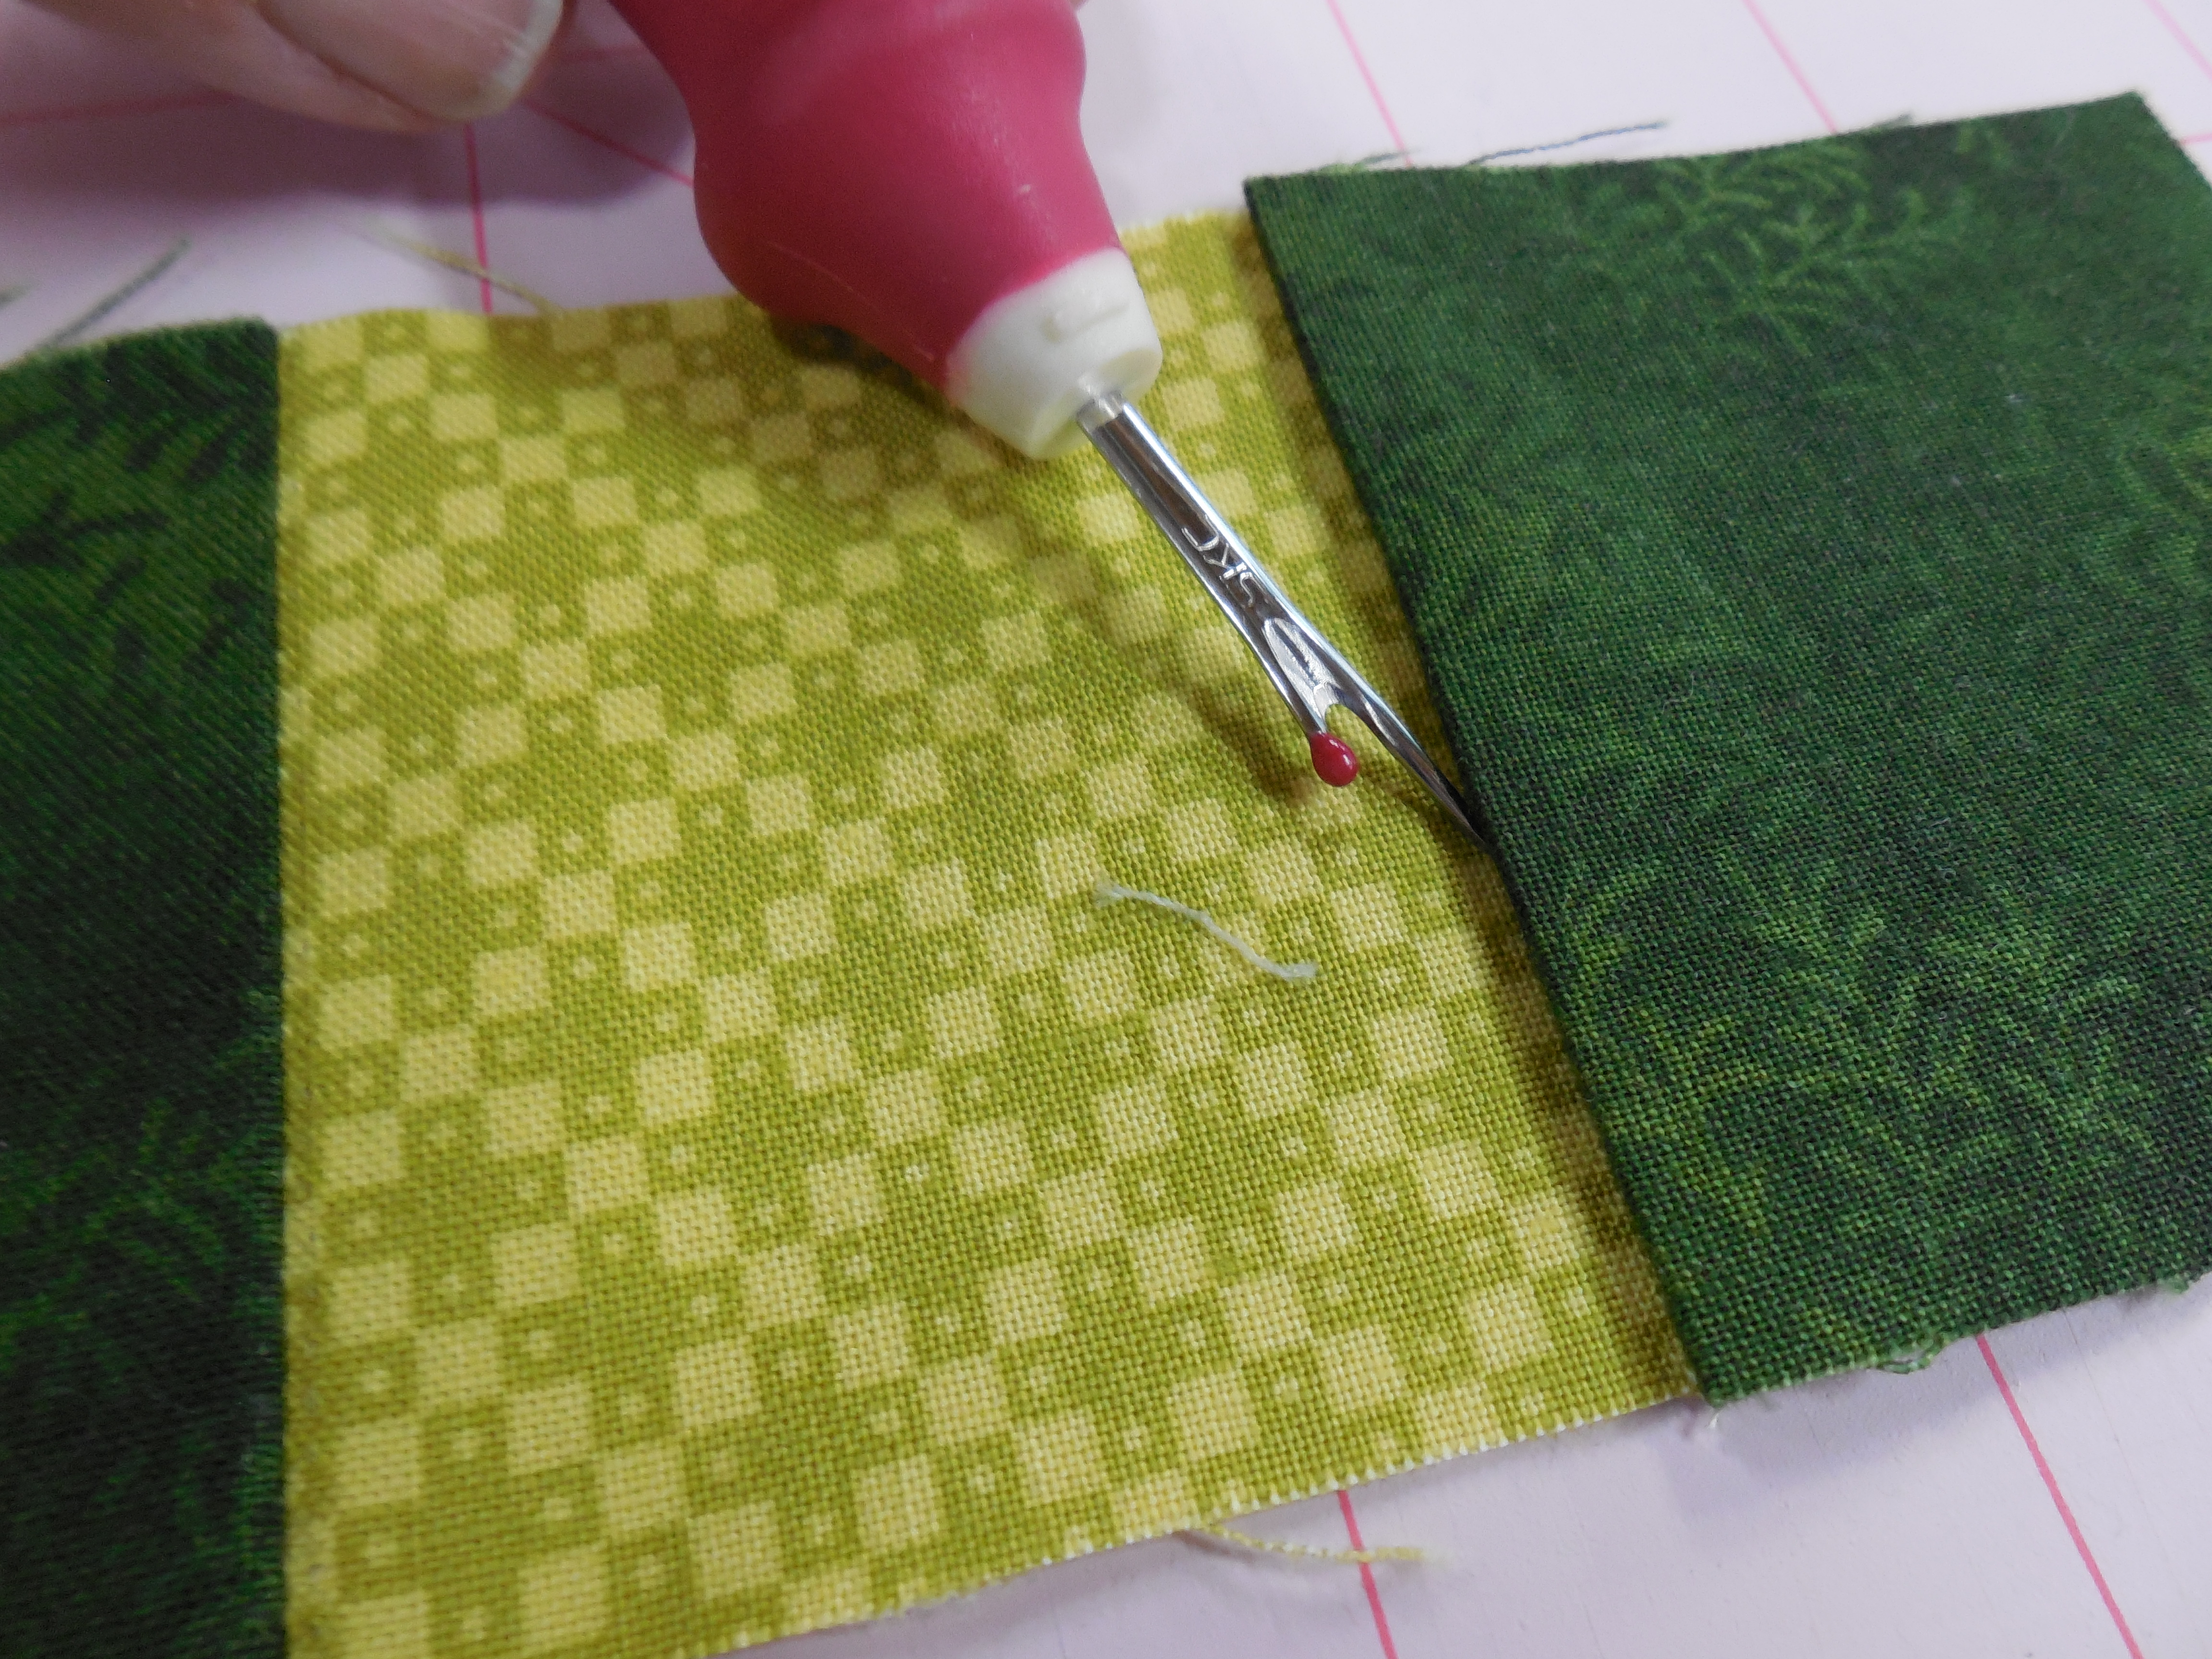
On another note…..I’ve seen some blocks end up too small because of a sad pressing job. If your seam isn’t fully extended when it is pressed that will also make a difference. You can see in the photos below that this seam has a small fold over the seam. Not only does that affect the size of your blocks it also creates extra bulk, which can lead to problems when you do your quilting.


I’d like to challenge you to check your seam allowance using the 3 square method–you might be surprised!