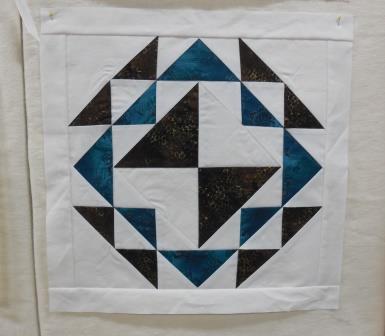
Of all of these blocks, this one will be the most challenging. There are no shortcuts in doing this block. My best advice is to be very careful with accuracy.
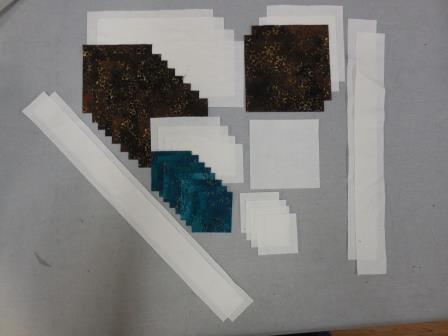
Cut
Neutral
Two 1 ½” x 14 ½” rectangles
Two 1 ½” x 12 ½” rectangles
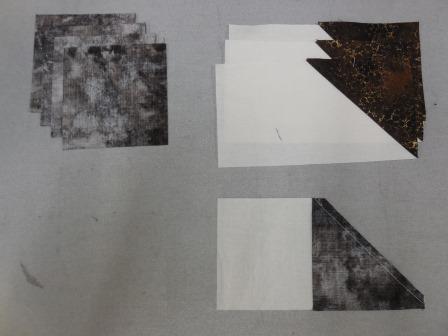
Three 4 7/8” x 4 7/8” squares
Ten 2 7/8” x 2 7/8” squares
Color 1
One 4 7/8” x 4 7/8” square
Four 2 7/8” x 2 7/8” squares
Color 2
Two 2 7/8” x 2 7/8” squares
One 5 3/16” x 5 3/16” square
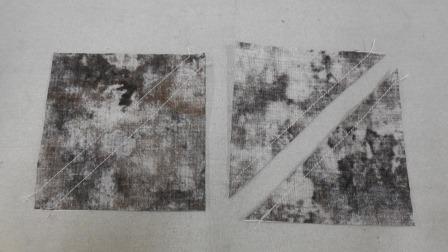
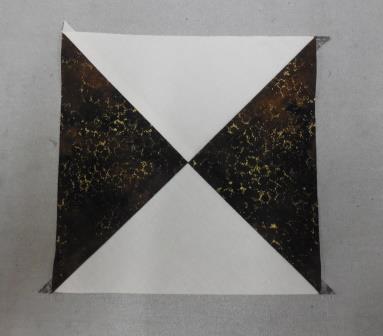
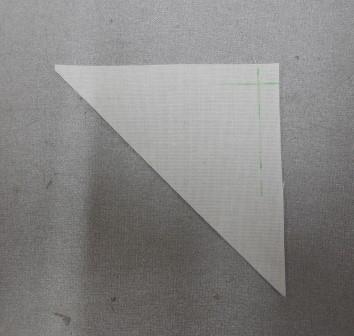
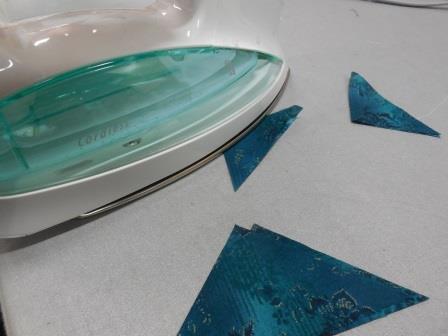
With the exception of the 1 ½” rectangles and the 5 3/16” square, every piece needs to be cut diagonally into equal triangles. The 5 3/16” square needs to be cut diagonally in both directions to create four equal triangles.

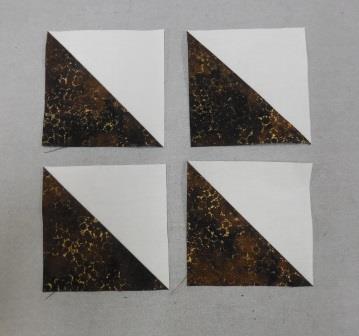
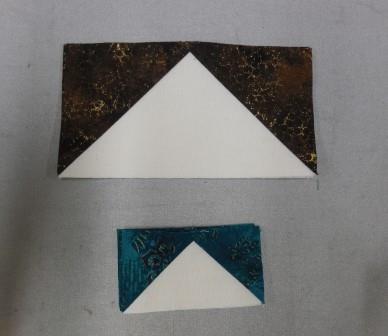
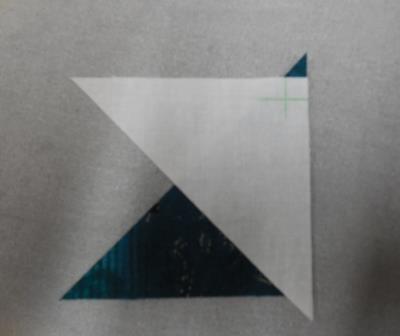
Use two of the neutral triangles cut from the 4 7/8″ squares and the two color 1 triangles cut from the 4 7/8″ square and arrange them as shown below. Press the seams to the darker fabric.

Make the second seam, matching the previous seams and your block will look like this. This is the center unit.
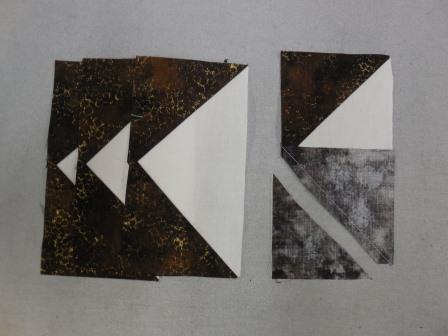
Mark eight of the 2 7/8″ half square triangle pieces along the 1/4″ seam as shown below. Use your favorite disappearing marking tool.
This gives you a reference for placing on the adjoining triangle. You can see that the seam line matches the slanted edge of the triangle behind it. Sew this seam and press toward the darker fabric.
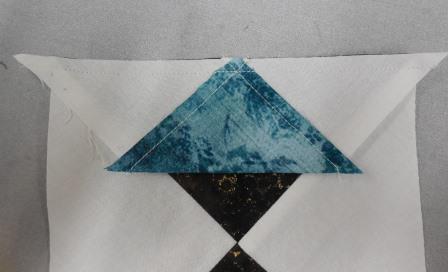
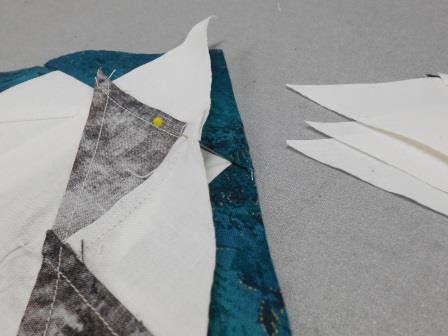
Add another neutral triangle to the other side of the color 2 triangle, making the unit shown below. Press and trim so the intersection is right at 1/4″ and one of the seams is aligned with the 45 degree mark on your ruler. This is the first strip unit. You need to make four (4) of these units.

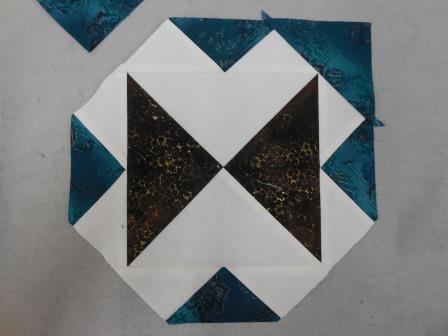
To accurately place the first strip units on the center unit fold the center unit in half and press to mark the centers of two sides.
Place the intersection of the point of the color 2 triangle within the strip unit to one of the center marks you just created. Sew this seam with a 1/4″ seam allowance and you should sew right through the intersection as shown.
Repeat the process on the remaining sides.

On the picture below I have marked the crease to make it easier to see.

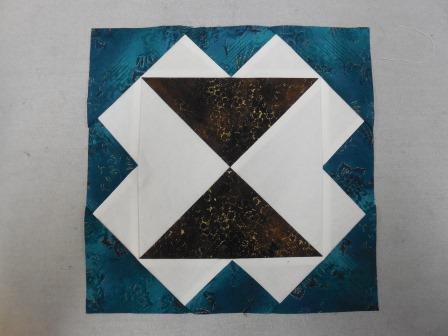
We will now use the four triangles that were cut from the 5 3/16″ square. Begin by pressing each of the triangles in half to mark the centers.
Match the crease with the intersection from the center block as shown below.
Do this on all four sides. Trim to a 9″ square with the intersections as close to the 1/4″ seam line as possible.
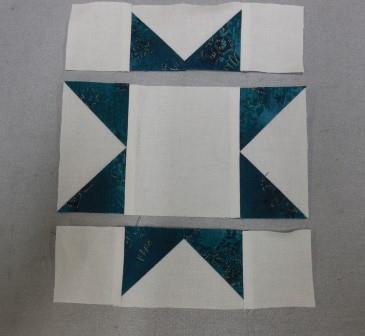
Using the remaining 2 7/8″ half square triangle pieces (12 neutral, 8 color one) you need to make the second strip units. These are made using the same method as in the first strip units. Each of these units will have 3 neutral triangles and 2 triangles from color 1. Again, you will need four of these units.
Sew the remaining neutral triangles cut from the 4 7/8″ squares onto the short side of these strip units.

In order to line up the intersections between the strip units and the block I place straight pins in the wrong side of the strip unit exactly on the intersection.
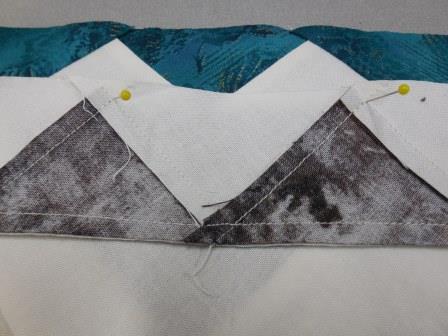
Then those pins go directly into the intersection on the right side of the block. Bring the fabric together with the pin standing straight up and pin the fabrics together on both sides of the pin. Be sure you are pinning on the 1/4″ seam line or your fabrics could still shift.
Most of the time I don’t do much pinning, but this block definitely requires pinning for accuracy.

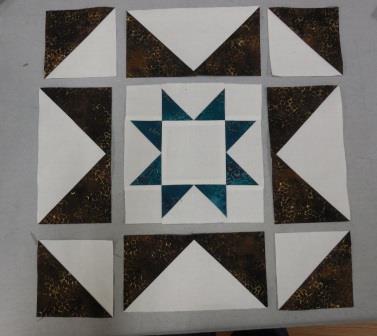
Now, trim your block to 12 1/2″ x 12 1/2″ making sure you don’t cut too close to your points. No matter how careful I was both of my blocks ended up a little bigger. Fortunately we still have to add the 1 1/2″ strips. Just trim 1/4″ away from your points and add the 1 1/2″ x 12 1/2″ strips to the two opposite sides. Now trim those two pieces so the block is 12 1/2″ x 14 1/2″. Then add the 1 1/2″ x 14 1/2″ pieces and trim down to a 14 1/2″ square. We have used the strips to compensate for us and it won’t be noticed at all.