Category Archives: Quilt Connection Guild

Odds and Ends

Standard

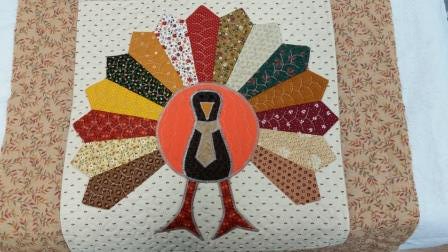
Getting caught up before Christmas was advantageous for me.  I came home from our holiday celebration with only one client quilt remaining!  I really dislike having a backlog and try to finish quilts as I receive them.  I finished the remaining quilt and also received a really cute table runner to quilt for a friend at church.  I only took a picture of a portion of it–don’t you just love her turkey?


amyd.jpg

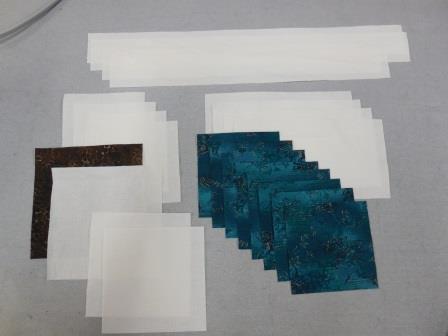
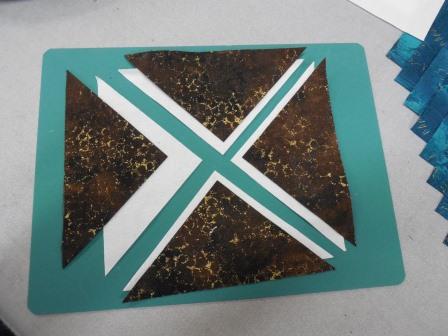
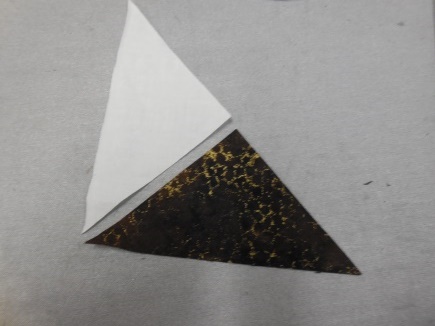
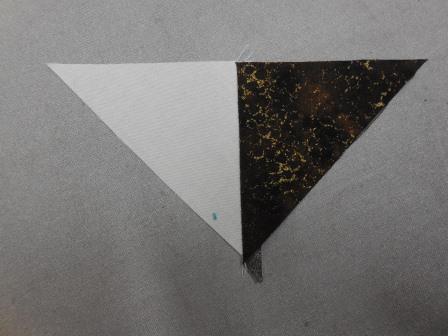
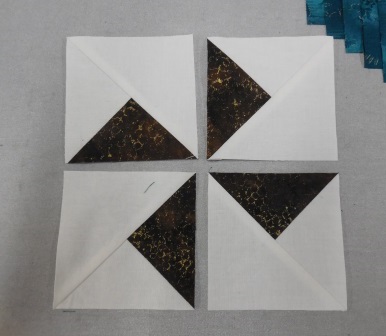
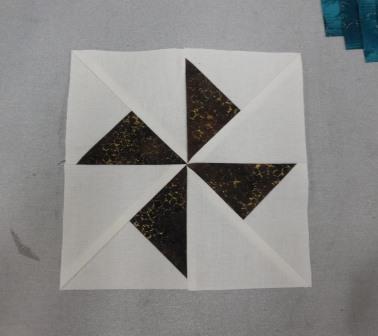
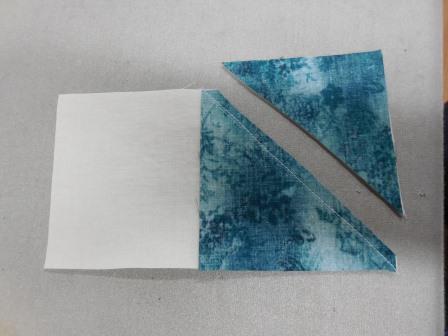
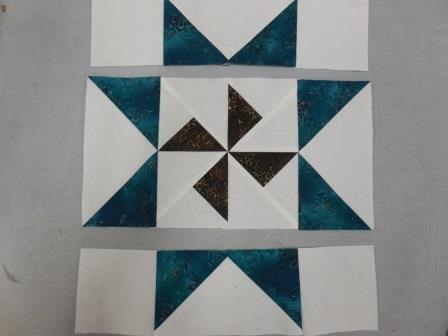
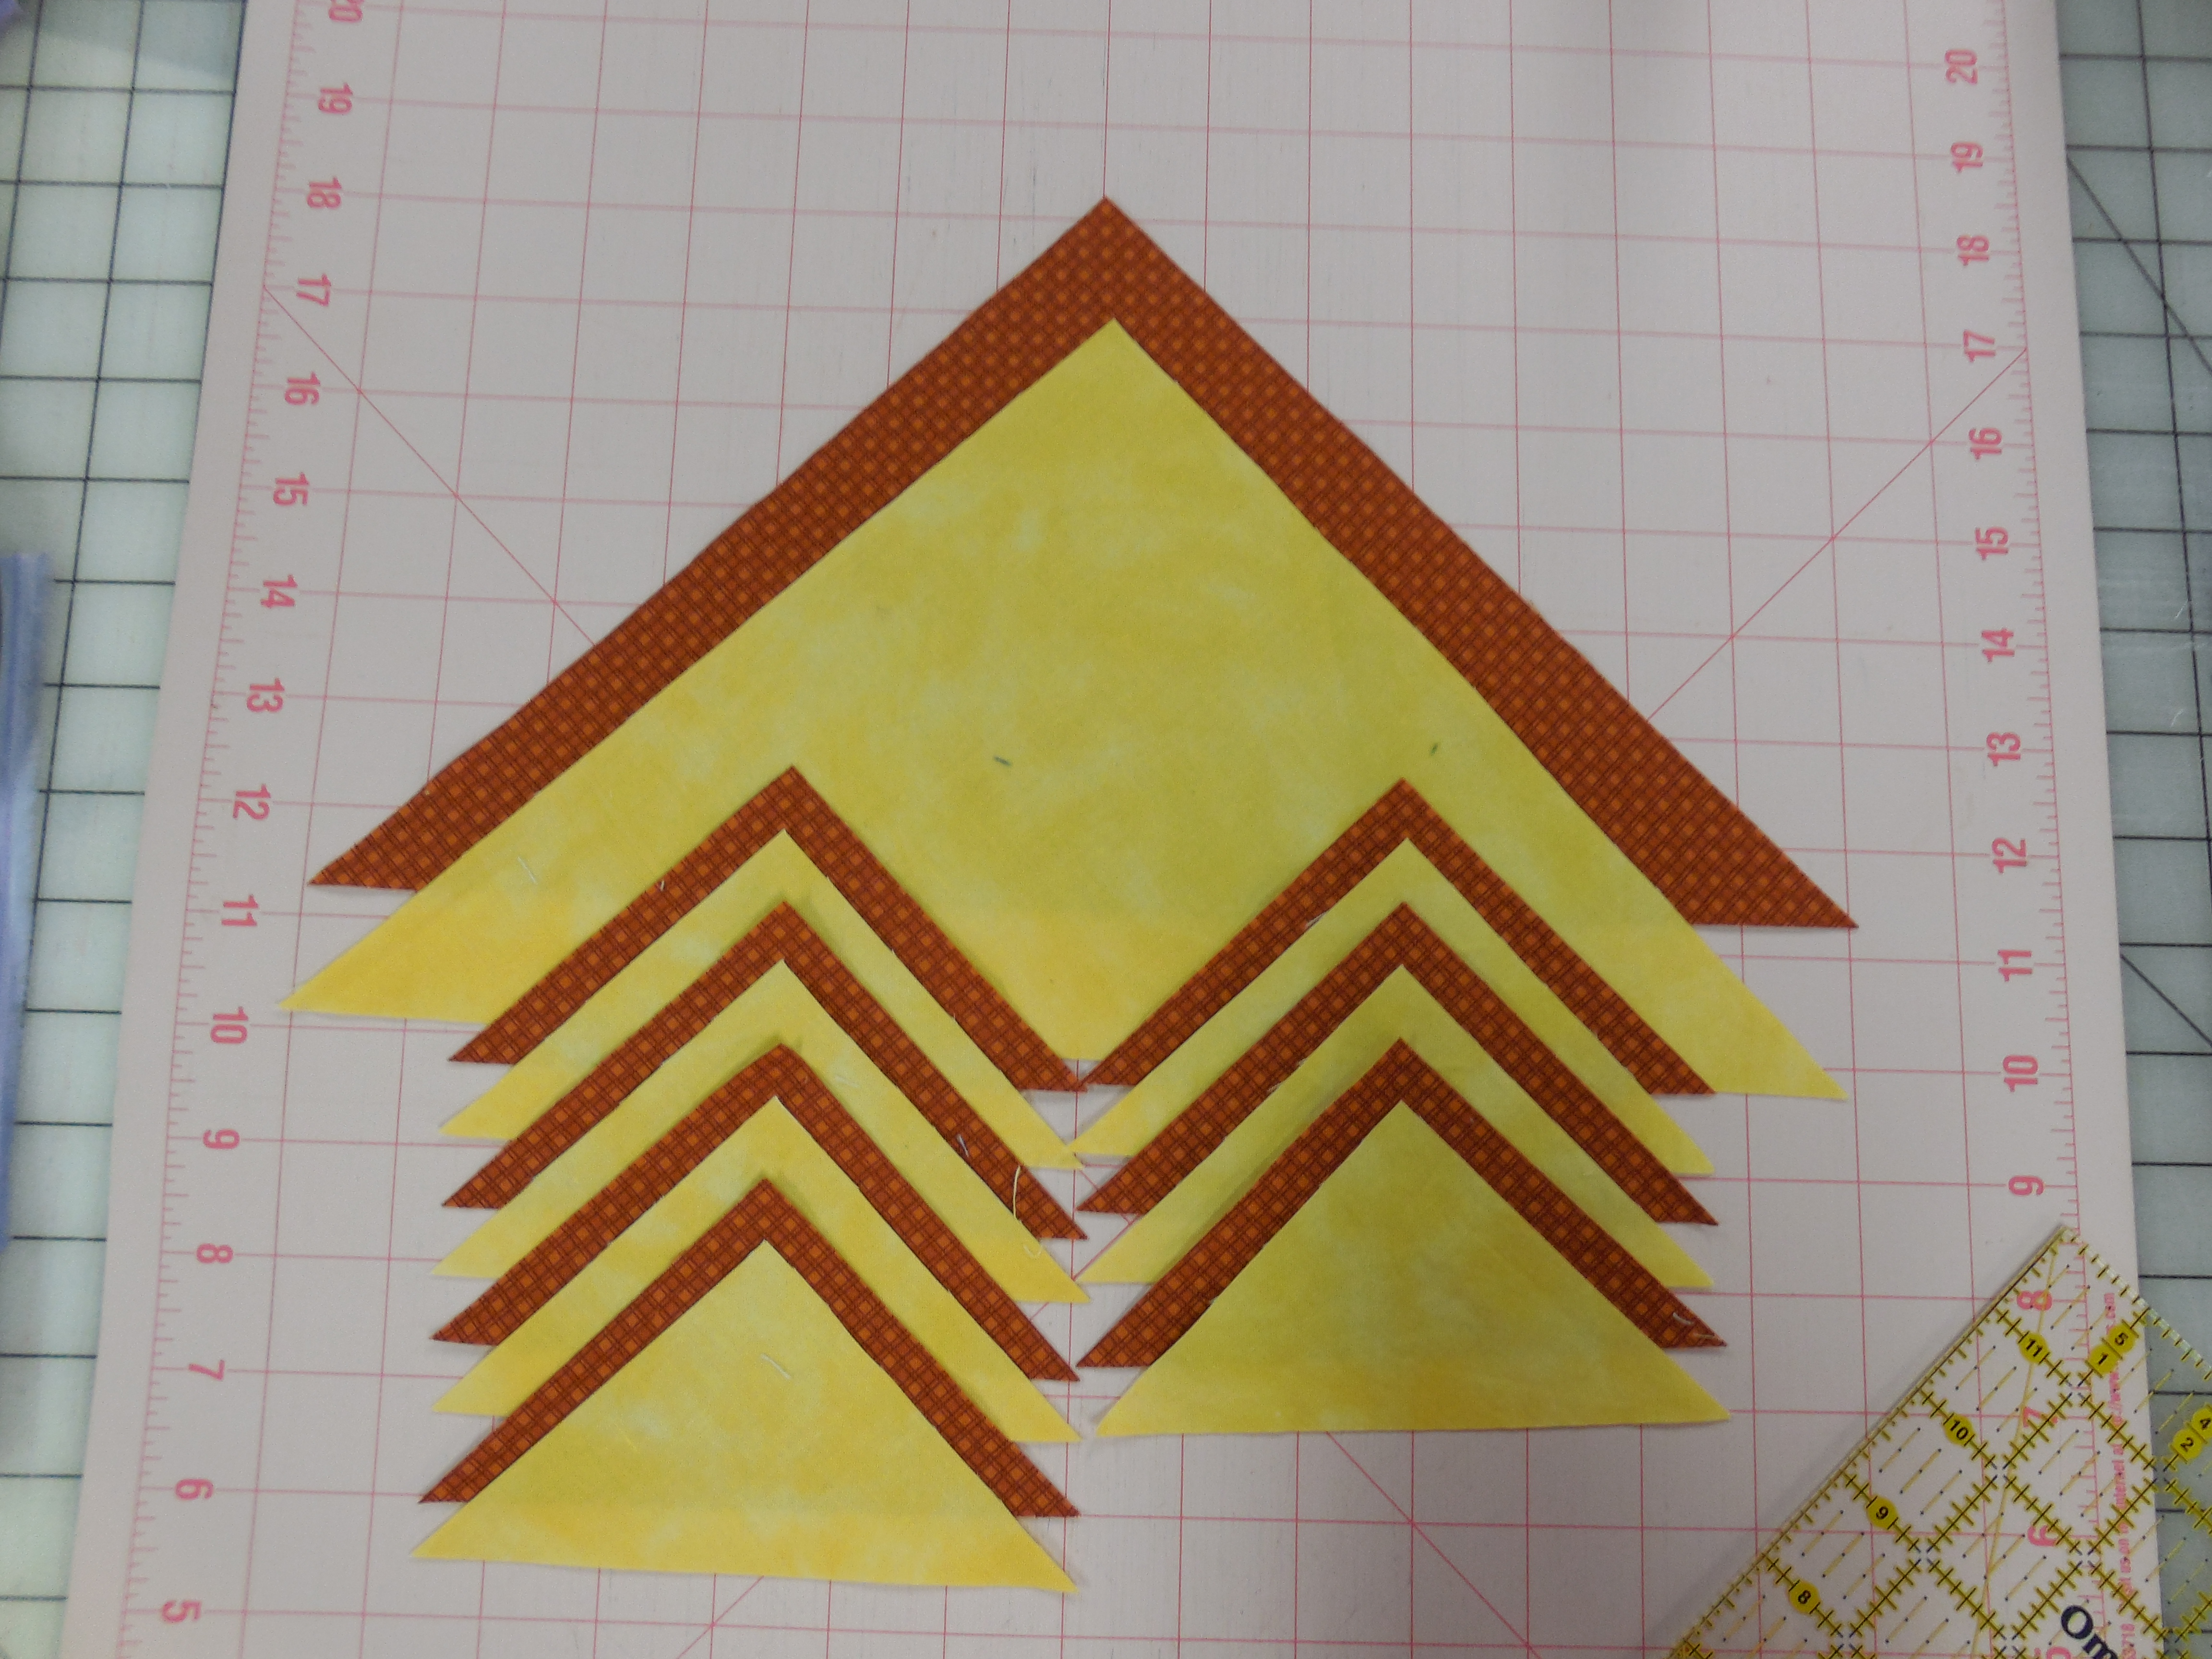
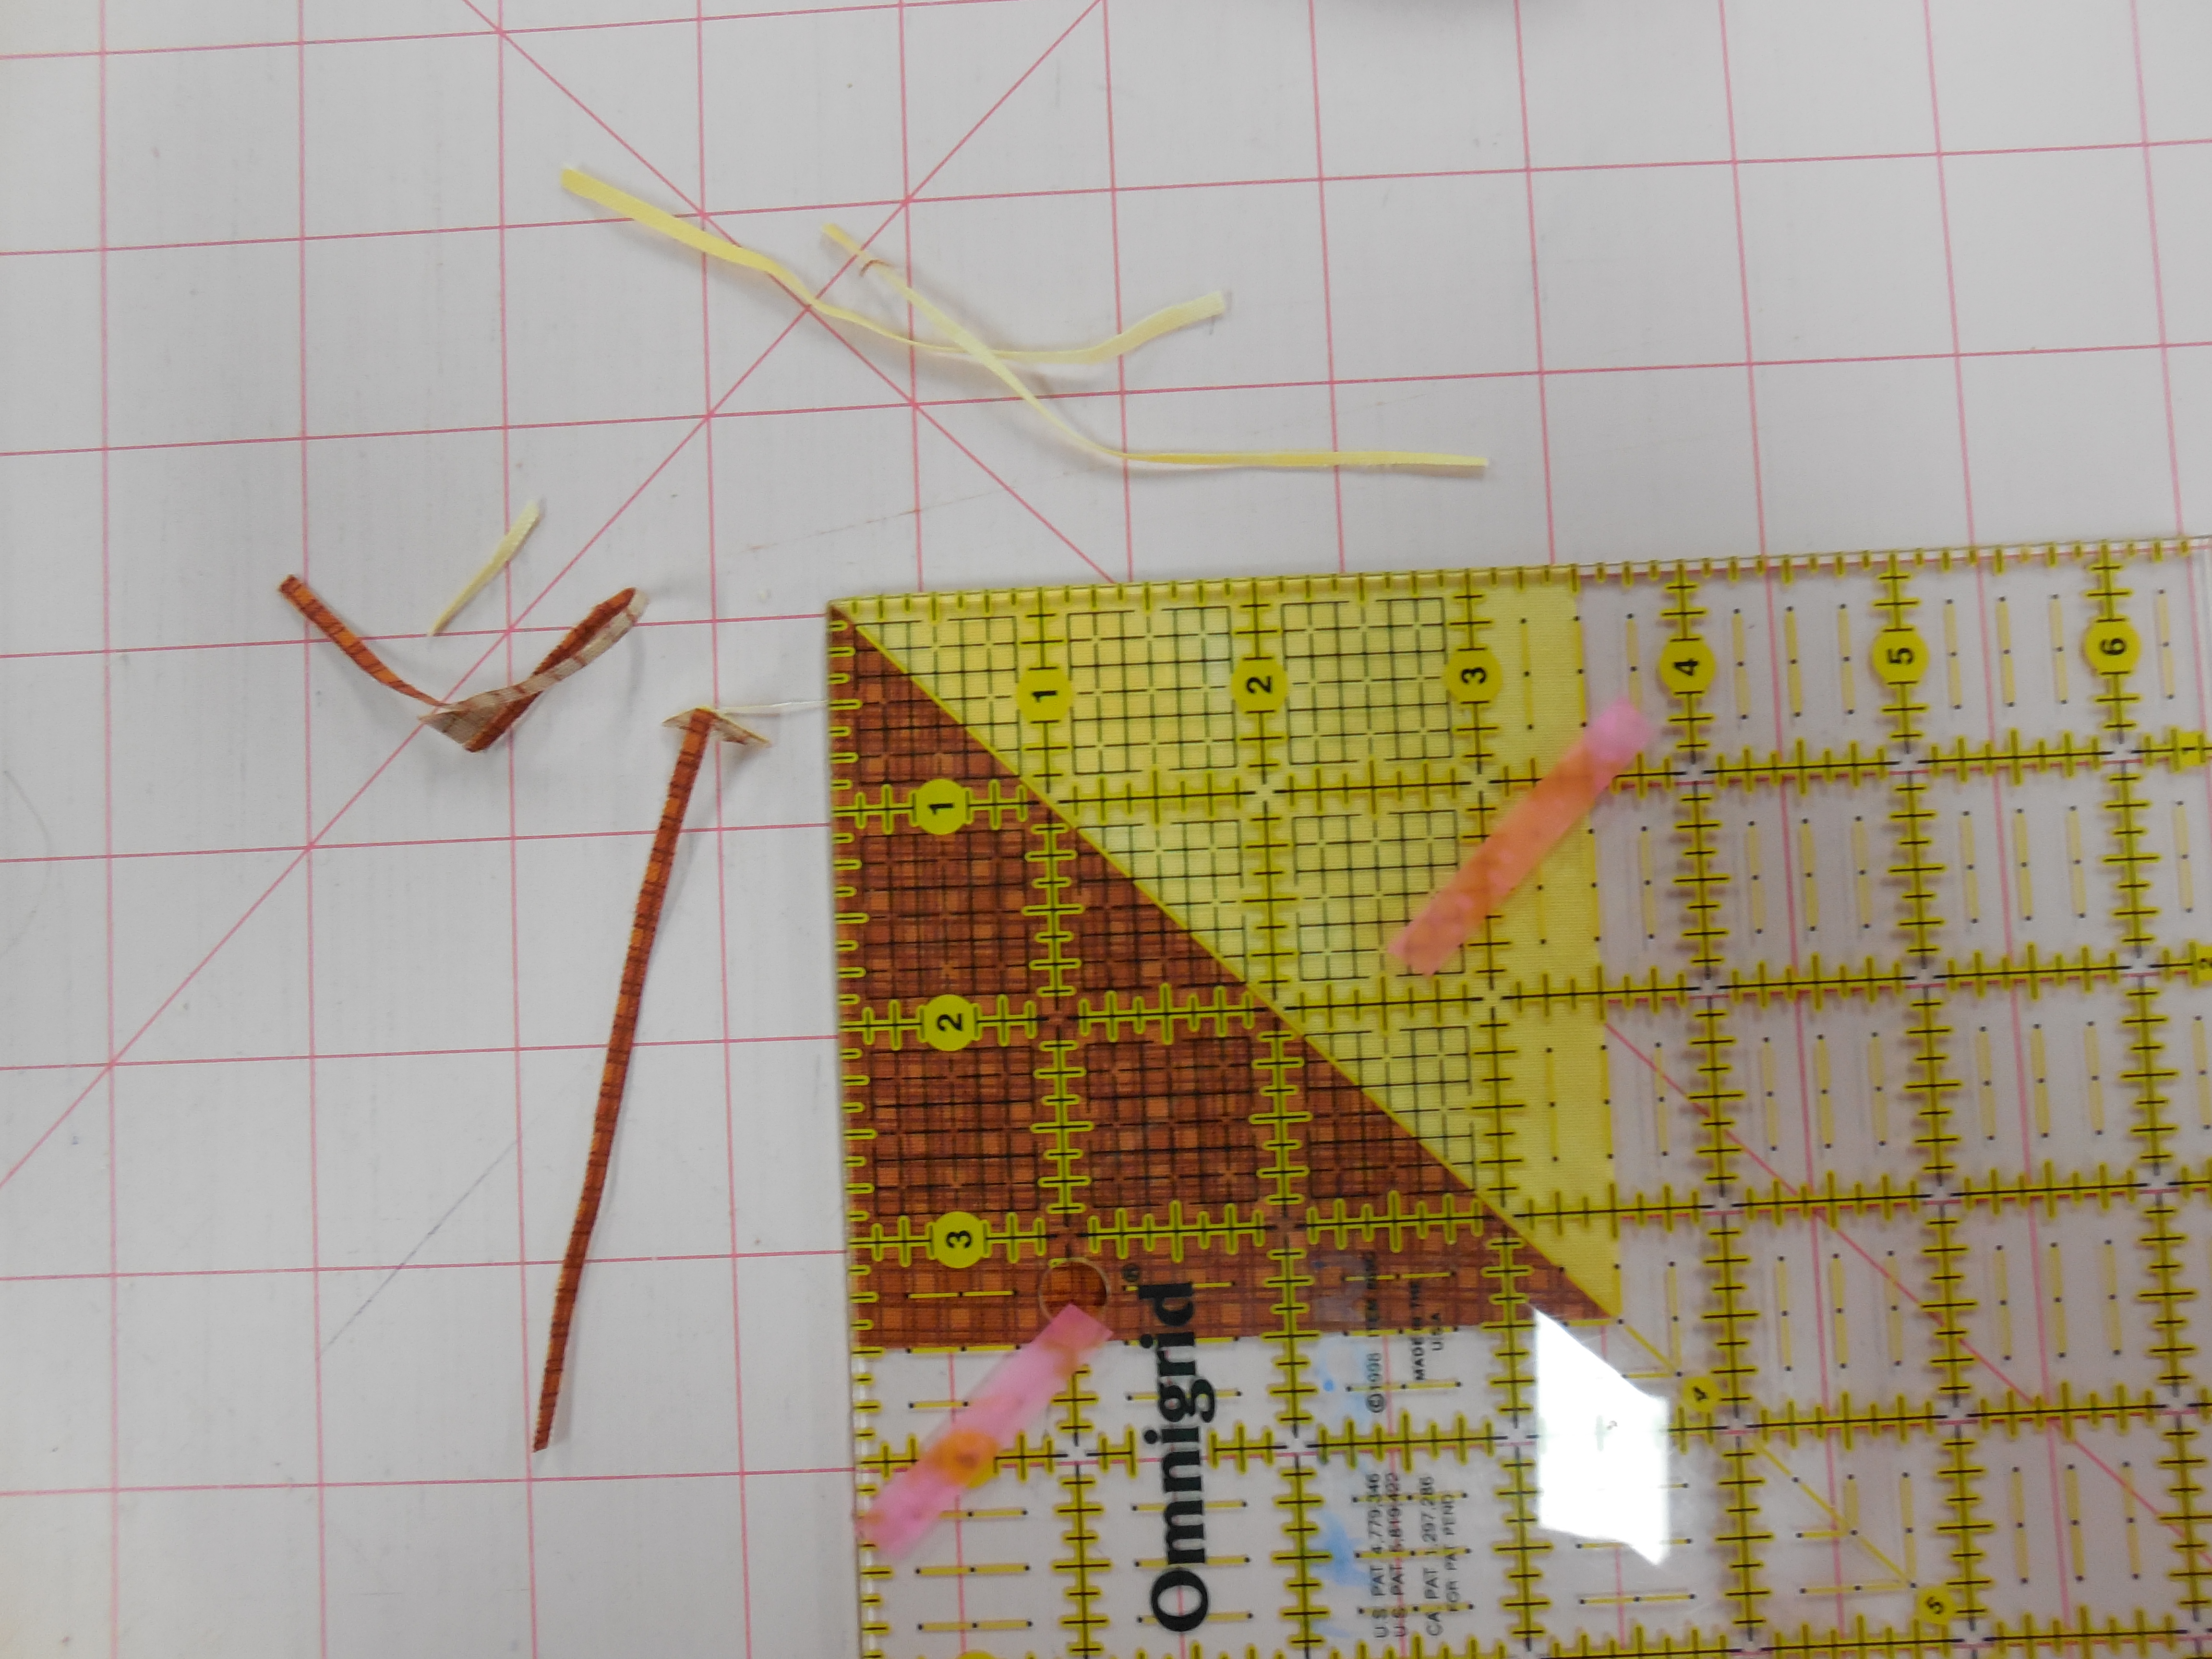
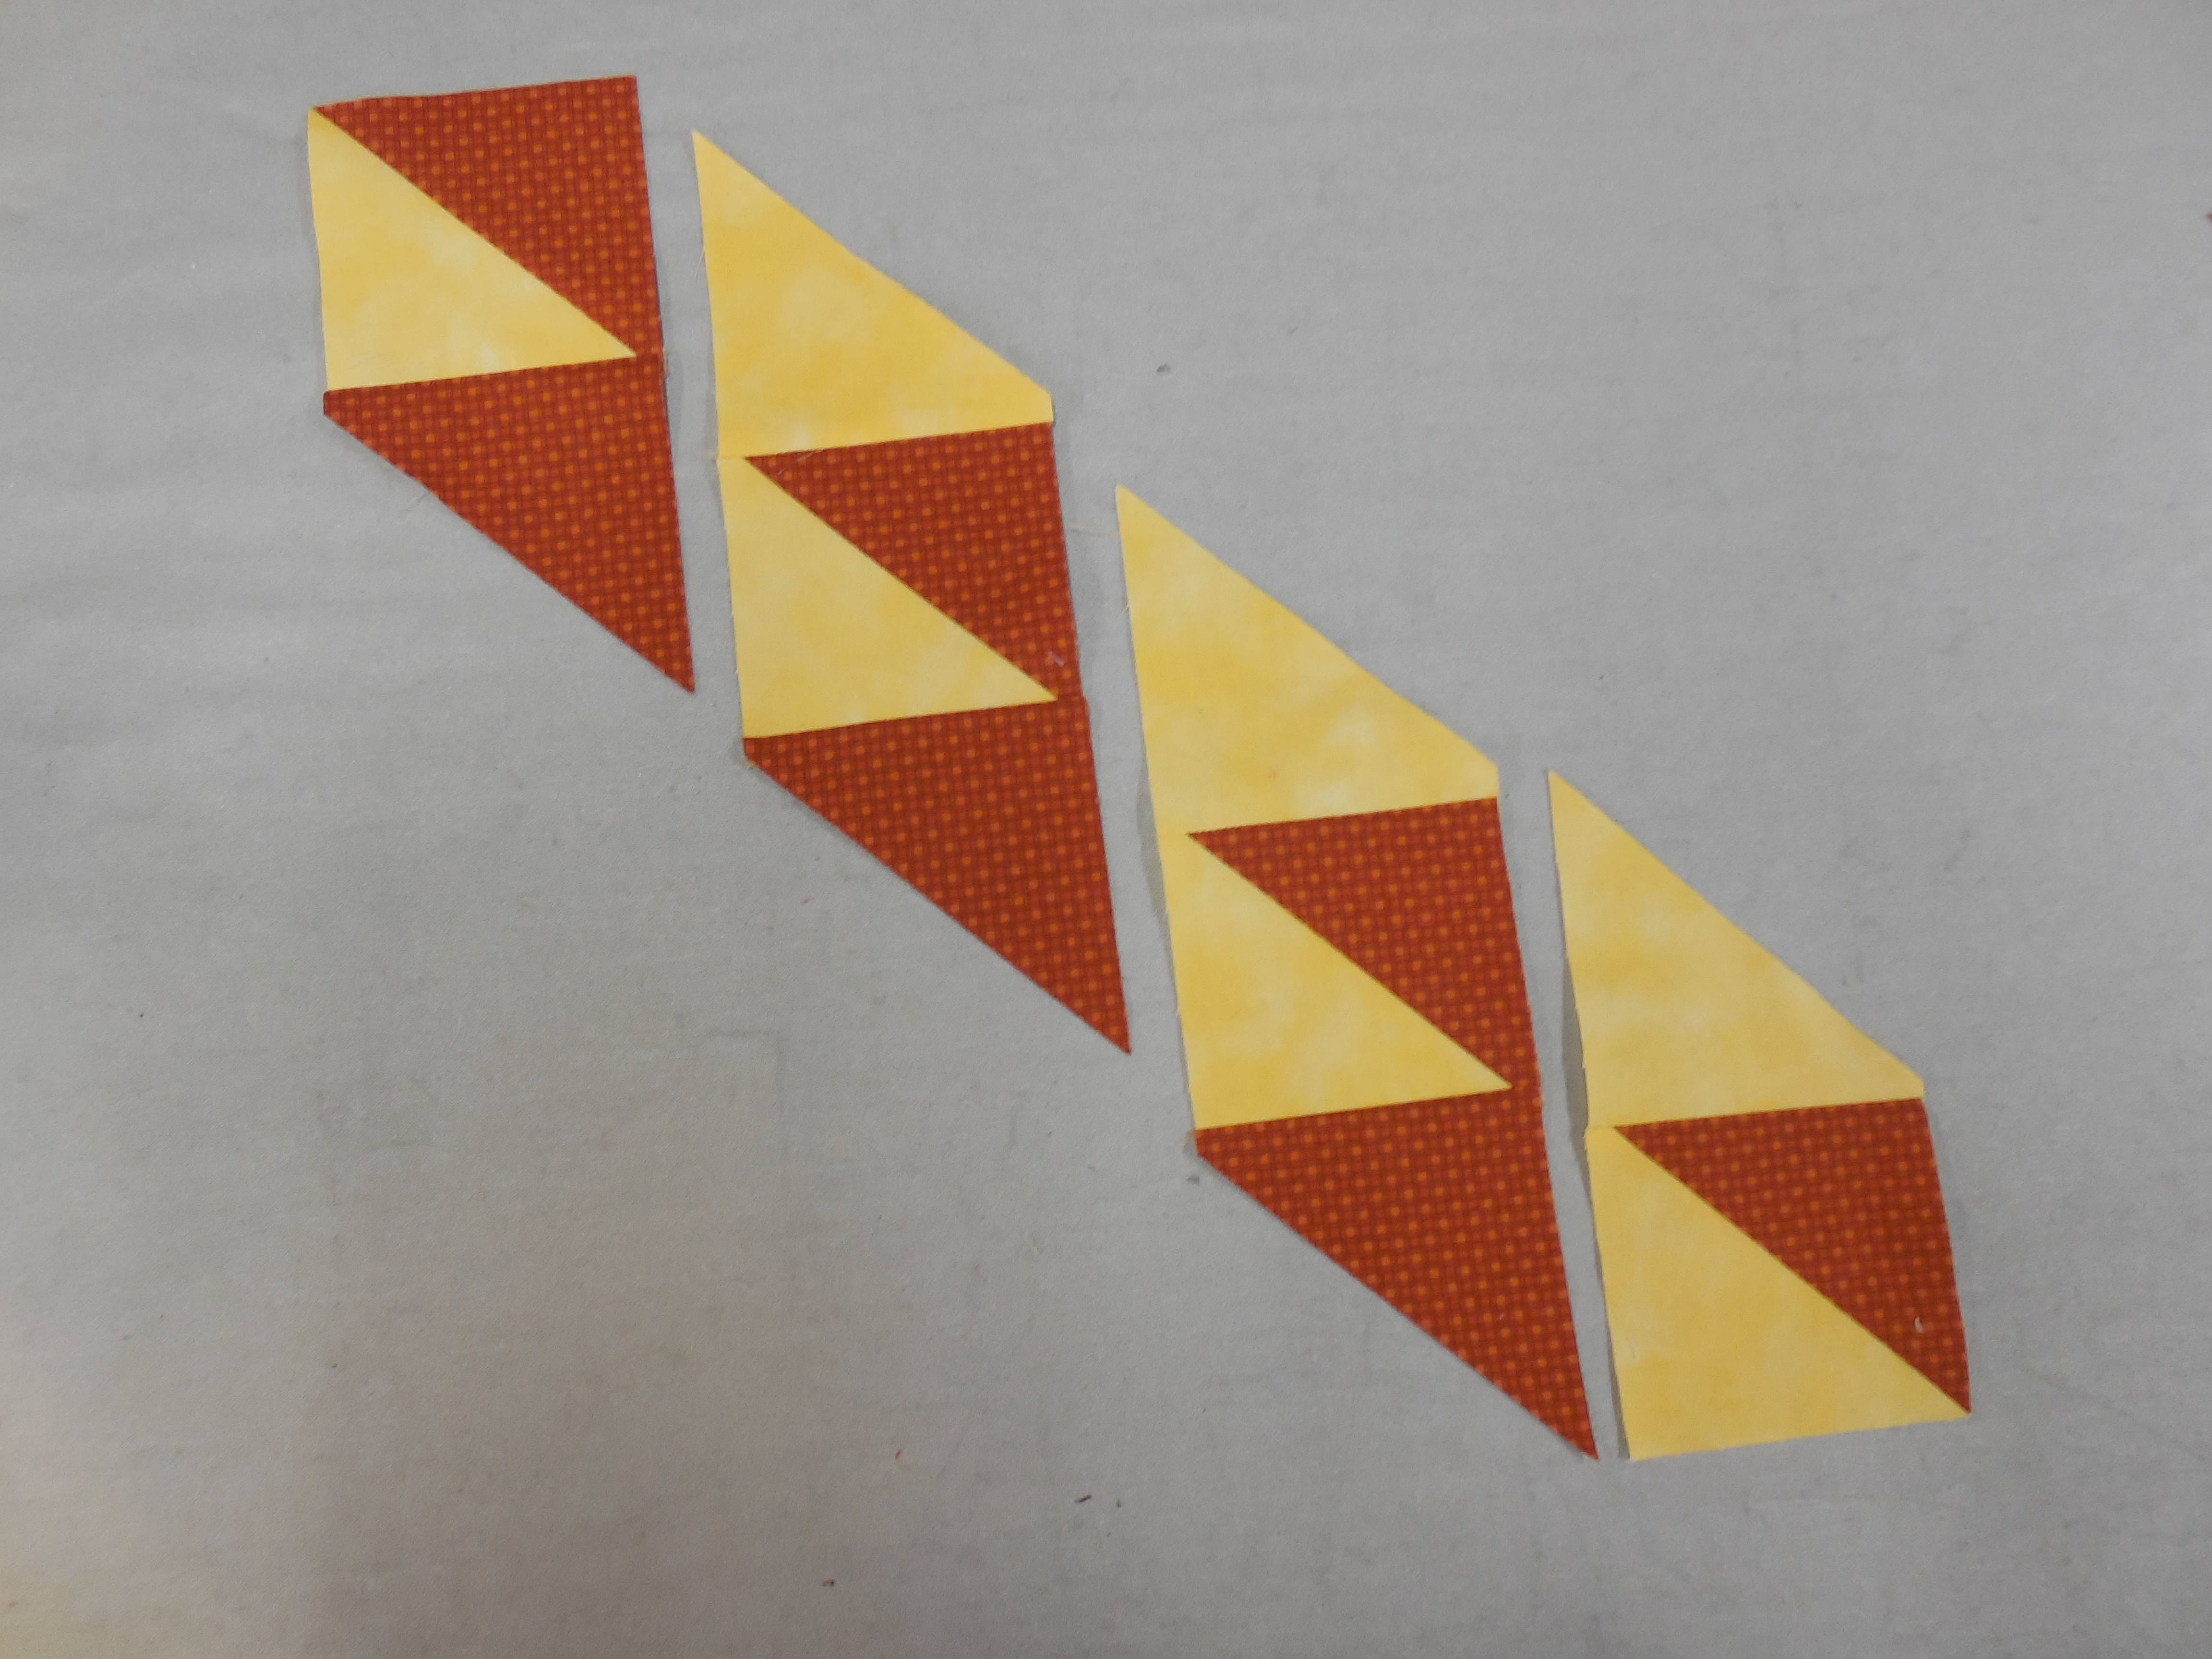
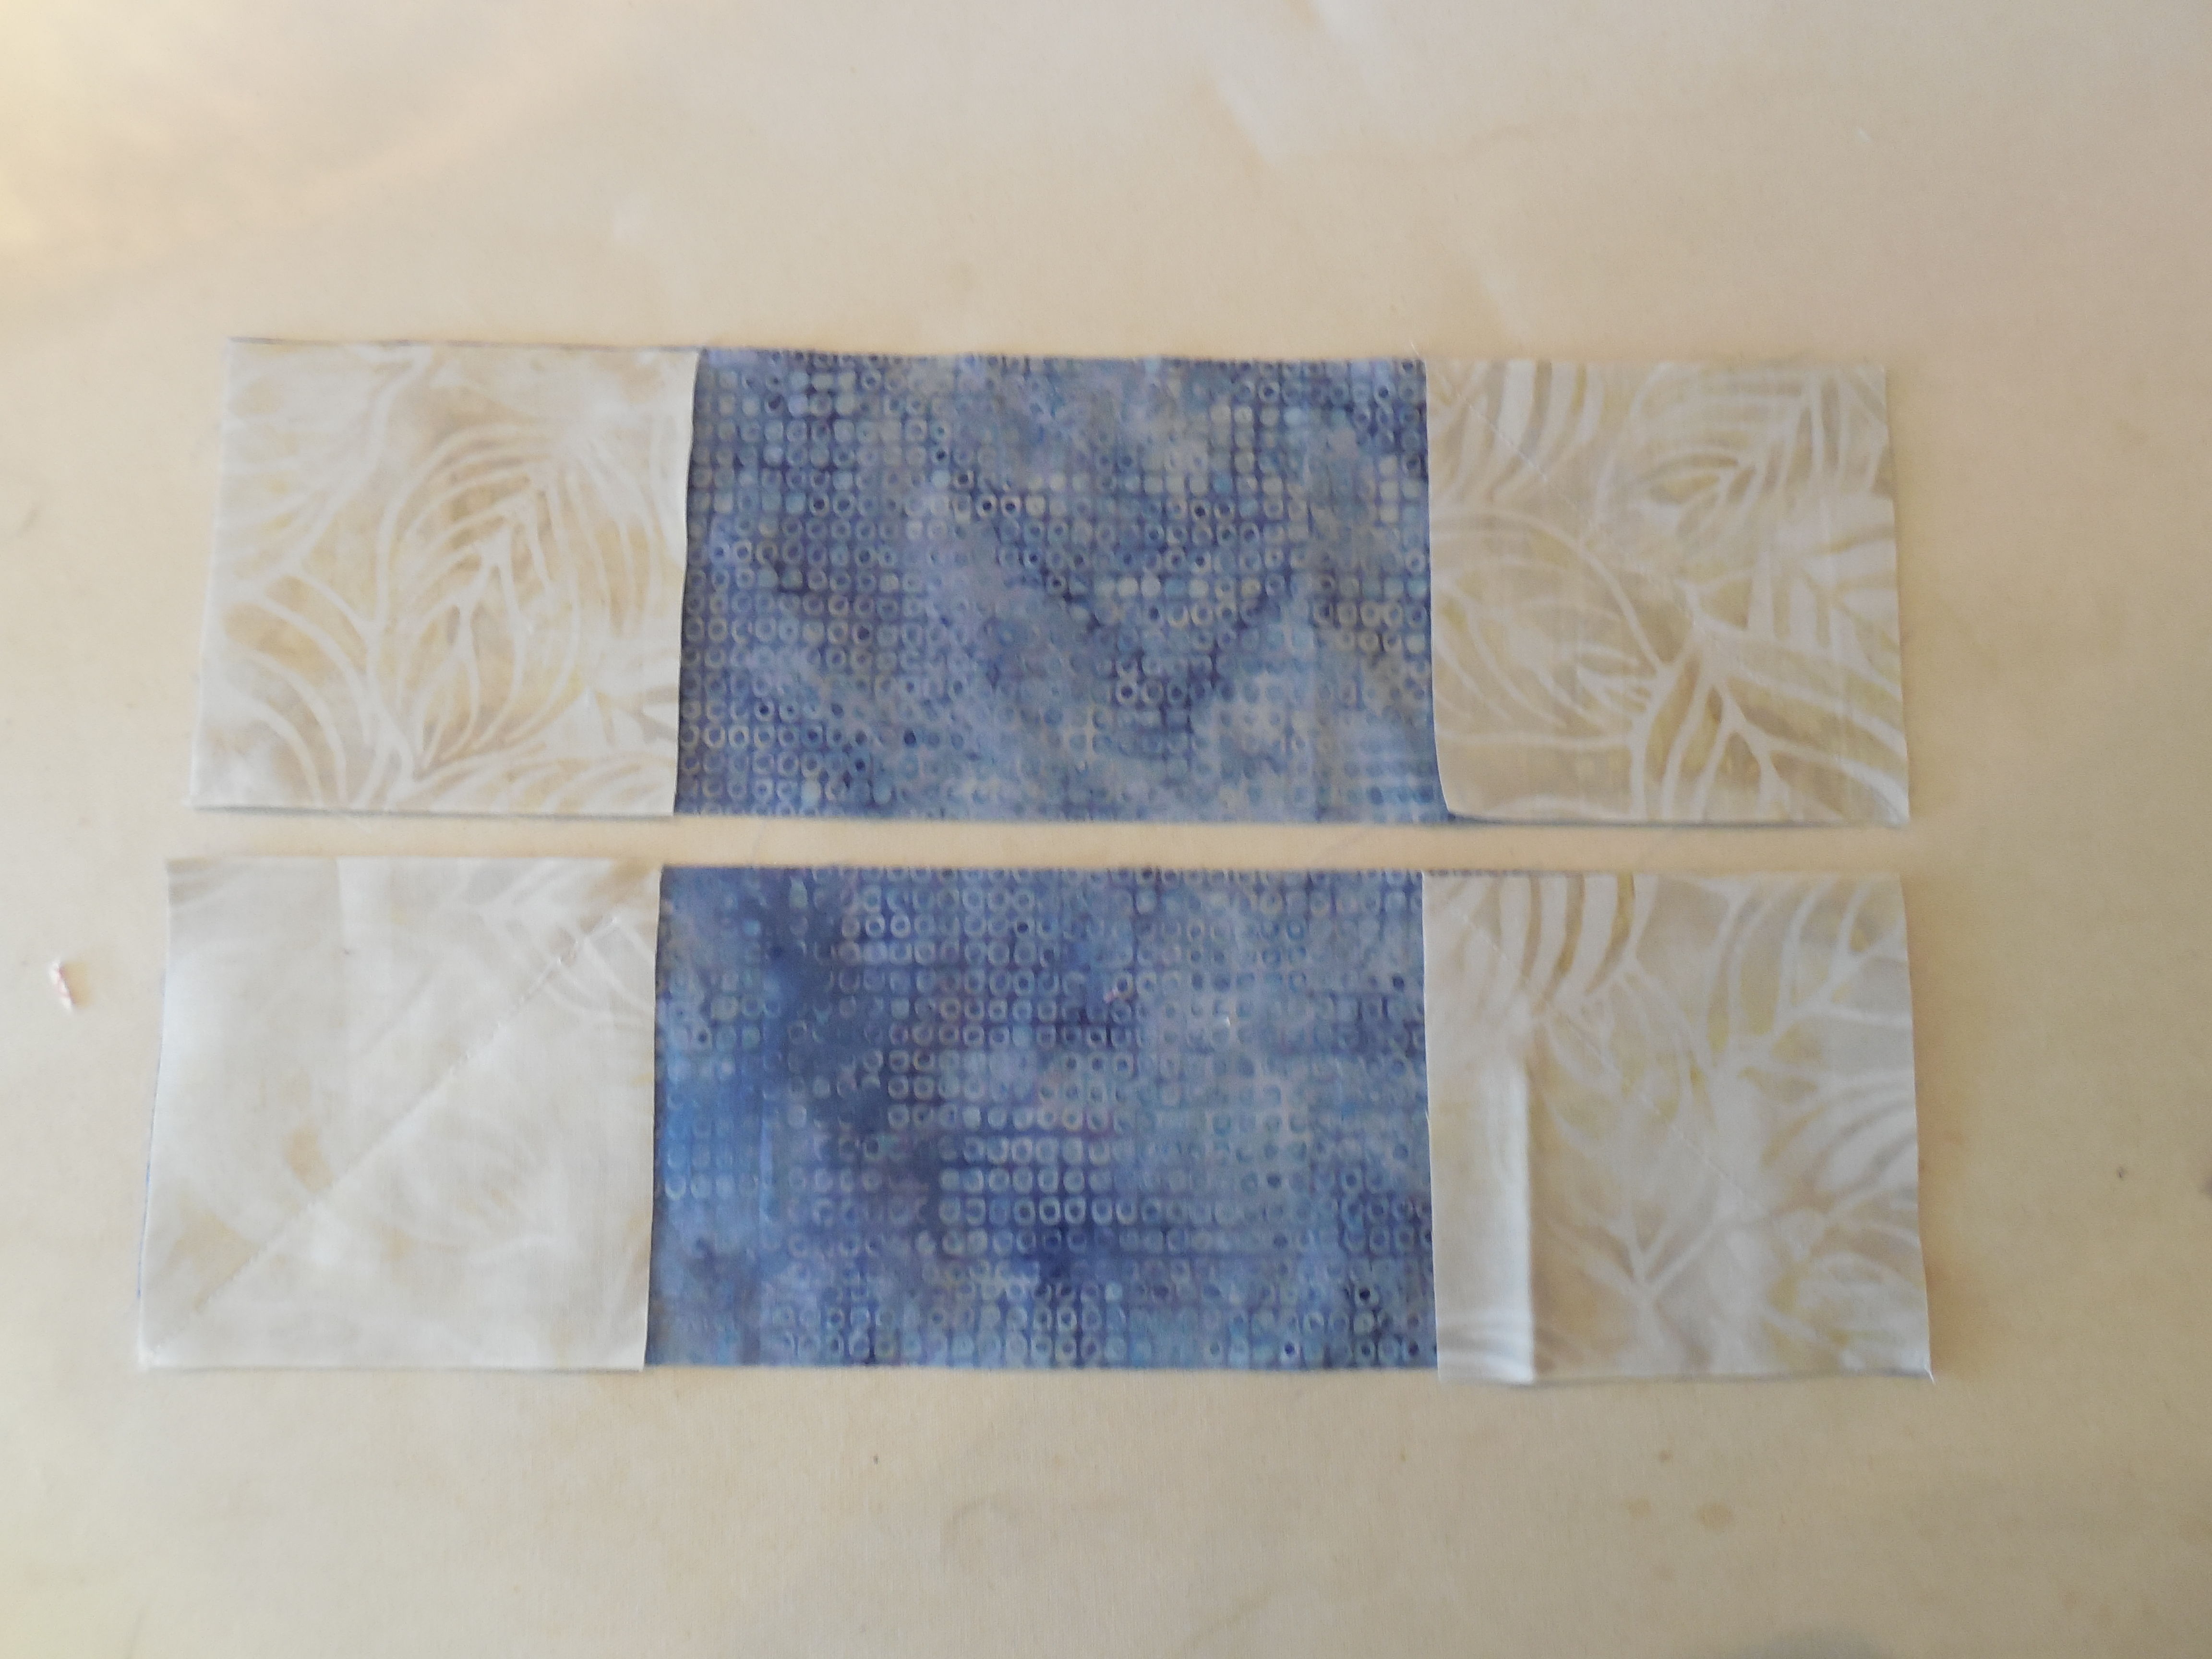
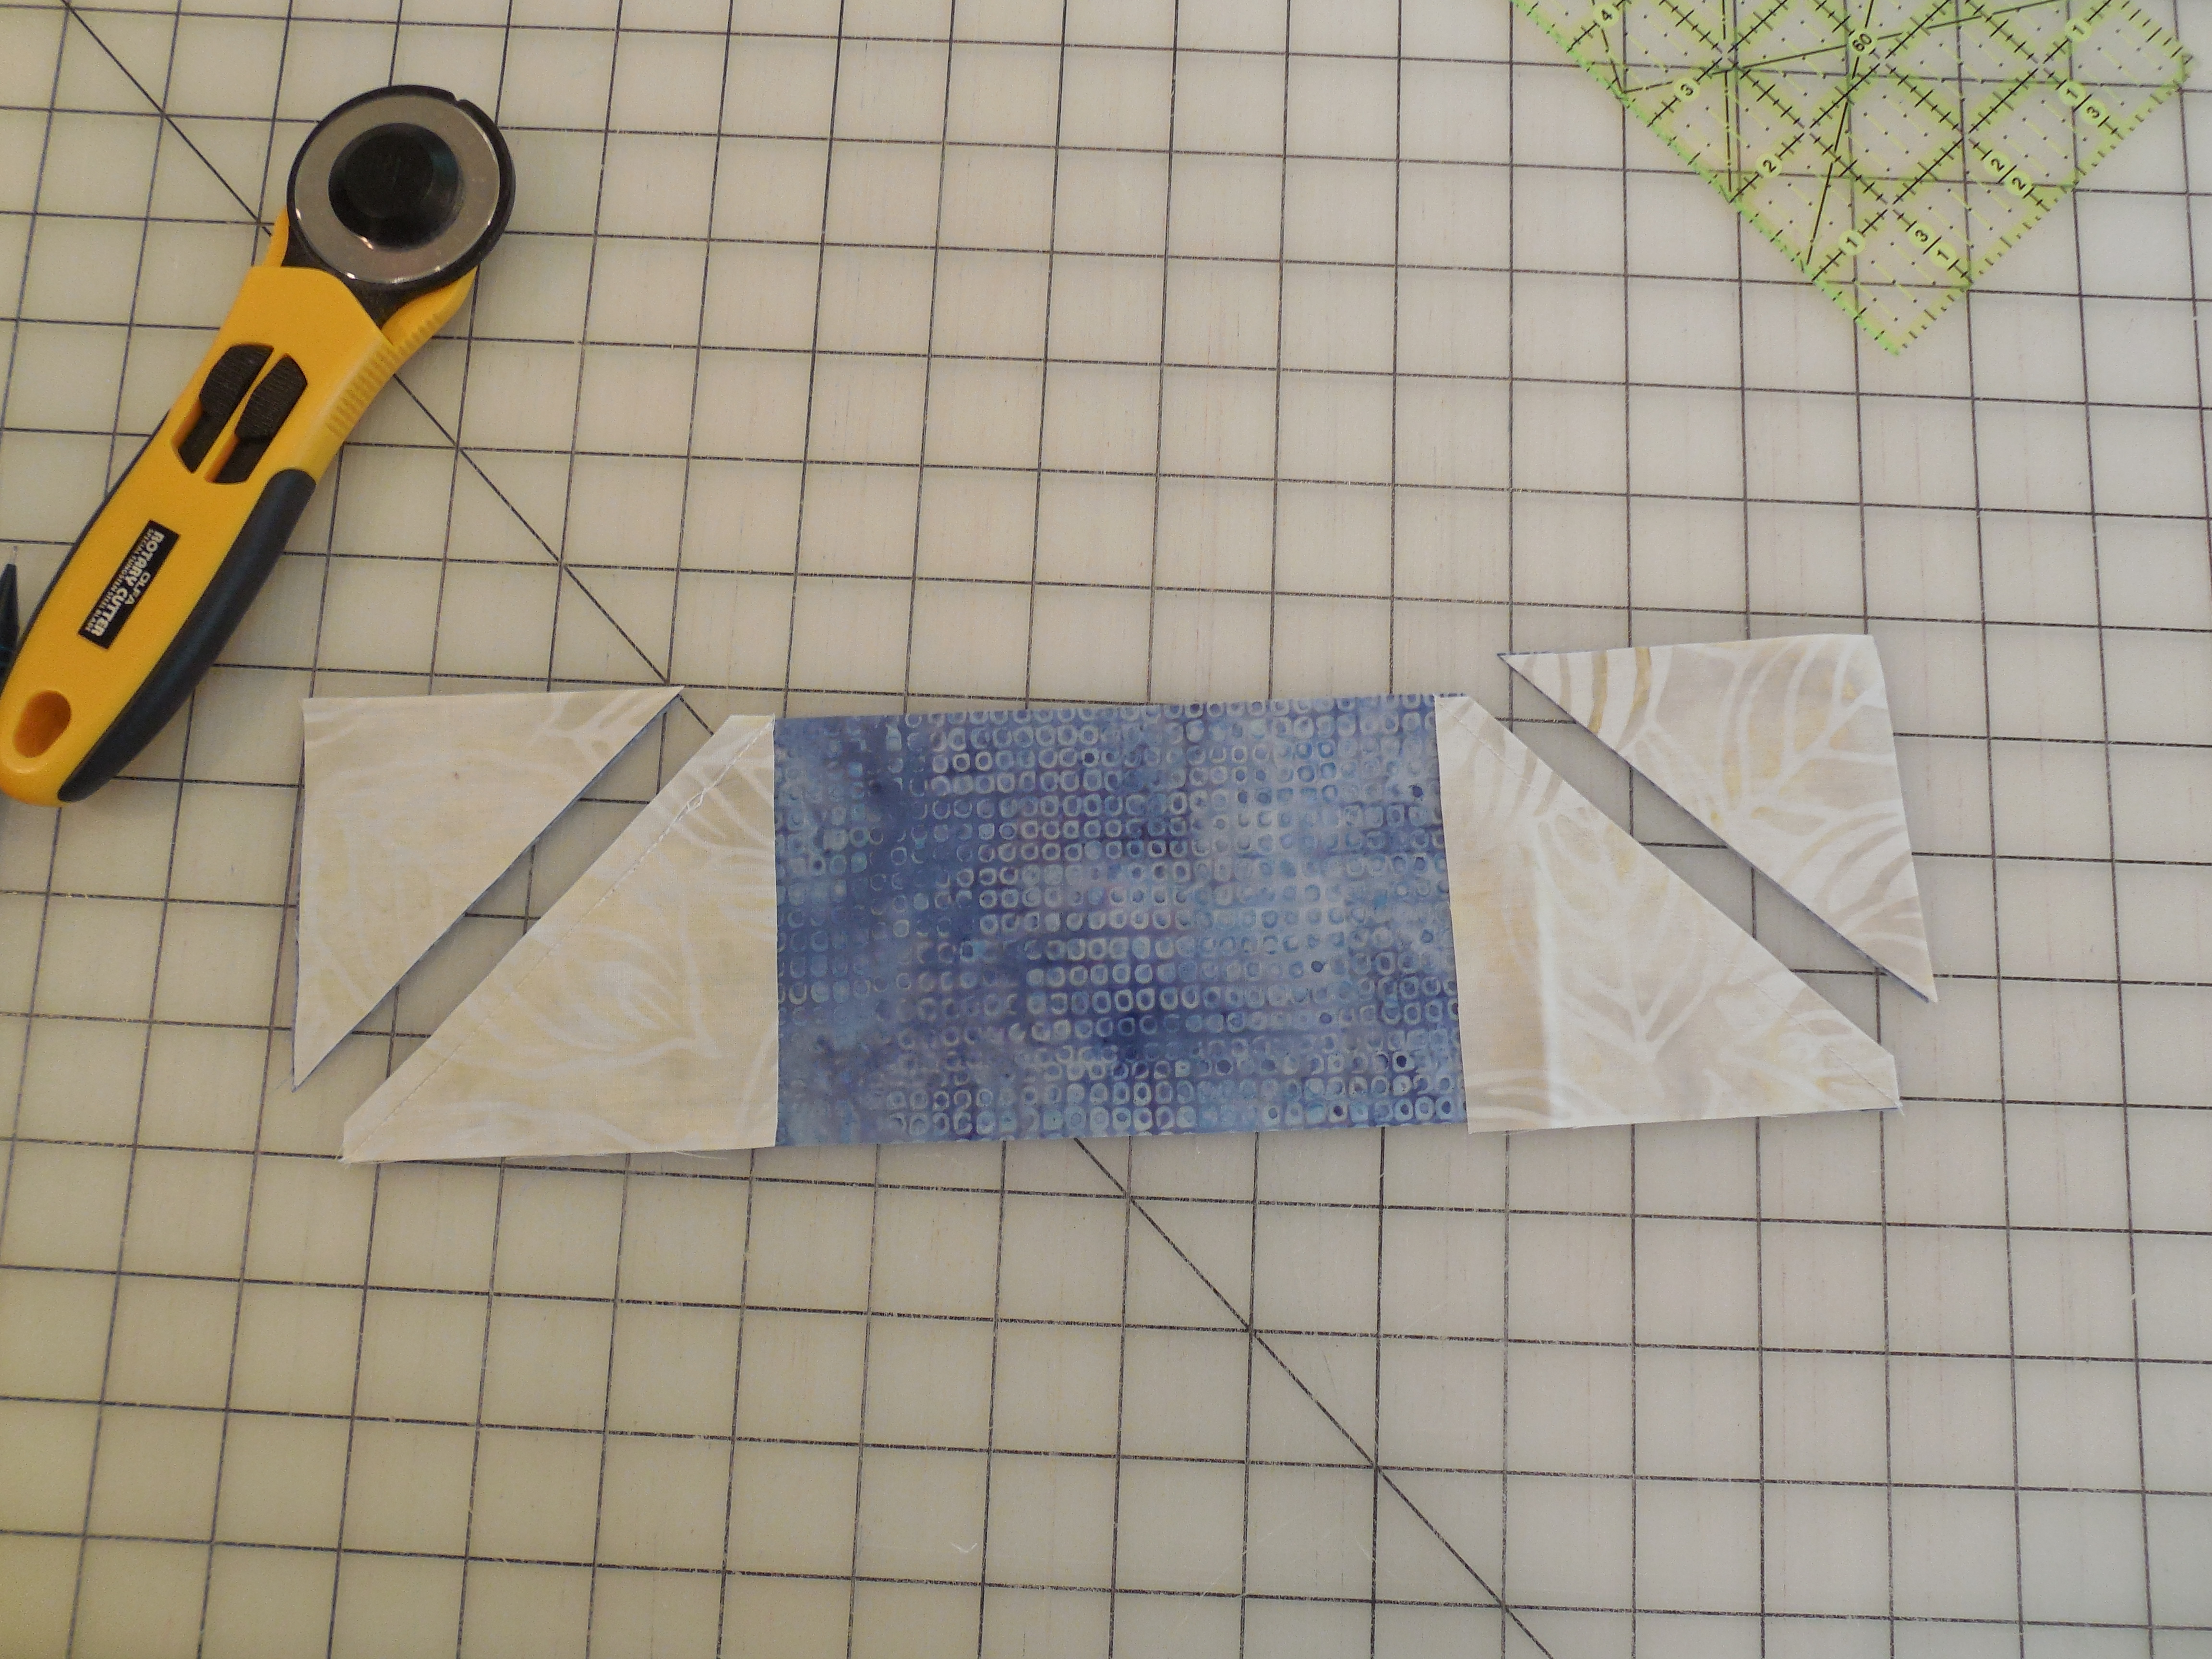
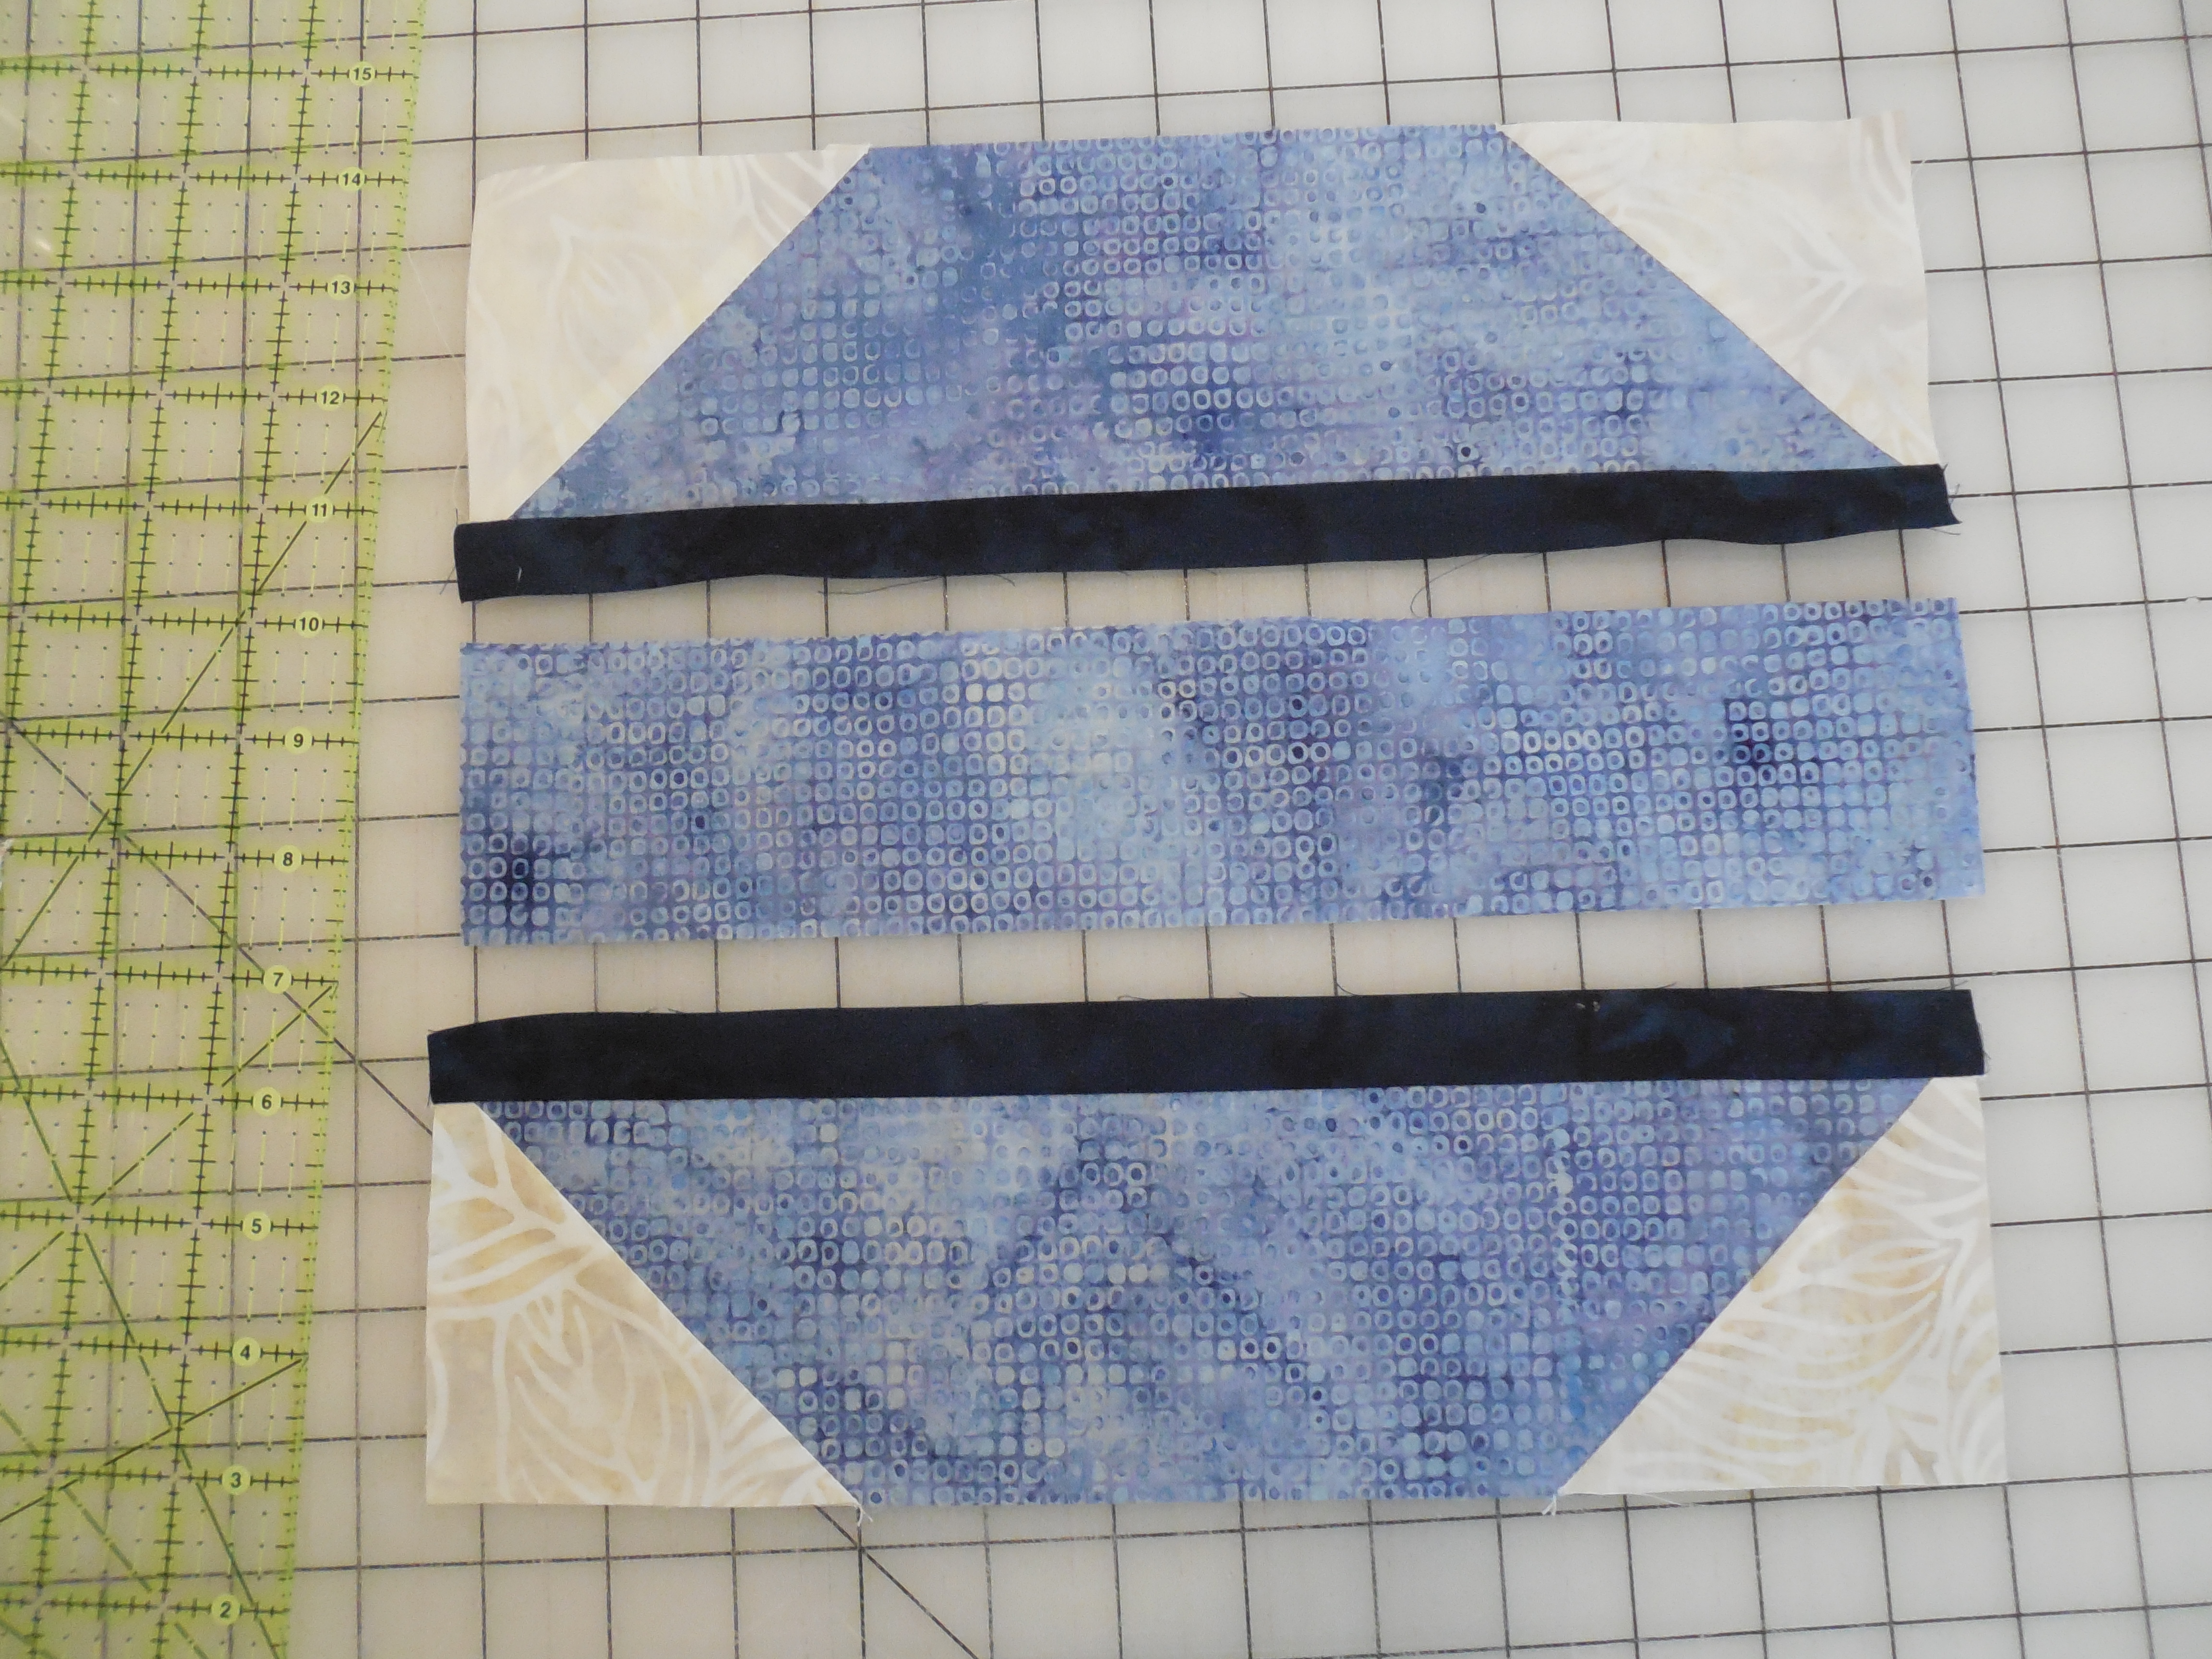
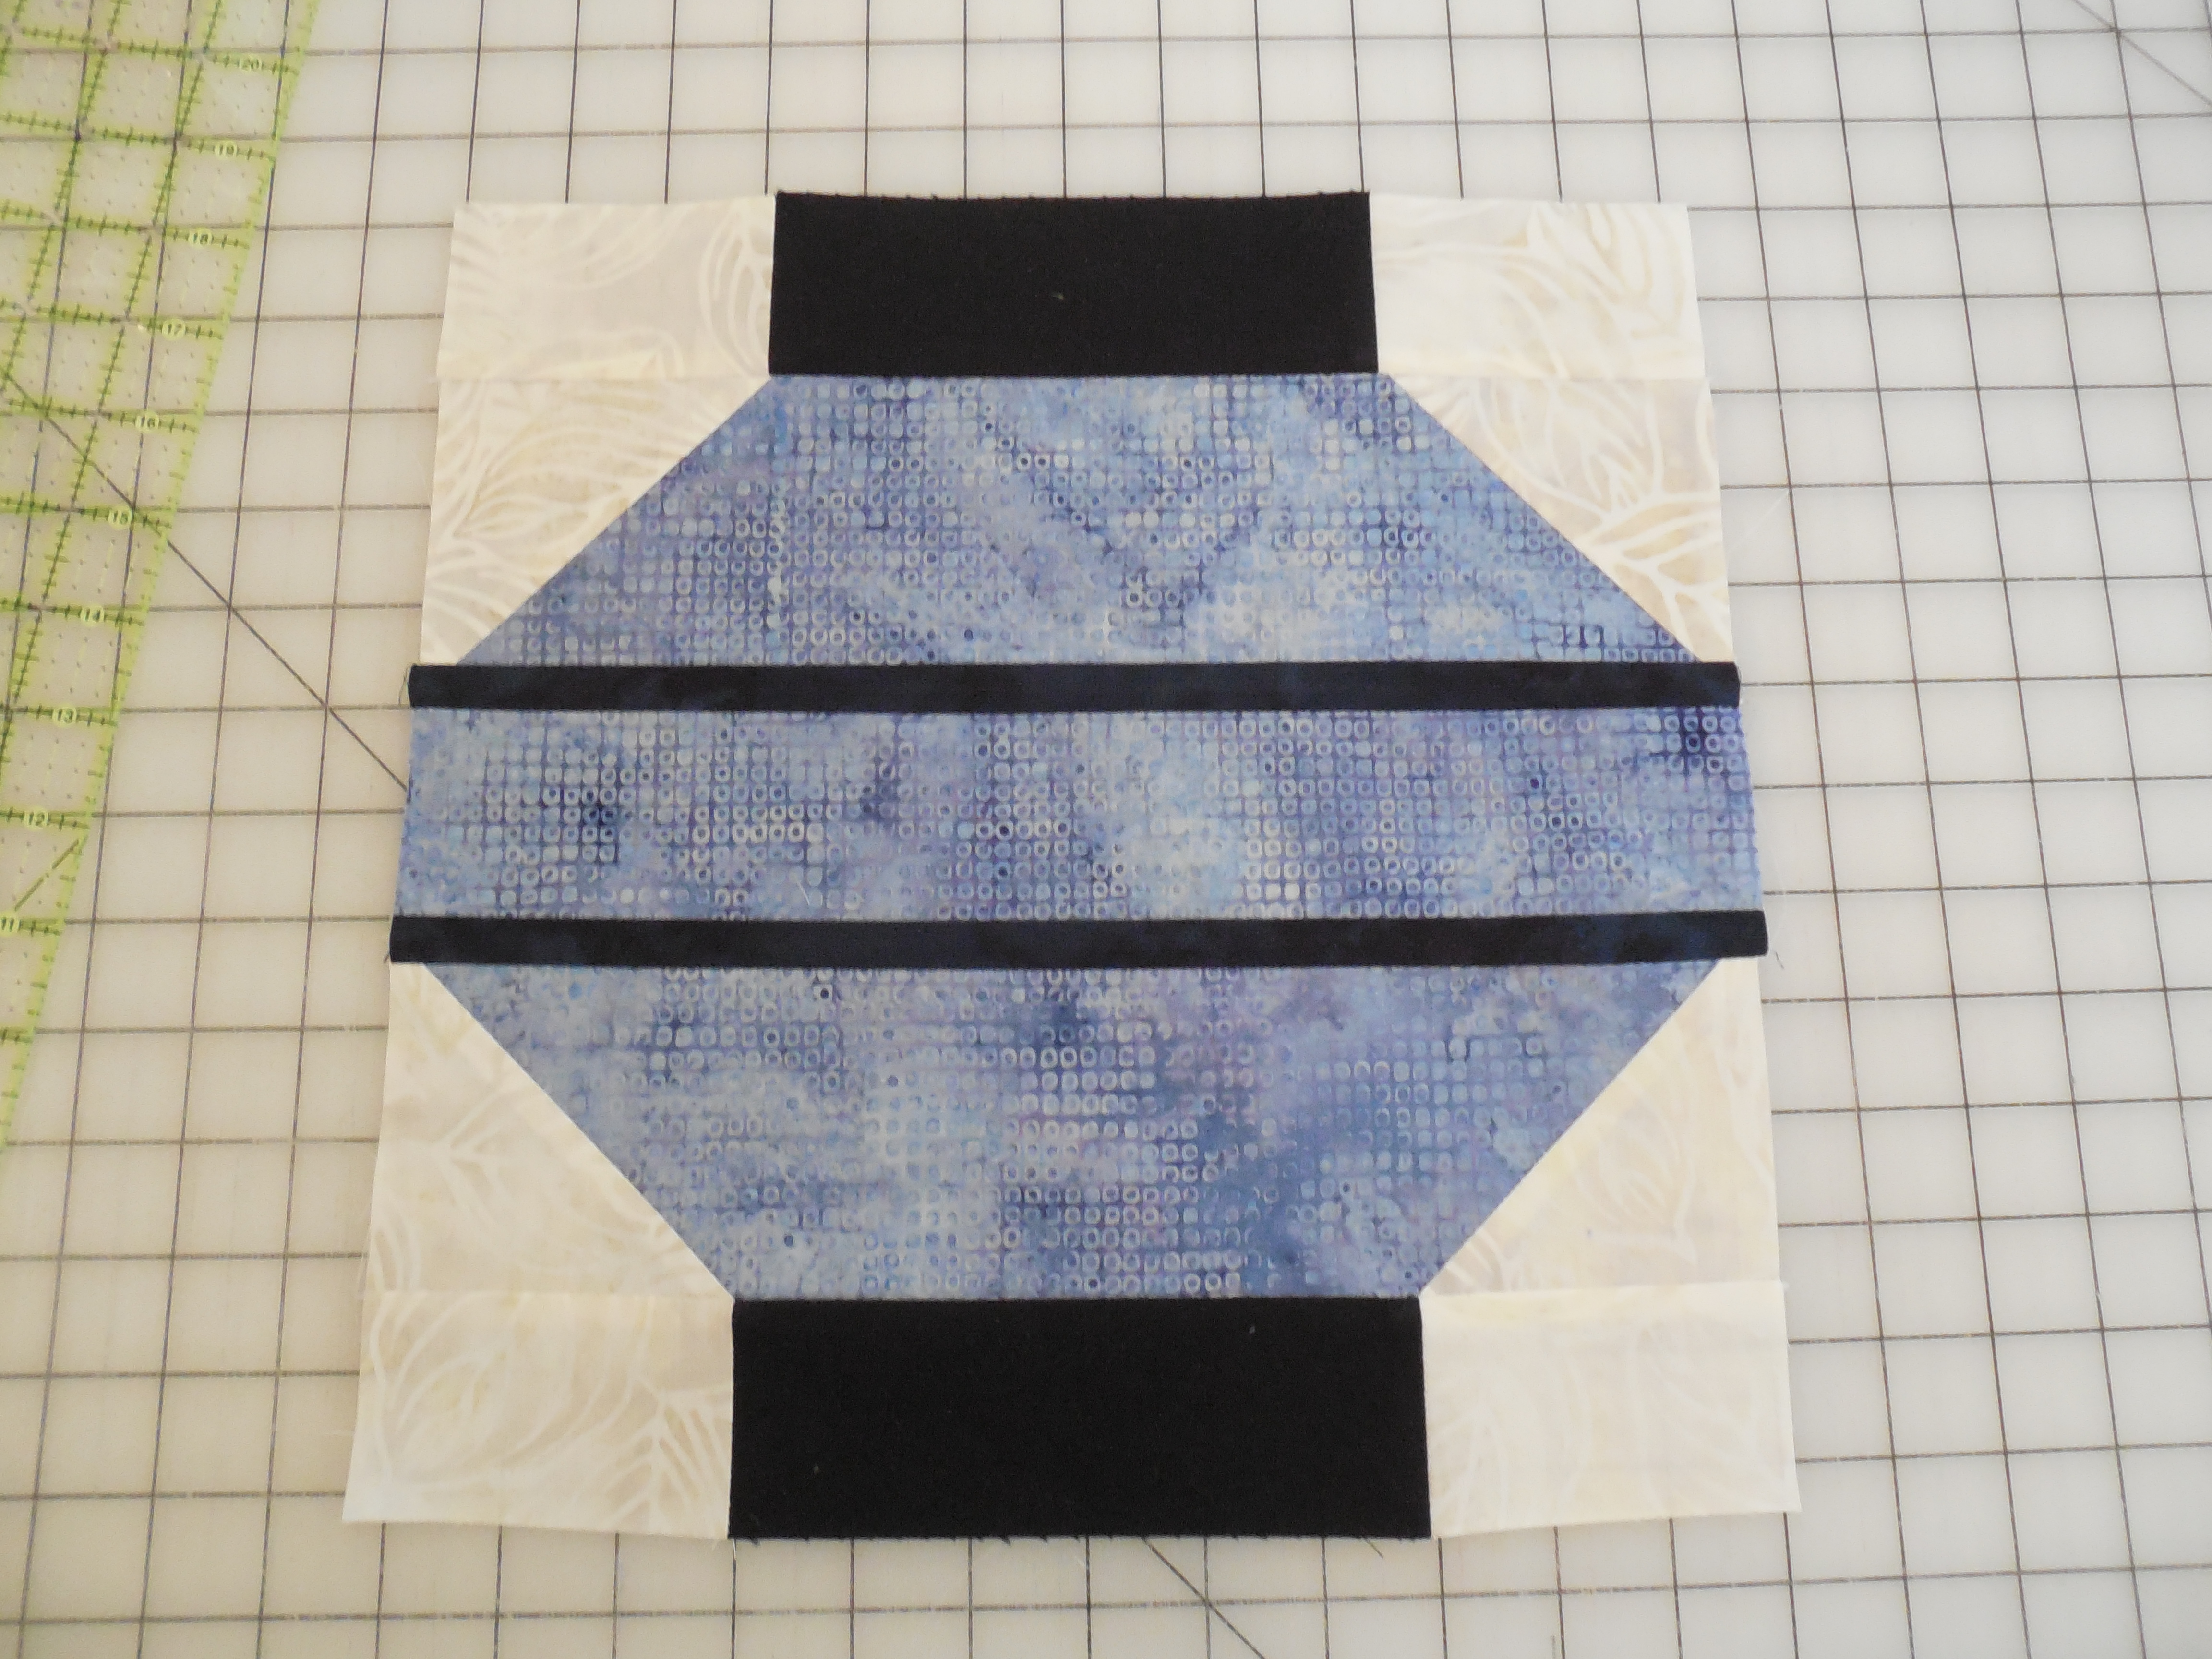
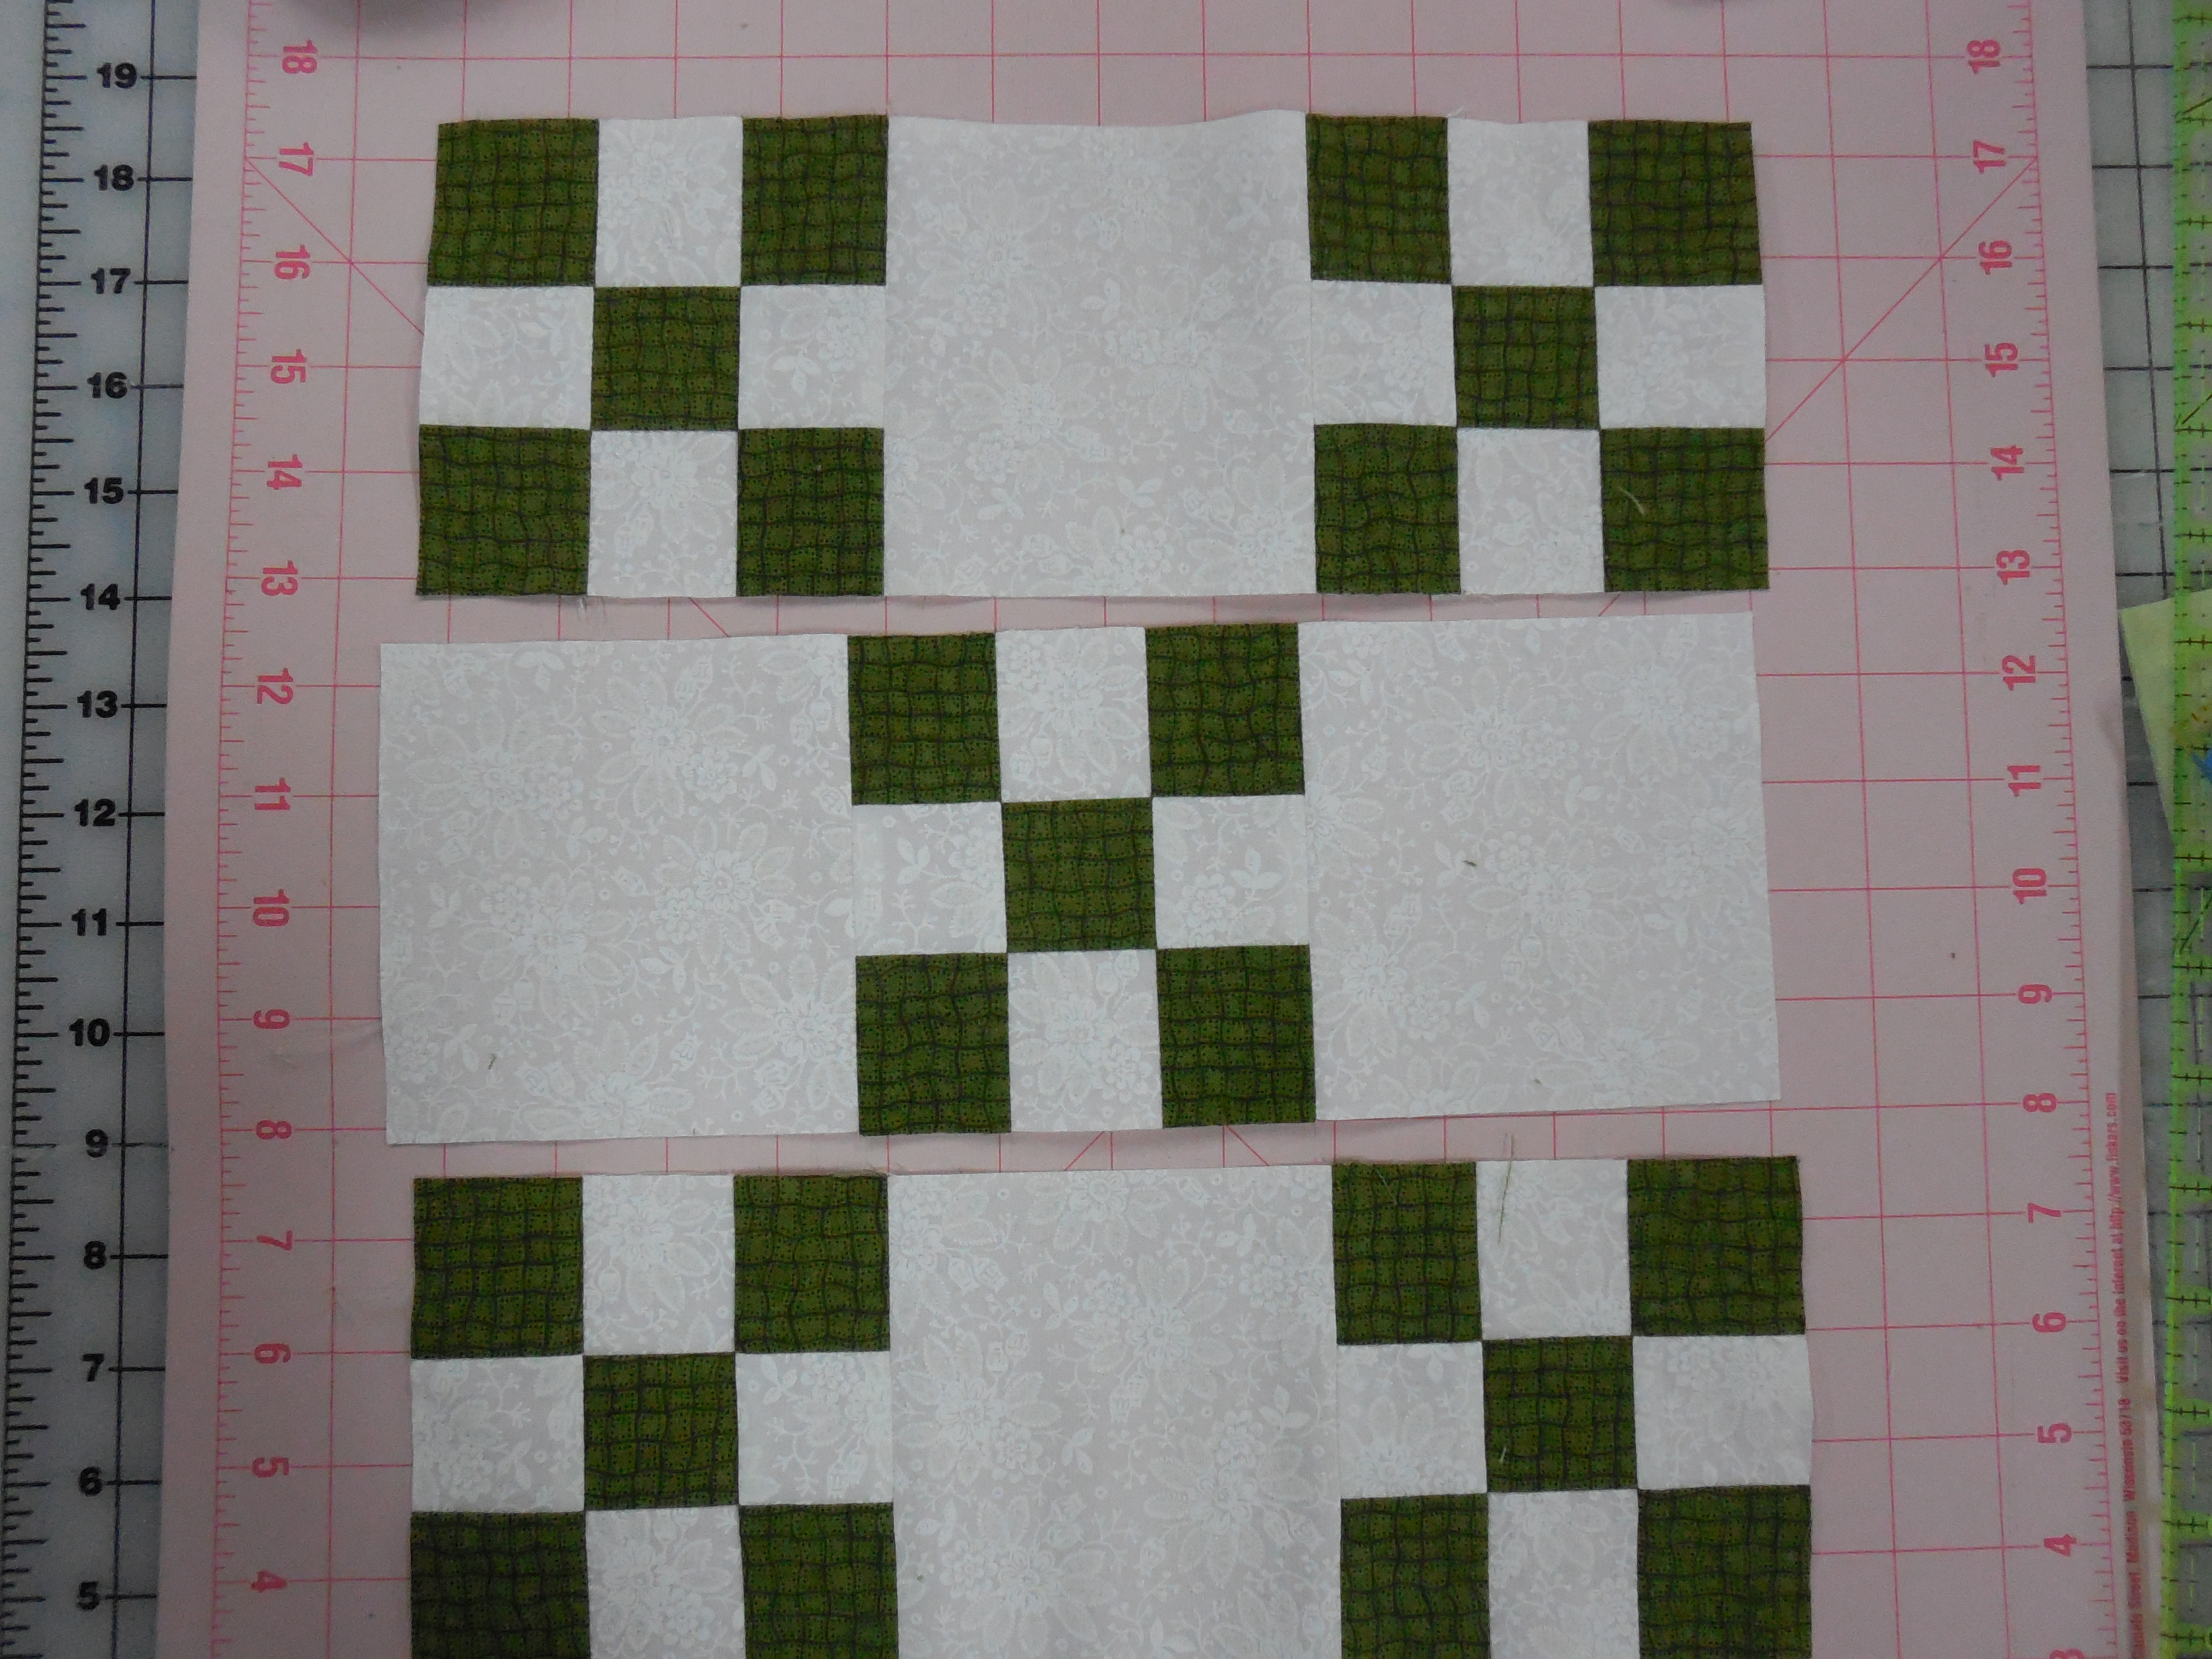
Woooo Hoooo!!  Now I had a little time to work on my own quilts.  I pulled out a UFO.  I have started and stopped this one more times than I can remember.  The main blocks were a piece of cake.  The blocks on the sides and in the corners slowed me down–I didn’t feel like doing the math.  When I pulled it out this time all that was left were the borders.  Borders are not my favorite thing to do–which is why it was sitting.  After finishing the borders I loaded it on the longarm and started quilting.  I LOVE how it turned out!


lr-quilt1

lr1

lr2

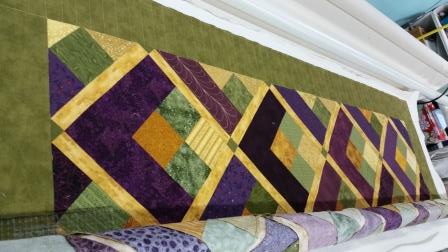
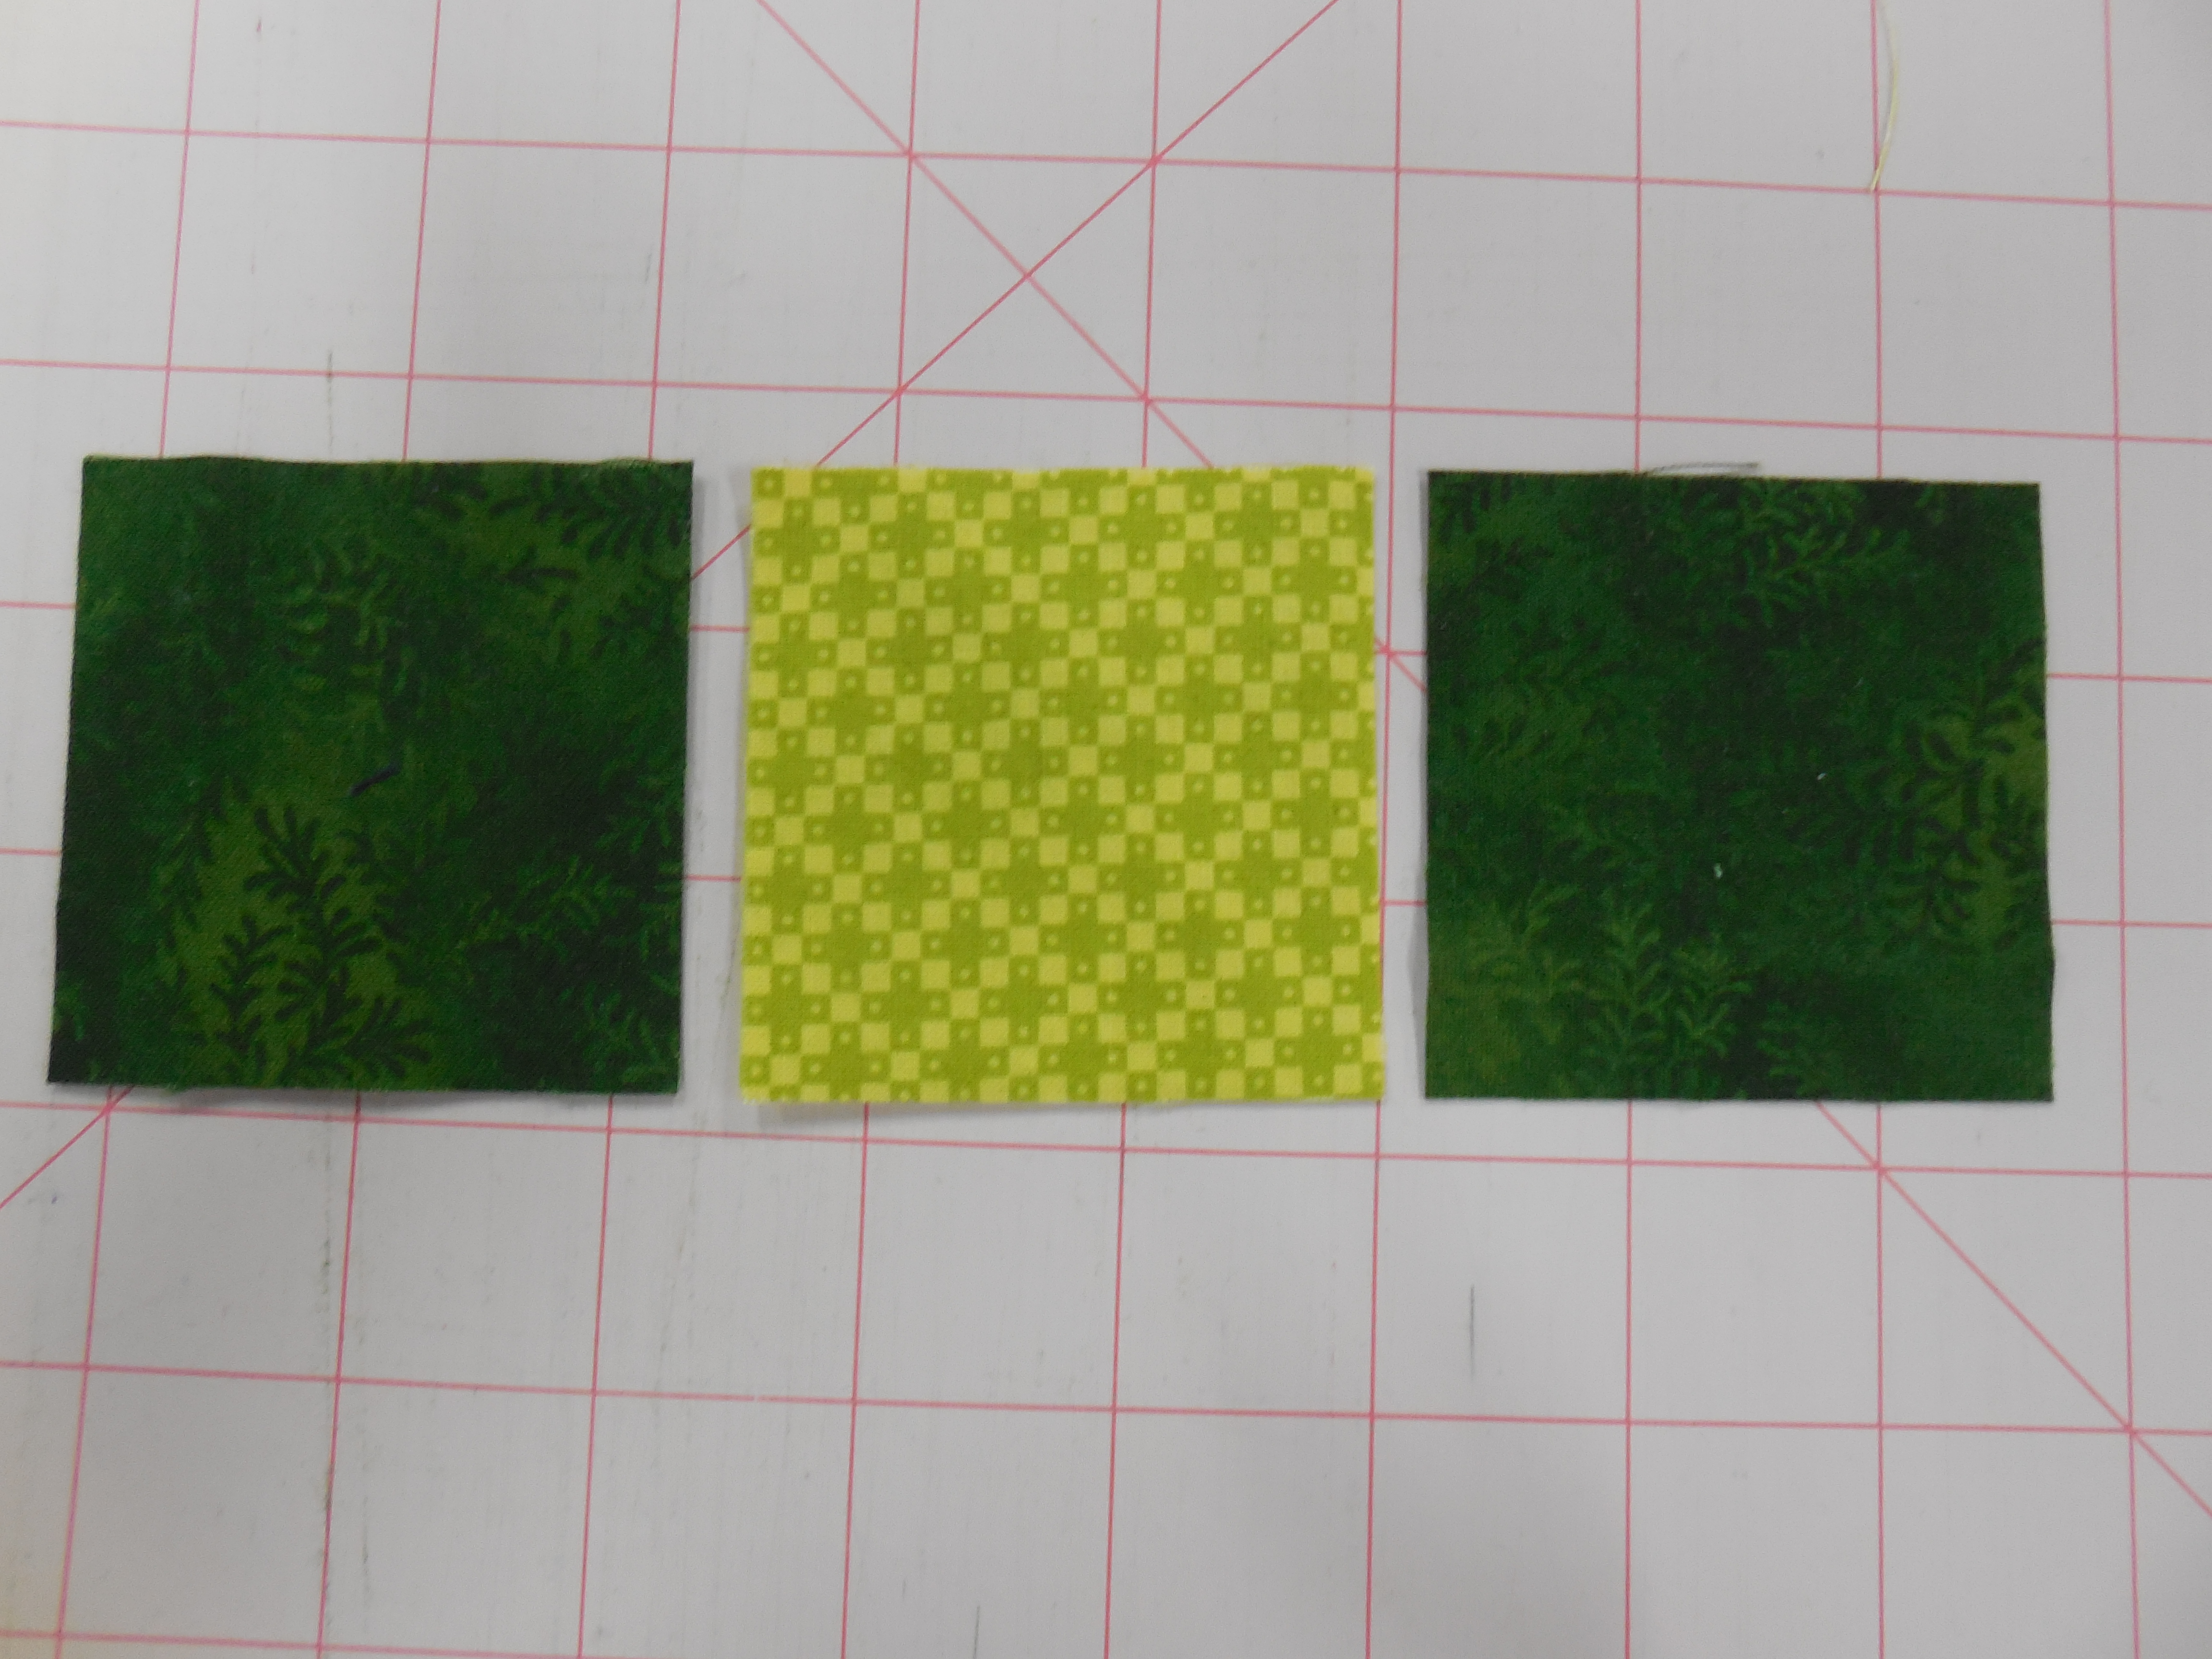
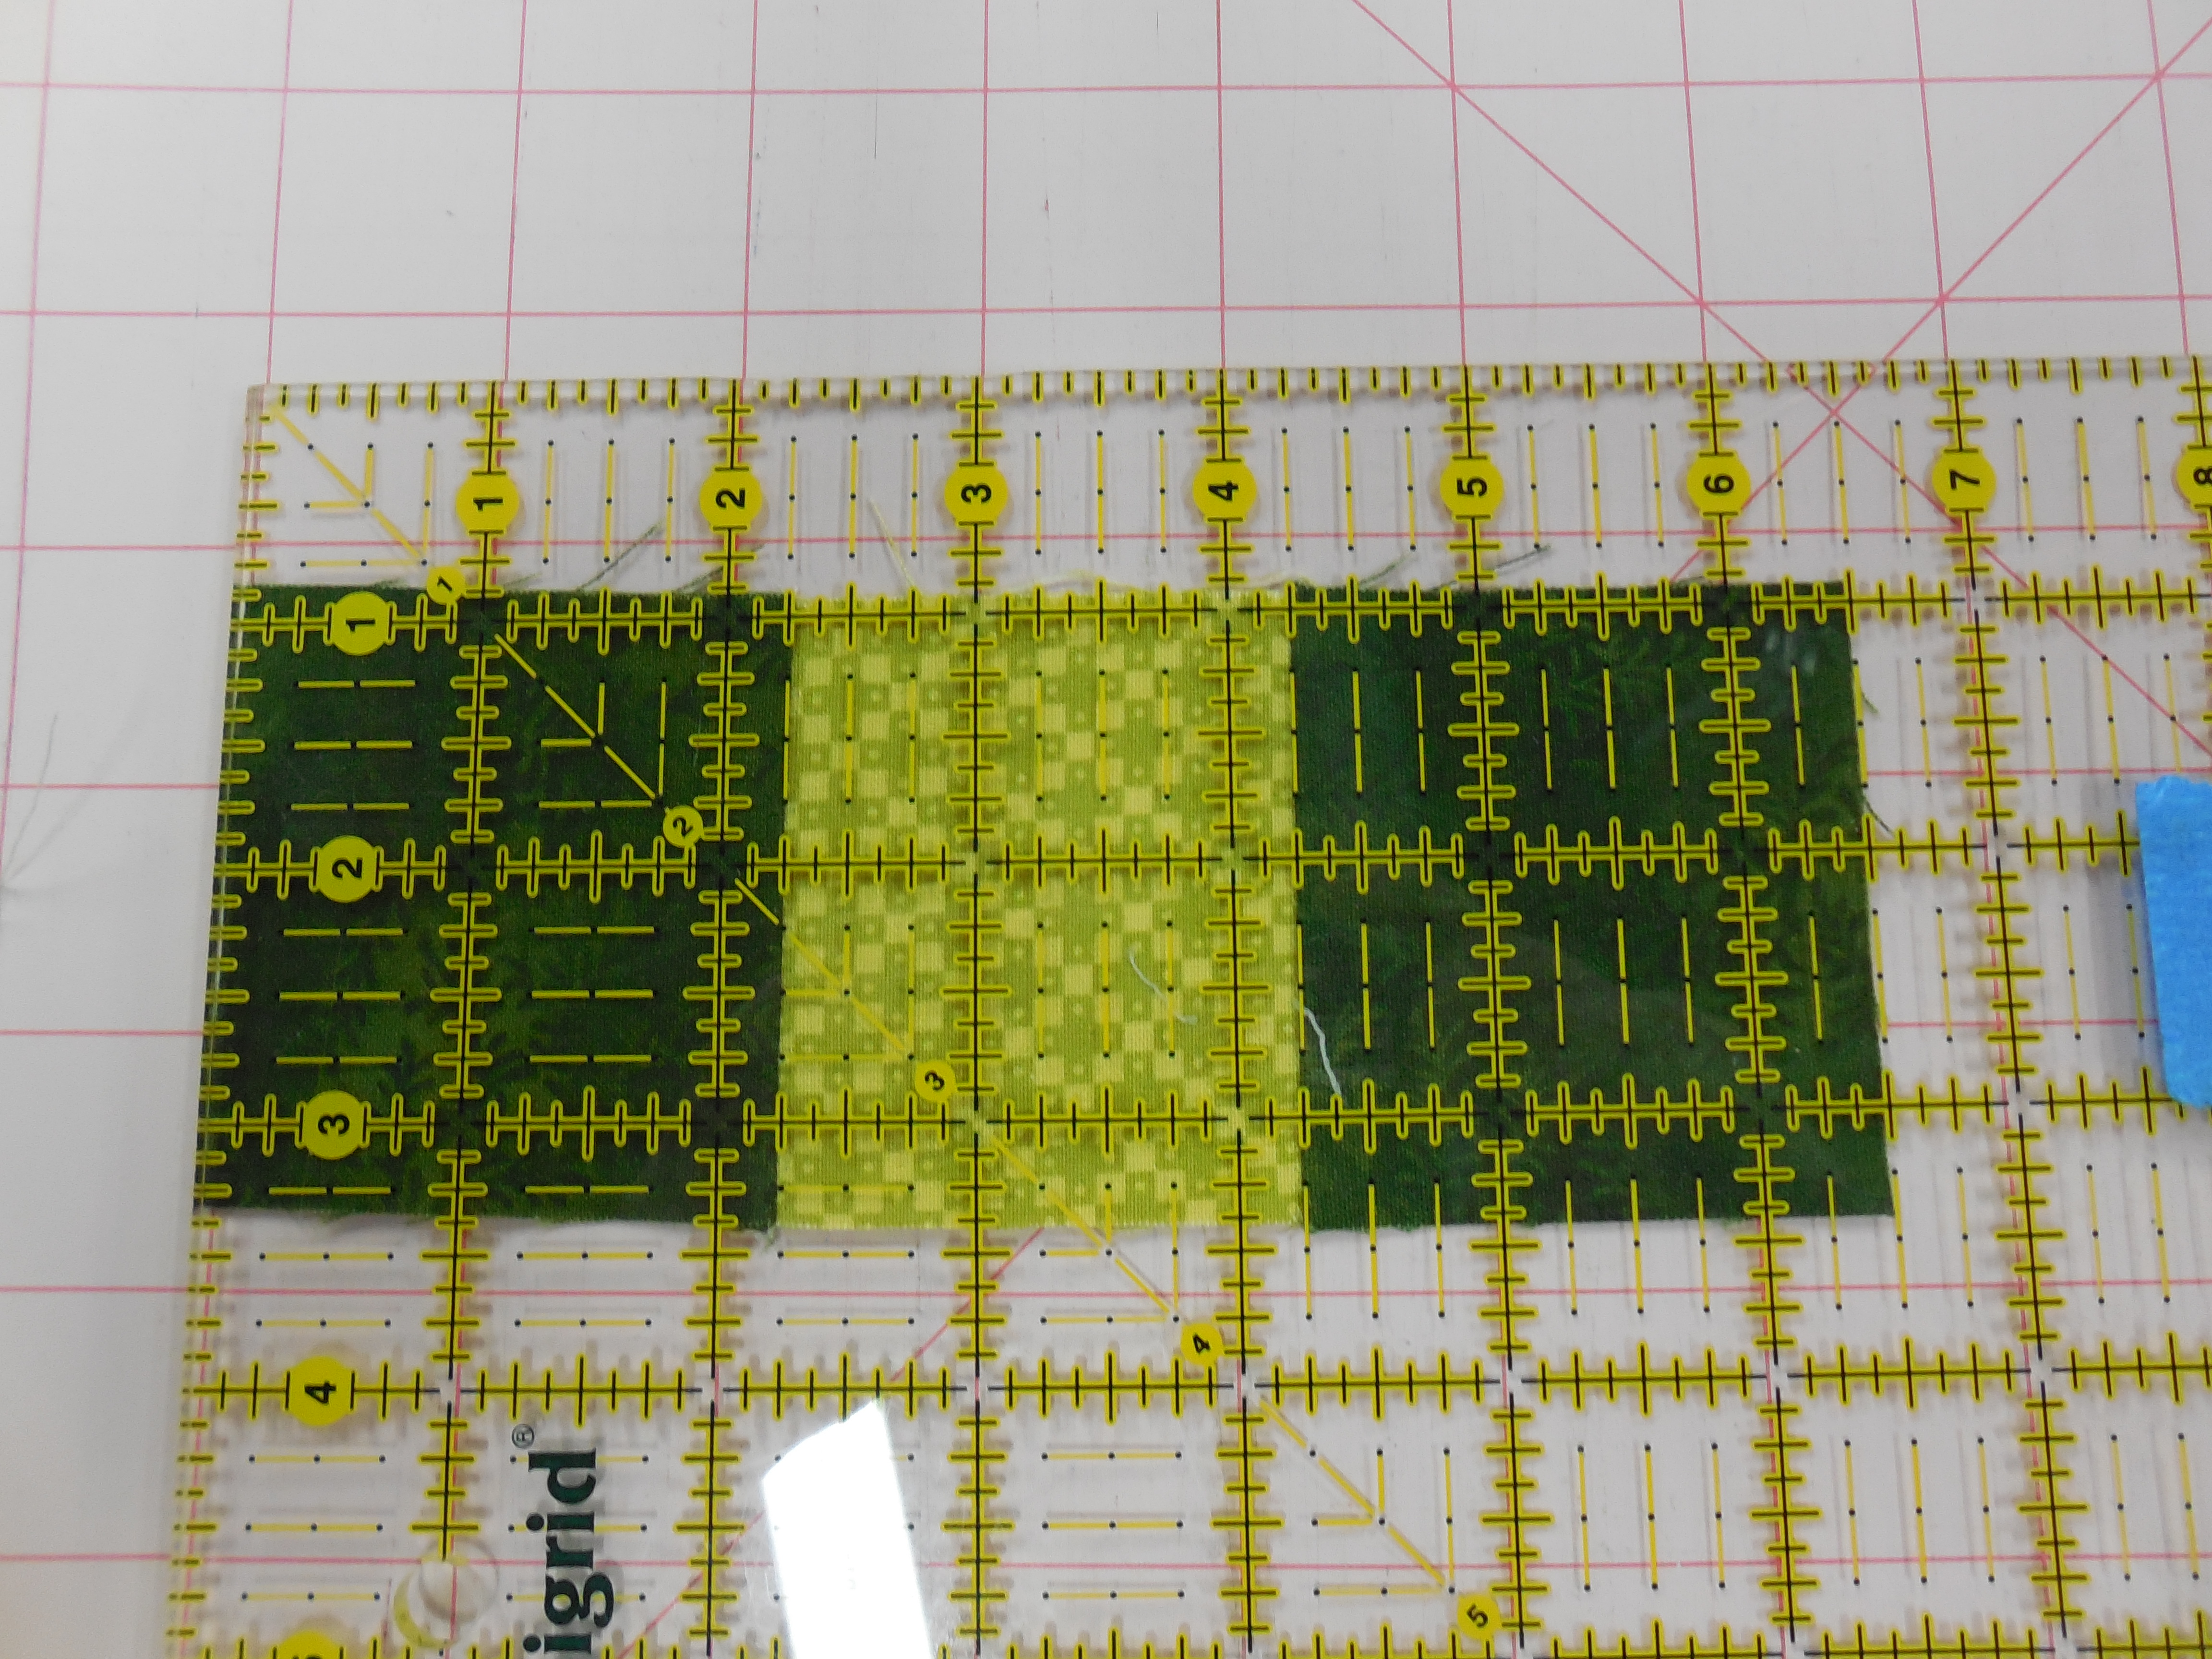
This is an original design and after I make it one more time in a different colorway I will be writing a pattern for it.  (Stay tuned!)

[If you like this pattern and would like to test it for me, let me know]


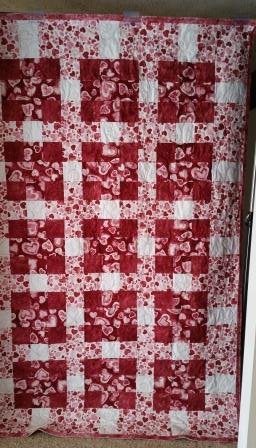
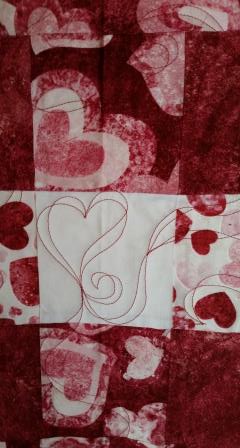
By this time it was February and Valentine’s Day was on the horizon.  My mom’s birthday is also a few days after Valentine’s Day so I decided to quilt one of her quilts that was sitting on the shelf.  It is made with a line of Northcott’s Stonehenge.  Mom thinks that I designed this one but I honestly can’t remember and will have to wait until I’m at her house next time to look at my notes.  If it is my design, I’ll also write this pattern.  I quilted it with sweet little ribbon hearts.

[If you like this pattern and would like to test it for me, let me know]

bemyvalentine2

bemyvalentine1

bemyvalentine3

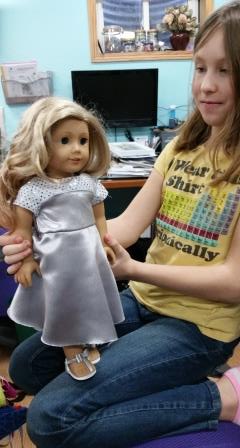
And then my moment of insanity!  I decided to make a dress for my granddaughter’s American Girl Doll.  How hard could it be?  I’ve made plenty of garments–this would just be on a little smaller scale.  I clearly didn’t think this through completely!  Still, it turned out nicely and she couldn’t be more thrilled!

elizabeth

There’s more, but I’ll get a little further on in the process before I show my current project–it’s a doozie!


Block 3 – Martha Washington’s Star

Standard

Following are the pieces you will need to cut for EACH block:

Neutral

(2) 1 1/2″ x 14 1/2″ rectangles

(2) 1 1/2″ x 12 1/2″ rectangles

(4) 3 1/2″ x 3 1/2″ squares

(4) 3 1/2″ x 6 1/2″ rectangles

(2) 4″ x 4″ squares

(1) 4 1/2″ x 4 1/2″ square

Color 1

(8) 3 1/2″ x 3 1/2″ squares

Color 2

(1) 4 1/2″ x 4 1/2″ square

MWS 1

Take the Neutral 4 1/2″ square and the Color 2 4 1/2″ square and lay one on top of the other.  Lay your ruler from corner to corner and cut in half diagonally.  Without moving the fabric pieces, cut between the other two corners to make 4 smaller triangles of each fabric.

MWS 2

Lay one neutral and one color 1 triangle next to each other as shown below.

MWS 3

Sew them together on two of the short edges to make a larger triangle.  Do the same with the remaining triangle pieces.  You should have four pieces that look like the picture below.

MWS 4

Cut the 4″ squares in half diagonally once.  Center the pieced triangle on one of the neutral triangles and stitch together.  Trim to make 3 1/2″ squares with the intersection meeting at the 1 3/4″ mark in both directions.

MWS 5

Sew the four blocks together as shown to make a pinwheel block.

MWS 6

Mark all eight of the  3 1/2″ Color 2 squares from corner to corner.

MWS 7

As with the Block 2 you will make four Flying Geese blocks by laying the 3 1/2″ square at the end of the 3 1/2″ x 6 1/2″ rectangle and stitch just outside of the drawn line.  You should be able to see the distance on this picture.

MWS 8

Cut the excess away.

MWS 9

And press.

MWS 10

Repeat this on the other side of the rectangle.  Make four Flying Geese units and lay all the units out as shown below.

MWS 12

Stitch together and press well.

Add the 1 1/2″ x 12 1/2″ pieces to two opposite sides.  Then add the 1 1/2″ x 14 1/2″ pieces to the other sides to finish the block.

MWS 13


London Square – November/December BOM

Standard

London Square

Please make this block in November to bring to the December meeting.

We will be using warm fall colors for this block.  Please use two different fabrics that contrast each other.

Cutting instructions:

You will cut the same pieces from both of your fabrics.

Out of each fabric cut a 9 7/8″ square.  Then cut the square in half diagonally.  You will have two extra triangles, one of each fabric.  (So you can make two blocks, right?  ☺)

Out of each fabric cut four 3 7/8″ squares.  Cut each of these diagonally.  You will need 7 triangles, so you will have one of each fabric left over.

**I tend to cut my squares a smidge larger and then trim them after I’ve assembled them.

DSCN0706

I first assembled four HST units using one of each color.  If you cut your triangles a little bigger you would trim the ones you used in the HST units to 3 1/2″

DSCN0707

I then added the triangles to these HST units as shown below.

DSCN0708

After adding the additional triangles I trimmed them even with the HST unit.

Next begin piecing these units together matching the points as well as possible.

DSCN0709

Once all four units are pieced together, you will sew the dark triangle to the side of the strip that has the light triangles.  You will sew the light triangle to the other side.  It should look something like this.

DSCN0710

I left mine untrimmed to give the winner of the blocks a little extra room to play if they need it.

BOM June/July 2014

Standard

Welcome to China!  If you missed the meeting last night you missed learning that our ever-important toilet paper was invented in China.  However, only Emperors were able to own and use it.  Sure glad that has changed!

So our Block of the Month is the Chinese Lantern.  You will make this block in June and bring it to the July meeting.  I really enjoyed making this block and think several of these blocks together in a quilt would be adorable.

Our palette for this block will consist of a medium batik for the bulk of the lantern, a darker, coordinating batik for the two stripes in the middle.  A pale or neutral (batik or solid) for the four corners and black (batik or solid) for the top and bottom of the lantern.

Cutting instructions

Neutral:    4 pieces cut 2 x 3 1/2″

4 pieces cut 3 1/2″ x 3 1/2″

Black:         2 pieces cut 6 1/2″ x 2″

Medium Batik:    1 piece cut 12 1/2″ x 2 1/2″

2 pieces cut 12 1/2″ x 3 1/2″

Dark Batik:            2 pieces cut 12 1/2″ x 1″

DSCN0455

Next sew the white rectangles to each side of the black rectangles

DSCN0457


On each neutral square, draw a pencil line diagonally.

DSCN0463

Place the squares on each side of both medium batik (3 1/2″) rectangles.  Be sure the drawn lines are going in opposite directions.

DSCN0465

Sew ON the line and trim off the excess fabric.

DSCN0468

Assemble the center pieces together as shown below.

DSCN0471

Add the top and bottom and you will be finished!

DSCN0474

I hope you enjoy this block as much as I did!


Product Recommendation

Standard

I buy a fair amount of specialty rulers and other gizmos that come out on the market.  Most of the time they get used once, put into its place never to be seen again.  Not so with this product from Quilt in a Day.  I bought this ruler at least 2 years ago and finally used it last night!  Our bee was putting next month’s BOM together (hint, hint) and this gave us the best result.  It is the Small Flying Geese ruler.  This ruler comes in several sizes.  You can see them here:  http://www.quiltinaday.com/search/default.asp?search=geese&x=11&y=3.

I also have the mini set which I used a couple of weeks ago at my Dear Jane club that meets at The Fussy Cut in Beech Grove.  The directions are very clear and you end up with perfect flying geese blocks.  I love this product!

By the way, next month’s BOM will contain at least two 3″ x 6″ (finished size) flying geese units.

20140318_170429

March/April BOM–Irish Chain

Standard

Please make this block with green and white fabric.  This block will be made in the month of March to bring to the April meeting.

Your block should be 12 1/2″ x 12 1/2″ when you are finished.  That will make a 12″ x 12″ block when it is put into a quilt.

Cut the following strips:

           Green fabric:

                      Cut 2 strips 1 7/8” x 20”

                      Cut 1 strip 1 7/8” x 10”

           White fabric

                      Cut 2 strips 1 7/8” x 10”

                      Cut 1 strip 1 7/8” x 20”

                      Cut 4 squares 4 1/2” x 4 1/2”


Sew the 20” strips together lengthwise putting the white strip in the center.

Sew the 10” strips together lengthwise putting the green strip in the center.

DSCN0375

Press the 1/4” seam allowances toward the dark fabric

Cut the strip sets into 1 7/8” units.  You should have:

           10 green/white/green

            5 white/green/white

DSCN0376


Lay out your units to make 5 nine patches and sew them together as shown.

DSCN0380

DSCN0381

DSCN0382

Achieving the 1/4″ seam.

Standard

Several years ago my sister, Trisch, and I attended the AQS show in Nashville, TN.  While there we had the opportunity to go to an event with Mary Ellen Hopkins as the main speaker.  I had heard of her but not much more than that.  I left that evening a fan.  She was hilarious and inspiring.  The one thing that has stuck with me all these years was her insistence at having your own PPM (Personal, Private Measurement).  Her point was that an exact 1/4″ isn’t necessary as long as whatever measurement you use for seam allowances are the same throughout the quilt.

I don’t disagree with the concept of a Private, Personal Measurement as long as it is in your Private, Personal Quilt.  However, when you make blocks for a Public quilt there needs to be a standard and the industry standard is 1/4″.  If we didn’t have a standard we would have blocks of all sizes.  A seam allowance that is a few threads off is multiplied exponentially with each seam that is sewn.  That being said, today’s post is about how to achieve that 1/4″ seam.

Before you can fix something you have to know where the problem lies.  That starts with your machine and a ruler.  Use a ruler with clear markings and your 1/4″ foot.  Lower your needle into the down position and measure the distance between the edge of your 1/4″ foot and the needle.  It should be exactly 1/4″.  My machine is not.  When I turn on my machine the needle position is in the center at 3.5.

DSCN0383        DSCN0384

The distance on my machine is more than 1/4″.  My 1/4″ foot allows me to reposition my needle somewhat.  I found that moving my needle position to 4.5 will give me a 1/4″ seam.

But that isn’t enough.  Now it is time to check the measurement in practice.

Start with three 2 1/2″ squares.

DSCN0386

Sew them together using your newly found (or confirmed) 1/4″ seam.  After pressing well you should have an exact measurement of 6 1/2″.

DSCN0388

As I said, it only takes being off by a couple of threads to make a huge difference.  Below is a picture of the squares sewn together before making the needle position adjustment.  See the difference?  That is about 1/8″!  Two more seams and it would be off an entire 1/4″.

DSCN0387

Not all machines or 1/4″ feet allow you to move your needle to make the adjustment.  If that is the case, there is always the old standby of placing a piece of painters’ tape on the bed of your machine.  But most importantly, however you make the adjustment double check it with the 3 square method.

On another note…..I’ve seen some blocks end up too small because of a sad pressing job.  If your seam isn’t fully extended when it is pressed that will also make a difference.  You can see in the photos below that this seam has a small fold over the seam.  Not only does that affect the size of your blocks it also creates extra bulk, which can lead to problems when you do your quilting.

DSCN0391     DSCN0390

I’d like to challenge you to check your seam allowance using the 3 square method–you might be surprised!


Brown Bag Exchange

Standard

Recently I have found myself making a couple of small projects.  At the September meeting of the Quilt Connection Guild our newly elected president Linda R. asked us each to take a small brown bag home with us.  During the month we were to fill it with something fall-related.  It didn’t have to be quilt related, but we could spend no more than $5.  We were also encouraged to use part of this budget to decorate the bag.  At the October meeting we had the brown bag exchange.

I l keep a small stock of coffee cups in my studio.  When I see one that I like and it is $4 or less I will buy it for my cup stash.  I picked out a fall-colored mug and used that mug as inspiration for a quick mug rug.  The recipient (Mary H.) said that she loved her gift.

2013-09-28 18.07.57

The contents of my bag were from Ana S.  It was filled with lots of goodies!  A cute pin cushion, and handmade needle case and a fat quarter.  Also, a large flower pin was used to decorate the bag.

2013-10-09 15.12.15

I hope all who participated in the brown bag exchange were pleased with what they received.  It was a fun activity.

November BOM (make in October, bring to November meeting)

Standard

November BOM is made with a dark blue, a light, icy blue and white.  Please use fabrics that read as a solid.  The white can be either a solid or a white on white, but please, no ecru, beige, natural, off-white, etc.  Also please try to stay away from the greenish-blues & turquoises.

This block is called Margaret’s Choice.  It will be a 10″ finished block, so your completed block should measure 10.5″

Margaret’s Choice is made up of half square triangles in a 16 patch setting.  Each patch measures 2.5″ (finished).  Typically to make a 2.5″ half square triangle you would start with squares that are 3 3/8″.  It has been my experience that using that exact measurement rarely gives me a perfect half square triangle unit so we decided to make the squares bigger and trim them down to the correct size.  If you prefer to start with a 3 3/8″ square, you are most welcome to do so.  Be sure to trim the triangle units to 3″ so they will finish at 2.5″.

So…..we begin by cutting 4″ squares.  You will need 6 dark blue, 4 light ice blue and 6 white.

DSCN0173

Your squares will be paired up as follows:

2 dark blue/2 light ice blue

2 light icy blue/2 white

4 dark blue/4 white

DSCN0174

Using a pencil and ruler, draw a diagonal line on the wrong side of the lightest square of each pair.  Then place each square with it’s partner, right sides together.

DSCN0176             DSCN0177

Stitch 1/4″ from both sides of the drawn line.

DSCN0179             DSCN0182

Cut the two triangle units apart on the drawn line.

DSCN0184             DSCN0185

Open the triangle units and press toward the darker fabric.  Trim each unit to 3″.

DSCN0186             DSCN0190

Lay the units out as shown below and sew into rows.

DSCN0192             DSCN0193

Press the seams in each row in opposite directions so the seam allowances will “nest” together as you sew them together.

DSCN0194             DSCN0195

Your finished block should look something like this.

DSCN0197


NOTE:  The printable is available in the post just below this one.