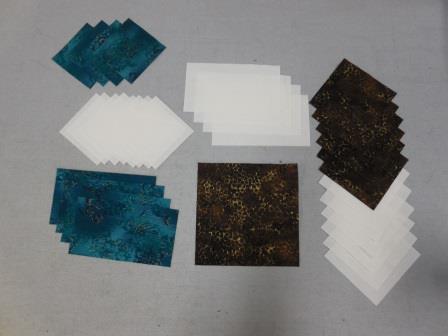
For this block you will need to cut the following pieces for each block:
Neutral:
(6) 3″ x 3″ squares
(8) 2 1/2″ x 2 1/2″ squares
(4) 2 1/2″ x 4 1/2″ rectangles
(2) 1 1/2″ x 12 1/2″ rectangles*
(2) 1 1/2″ x 14 1/2″ rectangles*
*I cut a piece of neutral 12 1/2″ x WOF and also 14 1/2″ x WOF. For each block I cut the 1 1/2″ pieces from these strips.
Color 1:
(6) 3″ x 3″ squares
(1) 4 1/2″ x 4 1/2″ squares
Color 2:
(4) 2 1/2″ x 2 1/2″ squares
(4) 2 1/2″ x 4 1/2″ rectangles
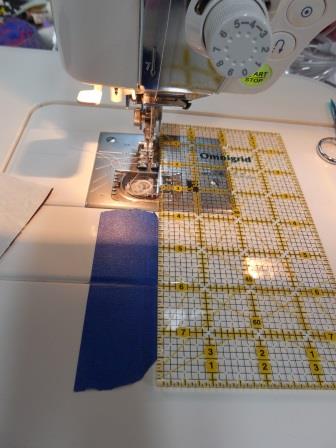
We are going to make HST (half square triangle) units again. However, this time I’m not going to draw the pencil line through the center. With smaller pieces you can just use a piece of painters’ tape instead. Place a ruler flat against your quarter inch foot and lay a piece of tape along the line formed by the ruler in front of the foot. This will be your guide.
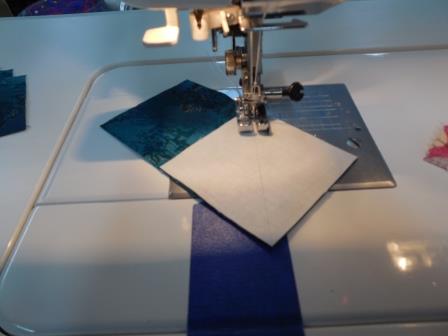
Using the 3″ squares of the neutral and color 1, place one of each square together. Place one of the corners at the edge of the quarter inch foot and make a seam toward the opposite corner. Guide the pieces through the machine keeping the front corner on the edge of the tape as shown below. This will make your first seam.

Do the same thing on for the 2nd seam. Cut the piece into two between the two seams. Press toward the darker fabric.

Trim each unit to 2 1/2″ x 2 1/2″.

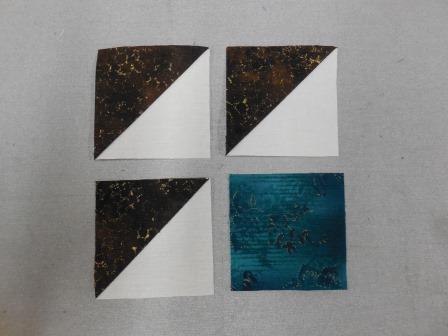
Lay out three of the HST units with one of the 2 1/2″ squares from color 2 as shown below.
Sew the units together as shown below. You will make 4 of these.

For the flying geese units you will need to draw the pencil line from corner to corner on the 2 1/2″ neutral squares.

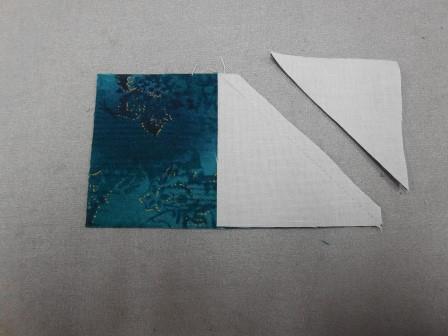
Lay one of the 2 1/2″ marked neutral squares at one end of a 2 1/2″ x 4 1/2″ color 2 rectangles.

Typically when you make the flying geese unit using this method you will come up with a unit that is a little smaller than needed. However, this little tip will give you the correct size unit. Do NOT stitch directly on the drawn line. Stitch about 2-3 threads to the outside of the line. My needle barely touches the line on one side, but it is not directly on the line.
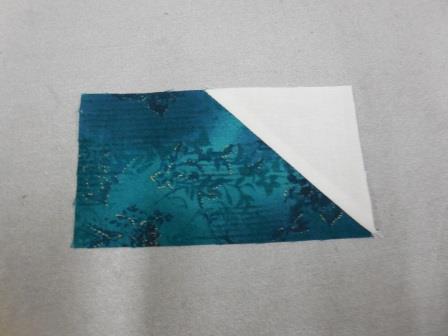
Cut off the excess.
Press as shown below
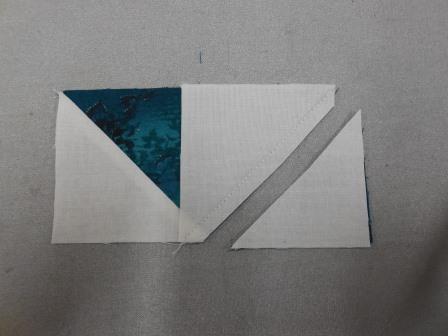
Repeat on the opposite side.
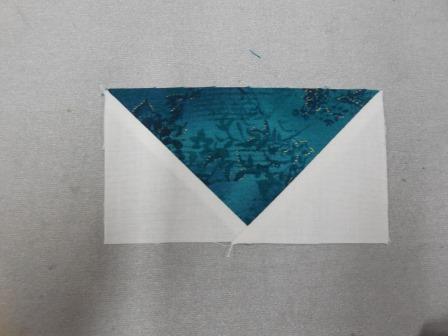
Don’t forget to trim this unit to 2 1/2″ by 4 1/2″ being careful that the “v” intersection is right at 1/4″.
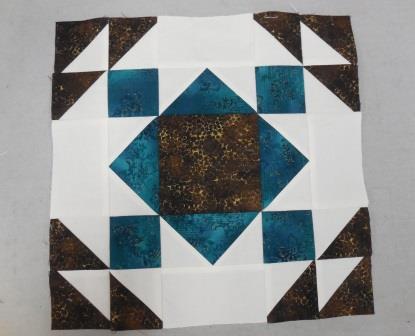
Assemble the units as shown below.
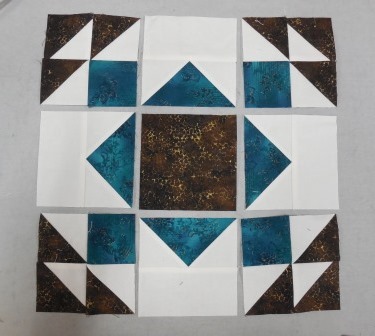
Piece them together.
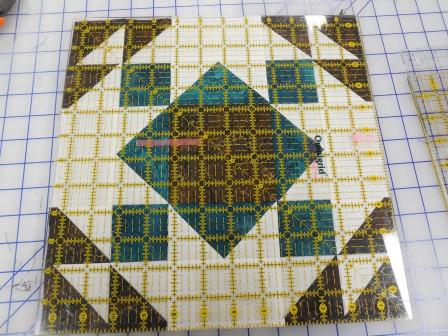
Square up the block to 12 1/2″ x 12 1/2″.
Sew the 1 1/2″ x 12 1/2″ strip to opposite sides. Press and stitch the 1 1/2″ x 14 1/2″ strips to the remaining sides and press.
