Ladies, Start Your Sewing Machines!

Standard

Tomorrow at 8:00 am the first block for the quilt along will be posted.  I plan to have them posted at 8:00am every other Wednesday.

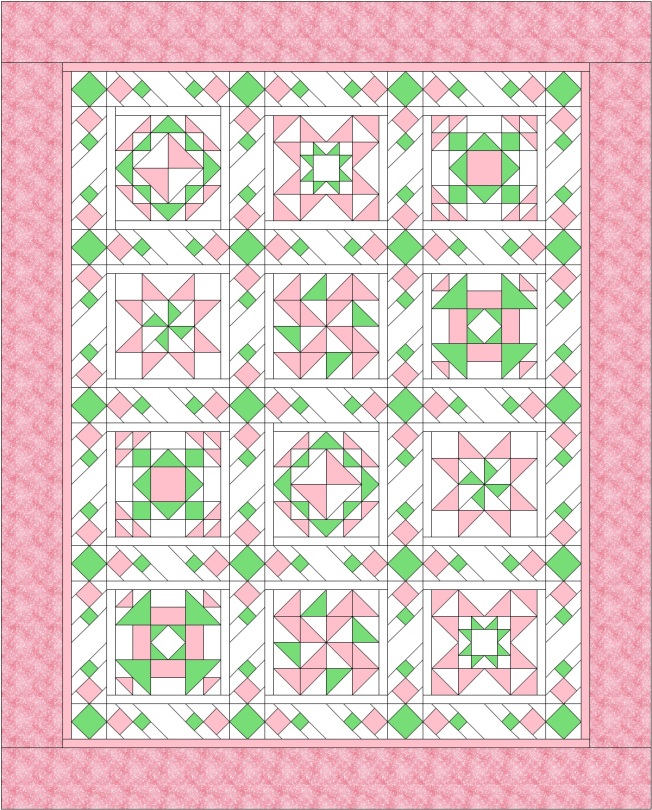
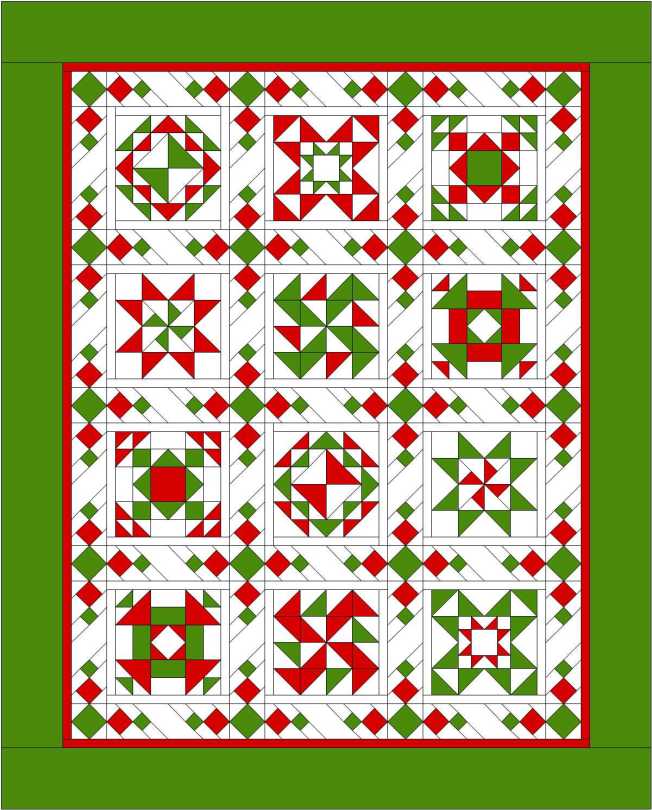
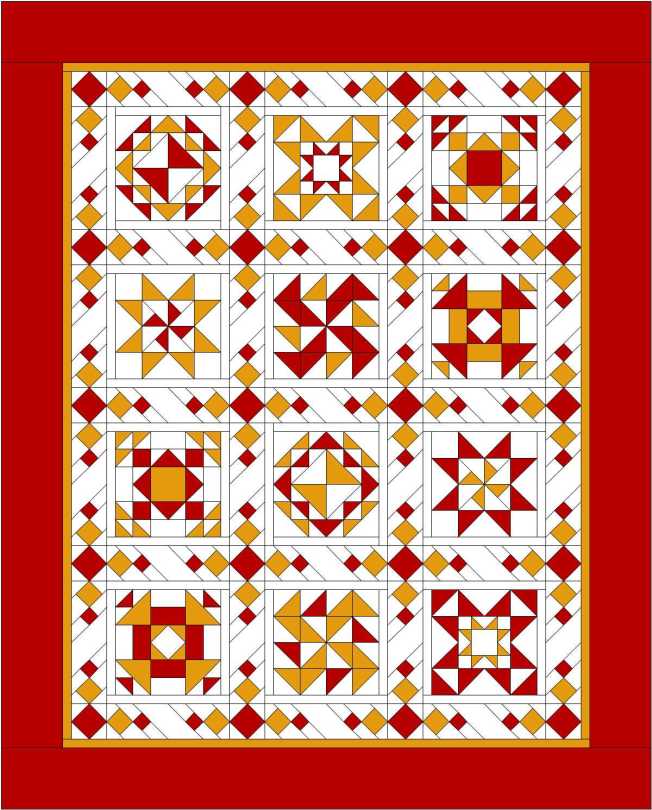
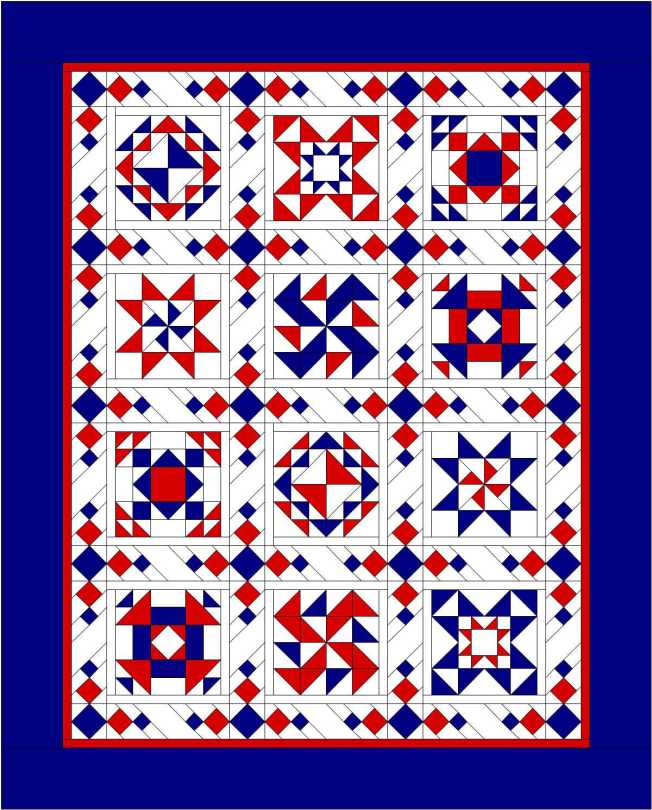
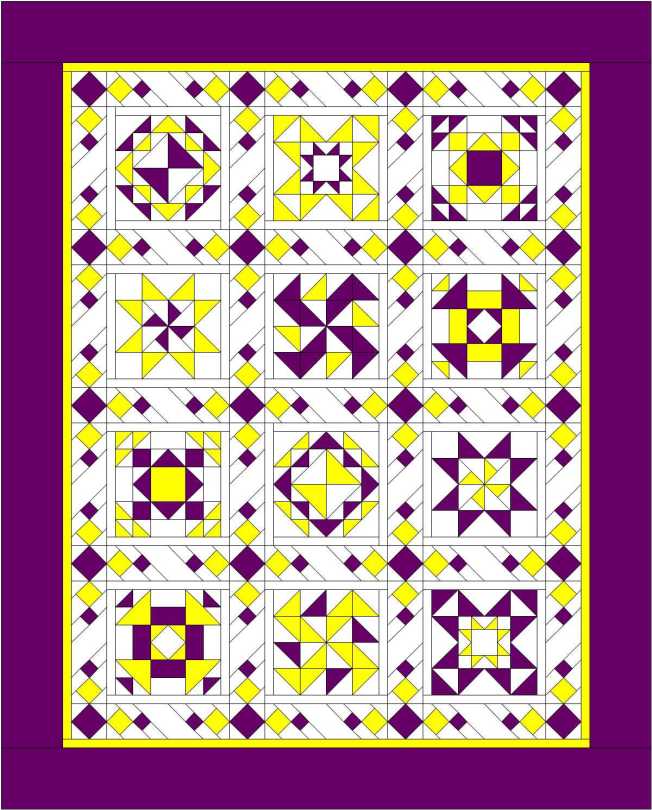
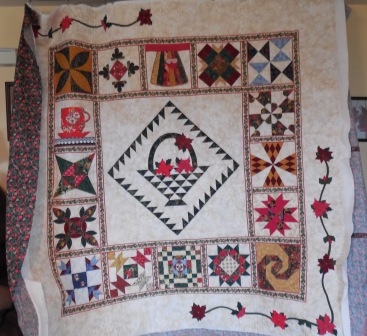
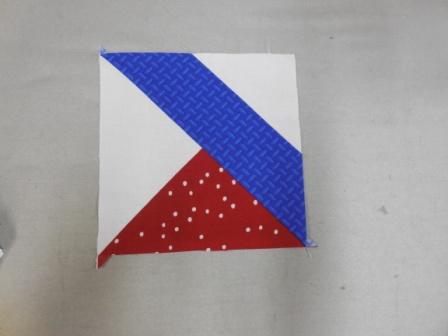
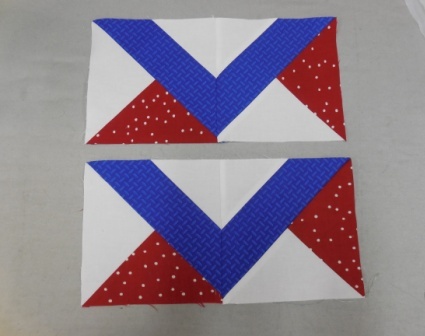
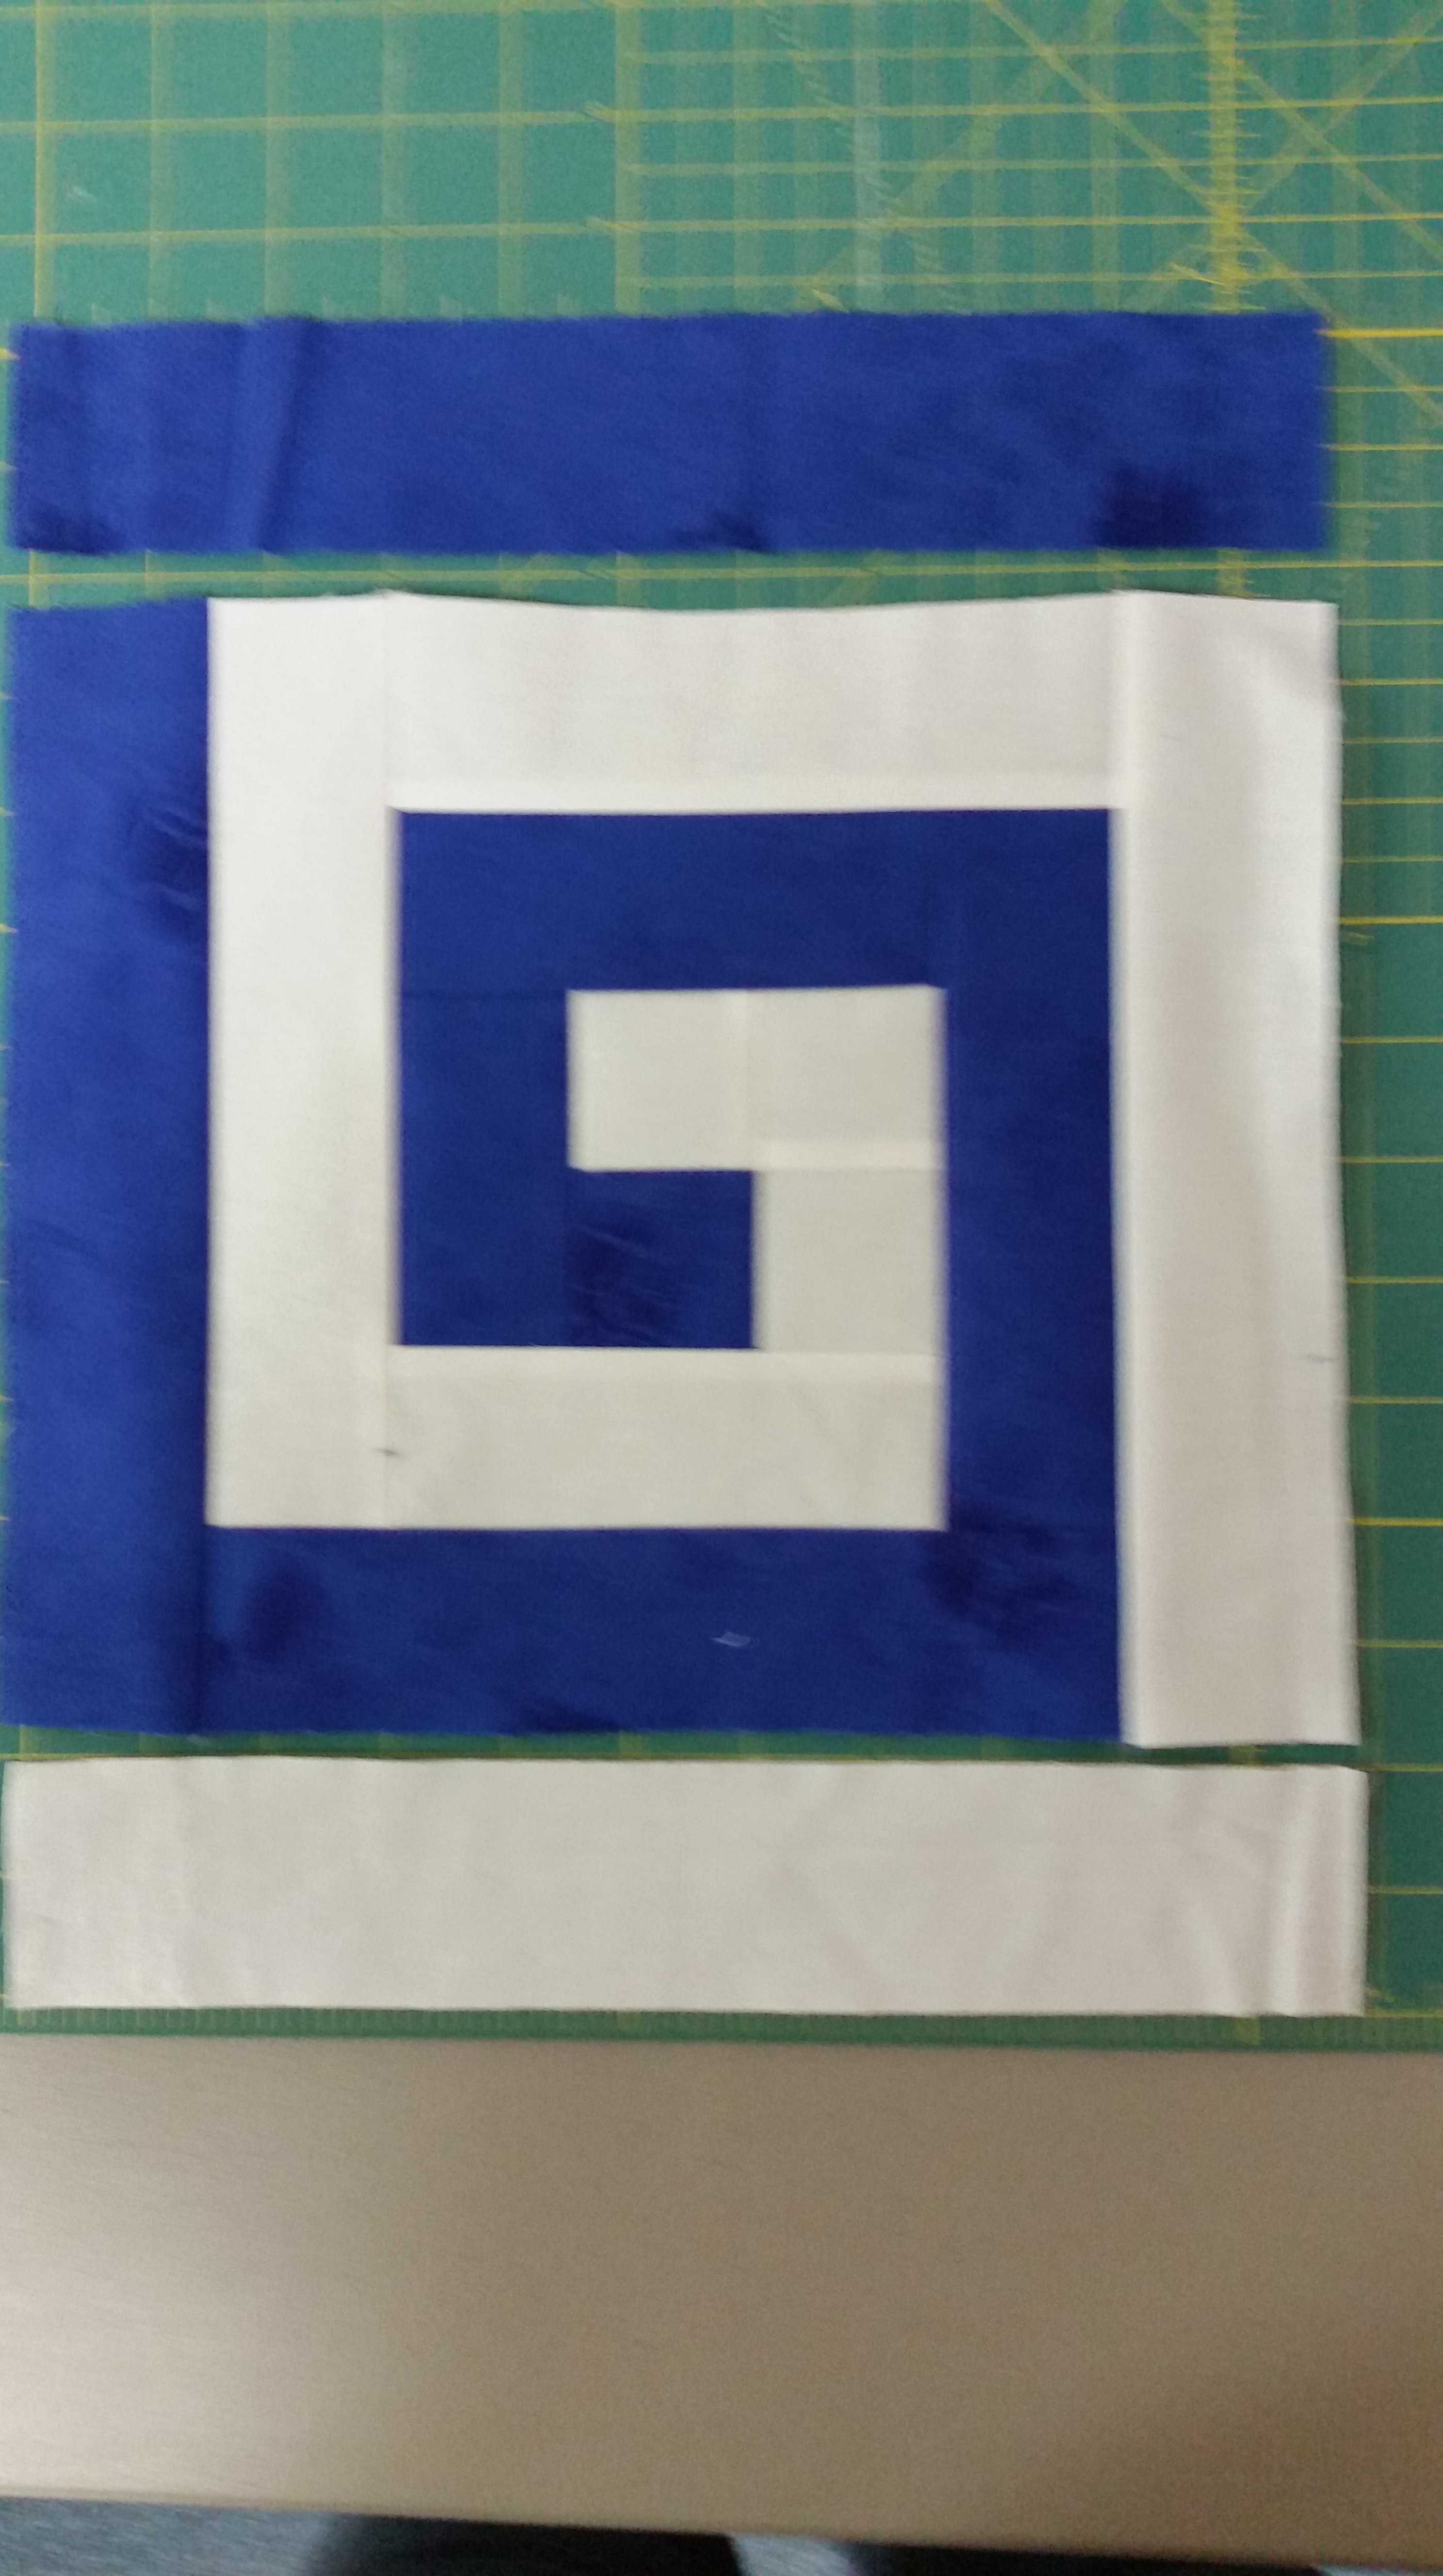
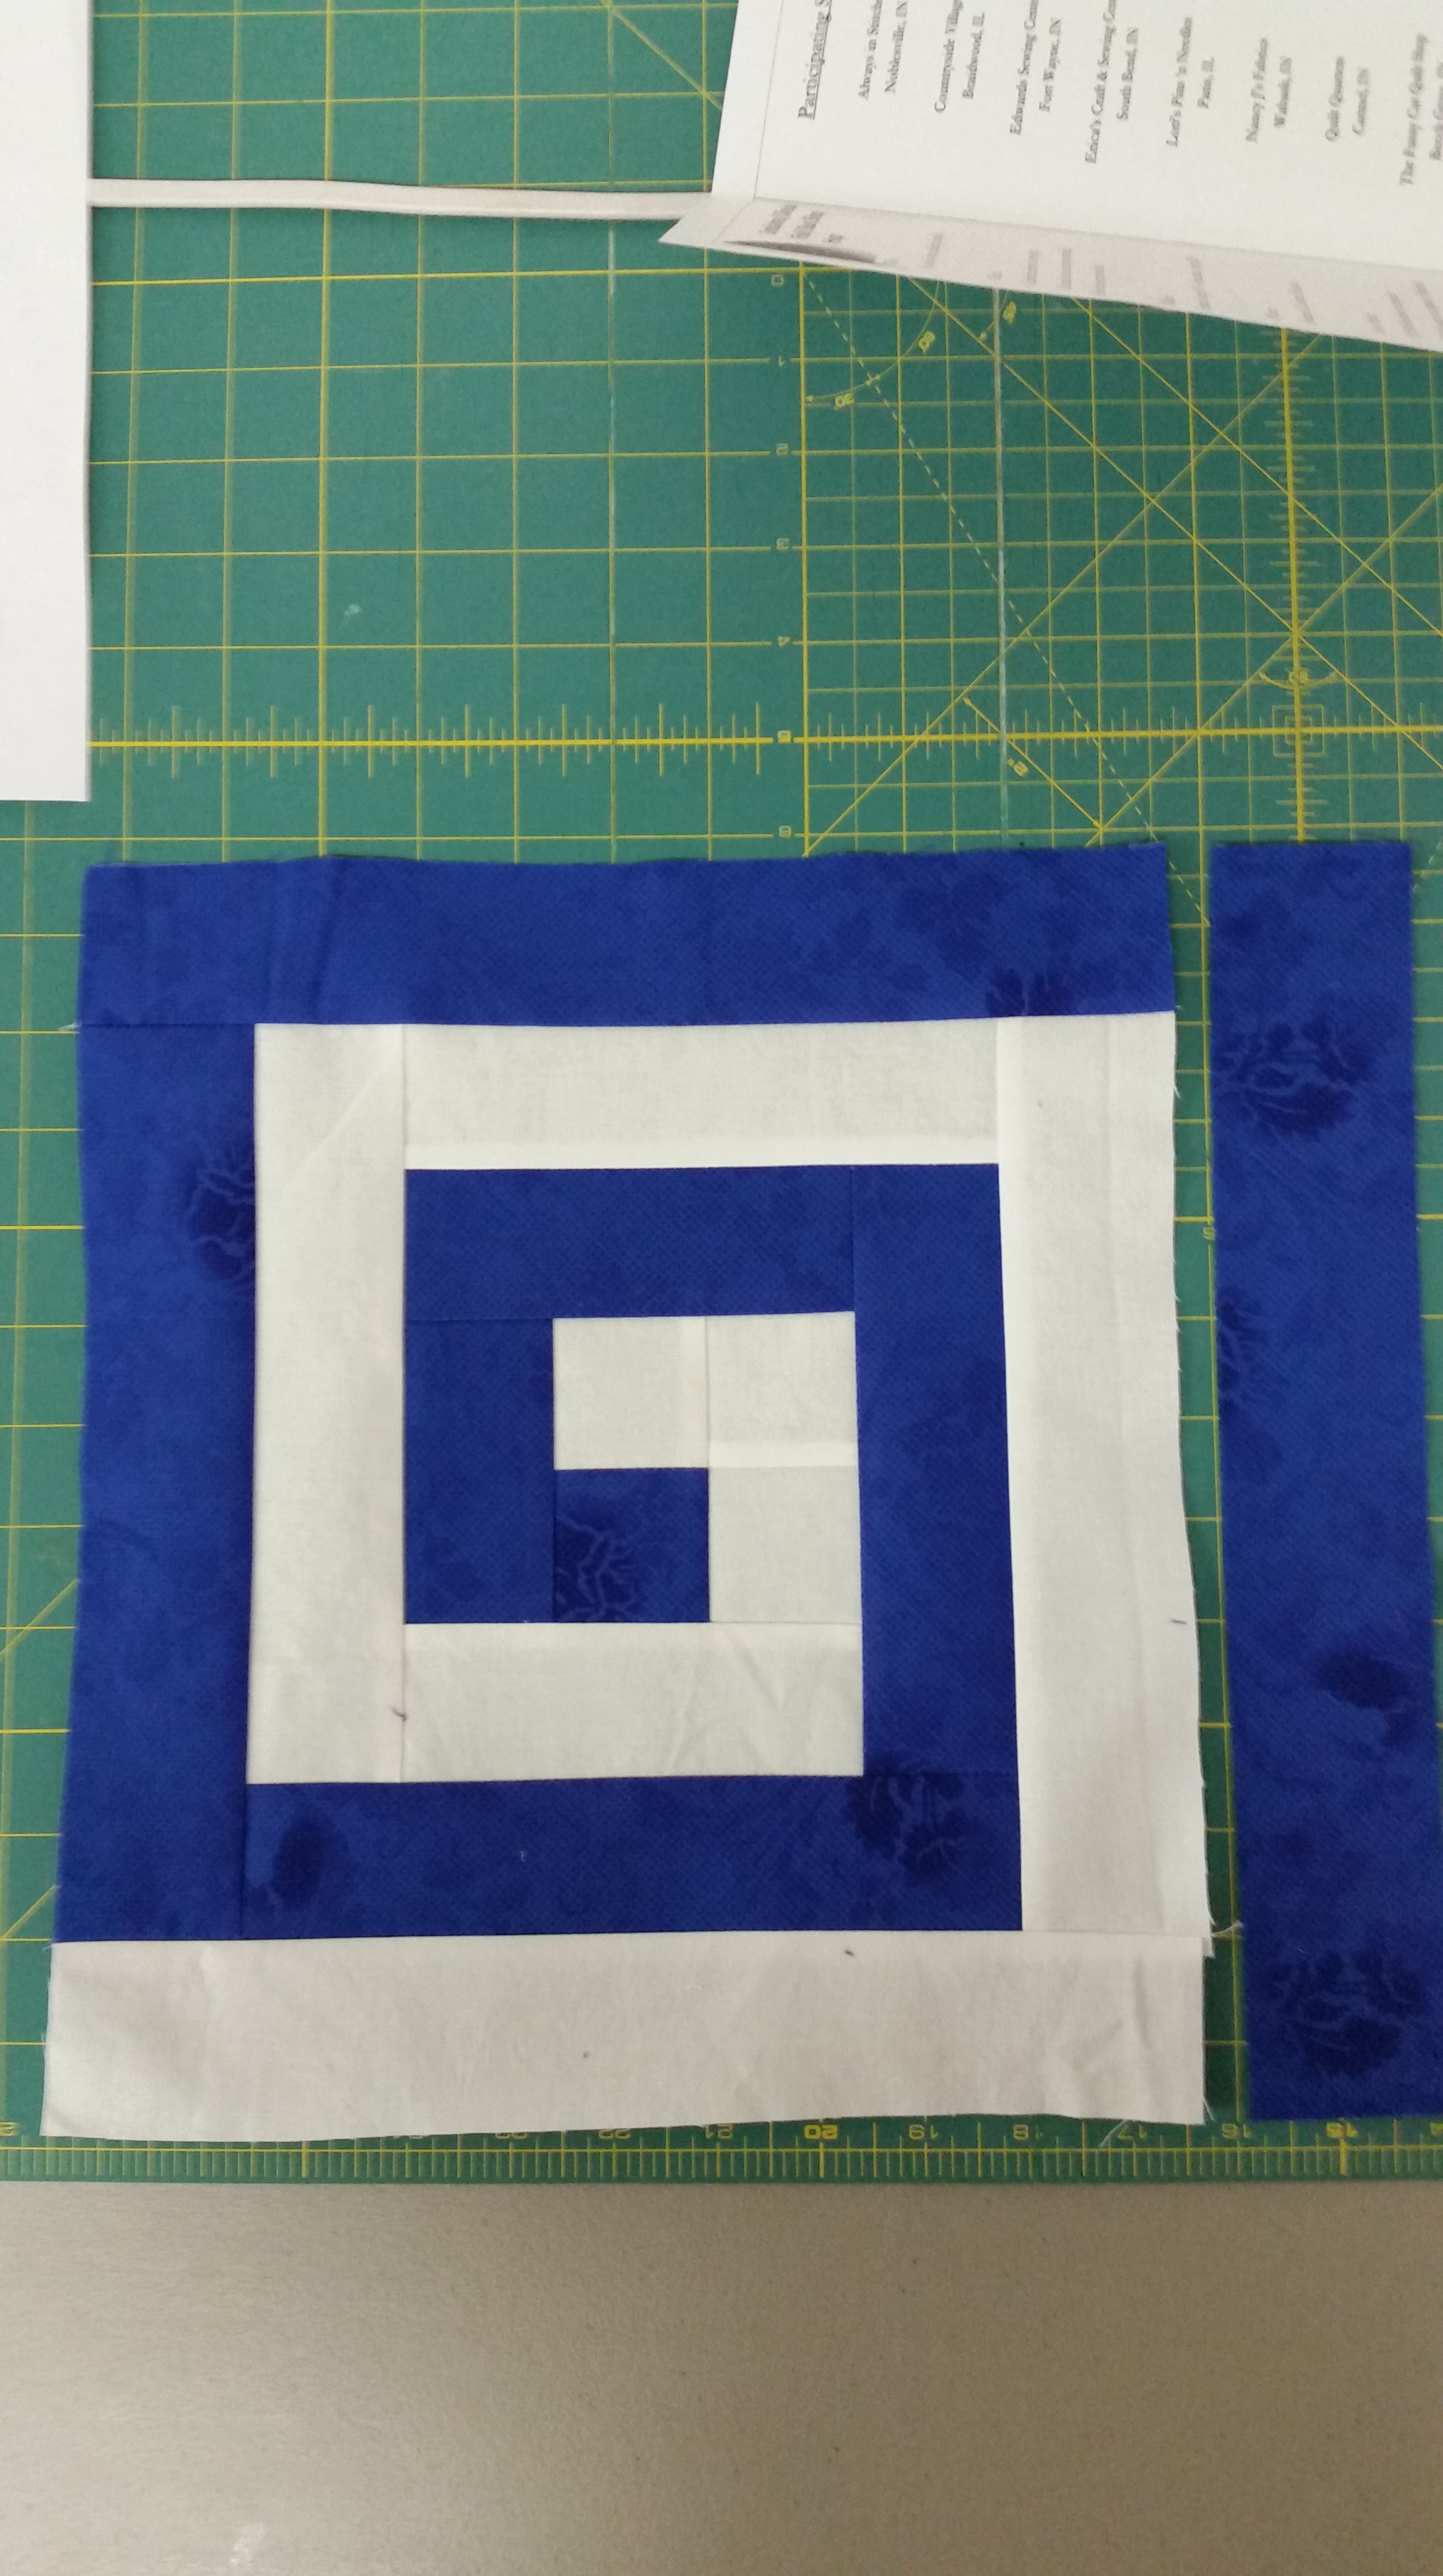
As I have mentioned before each block will be made twice.  If you are doing a two color quilt like I am then each of the blocks will be opposites.  So if the first one is predominantly red with blue accents, the second will be predominantly blue with red accents.

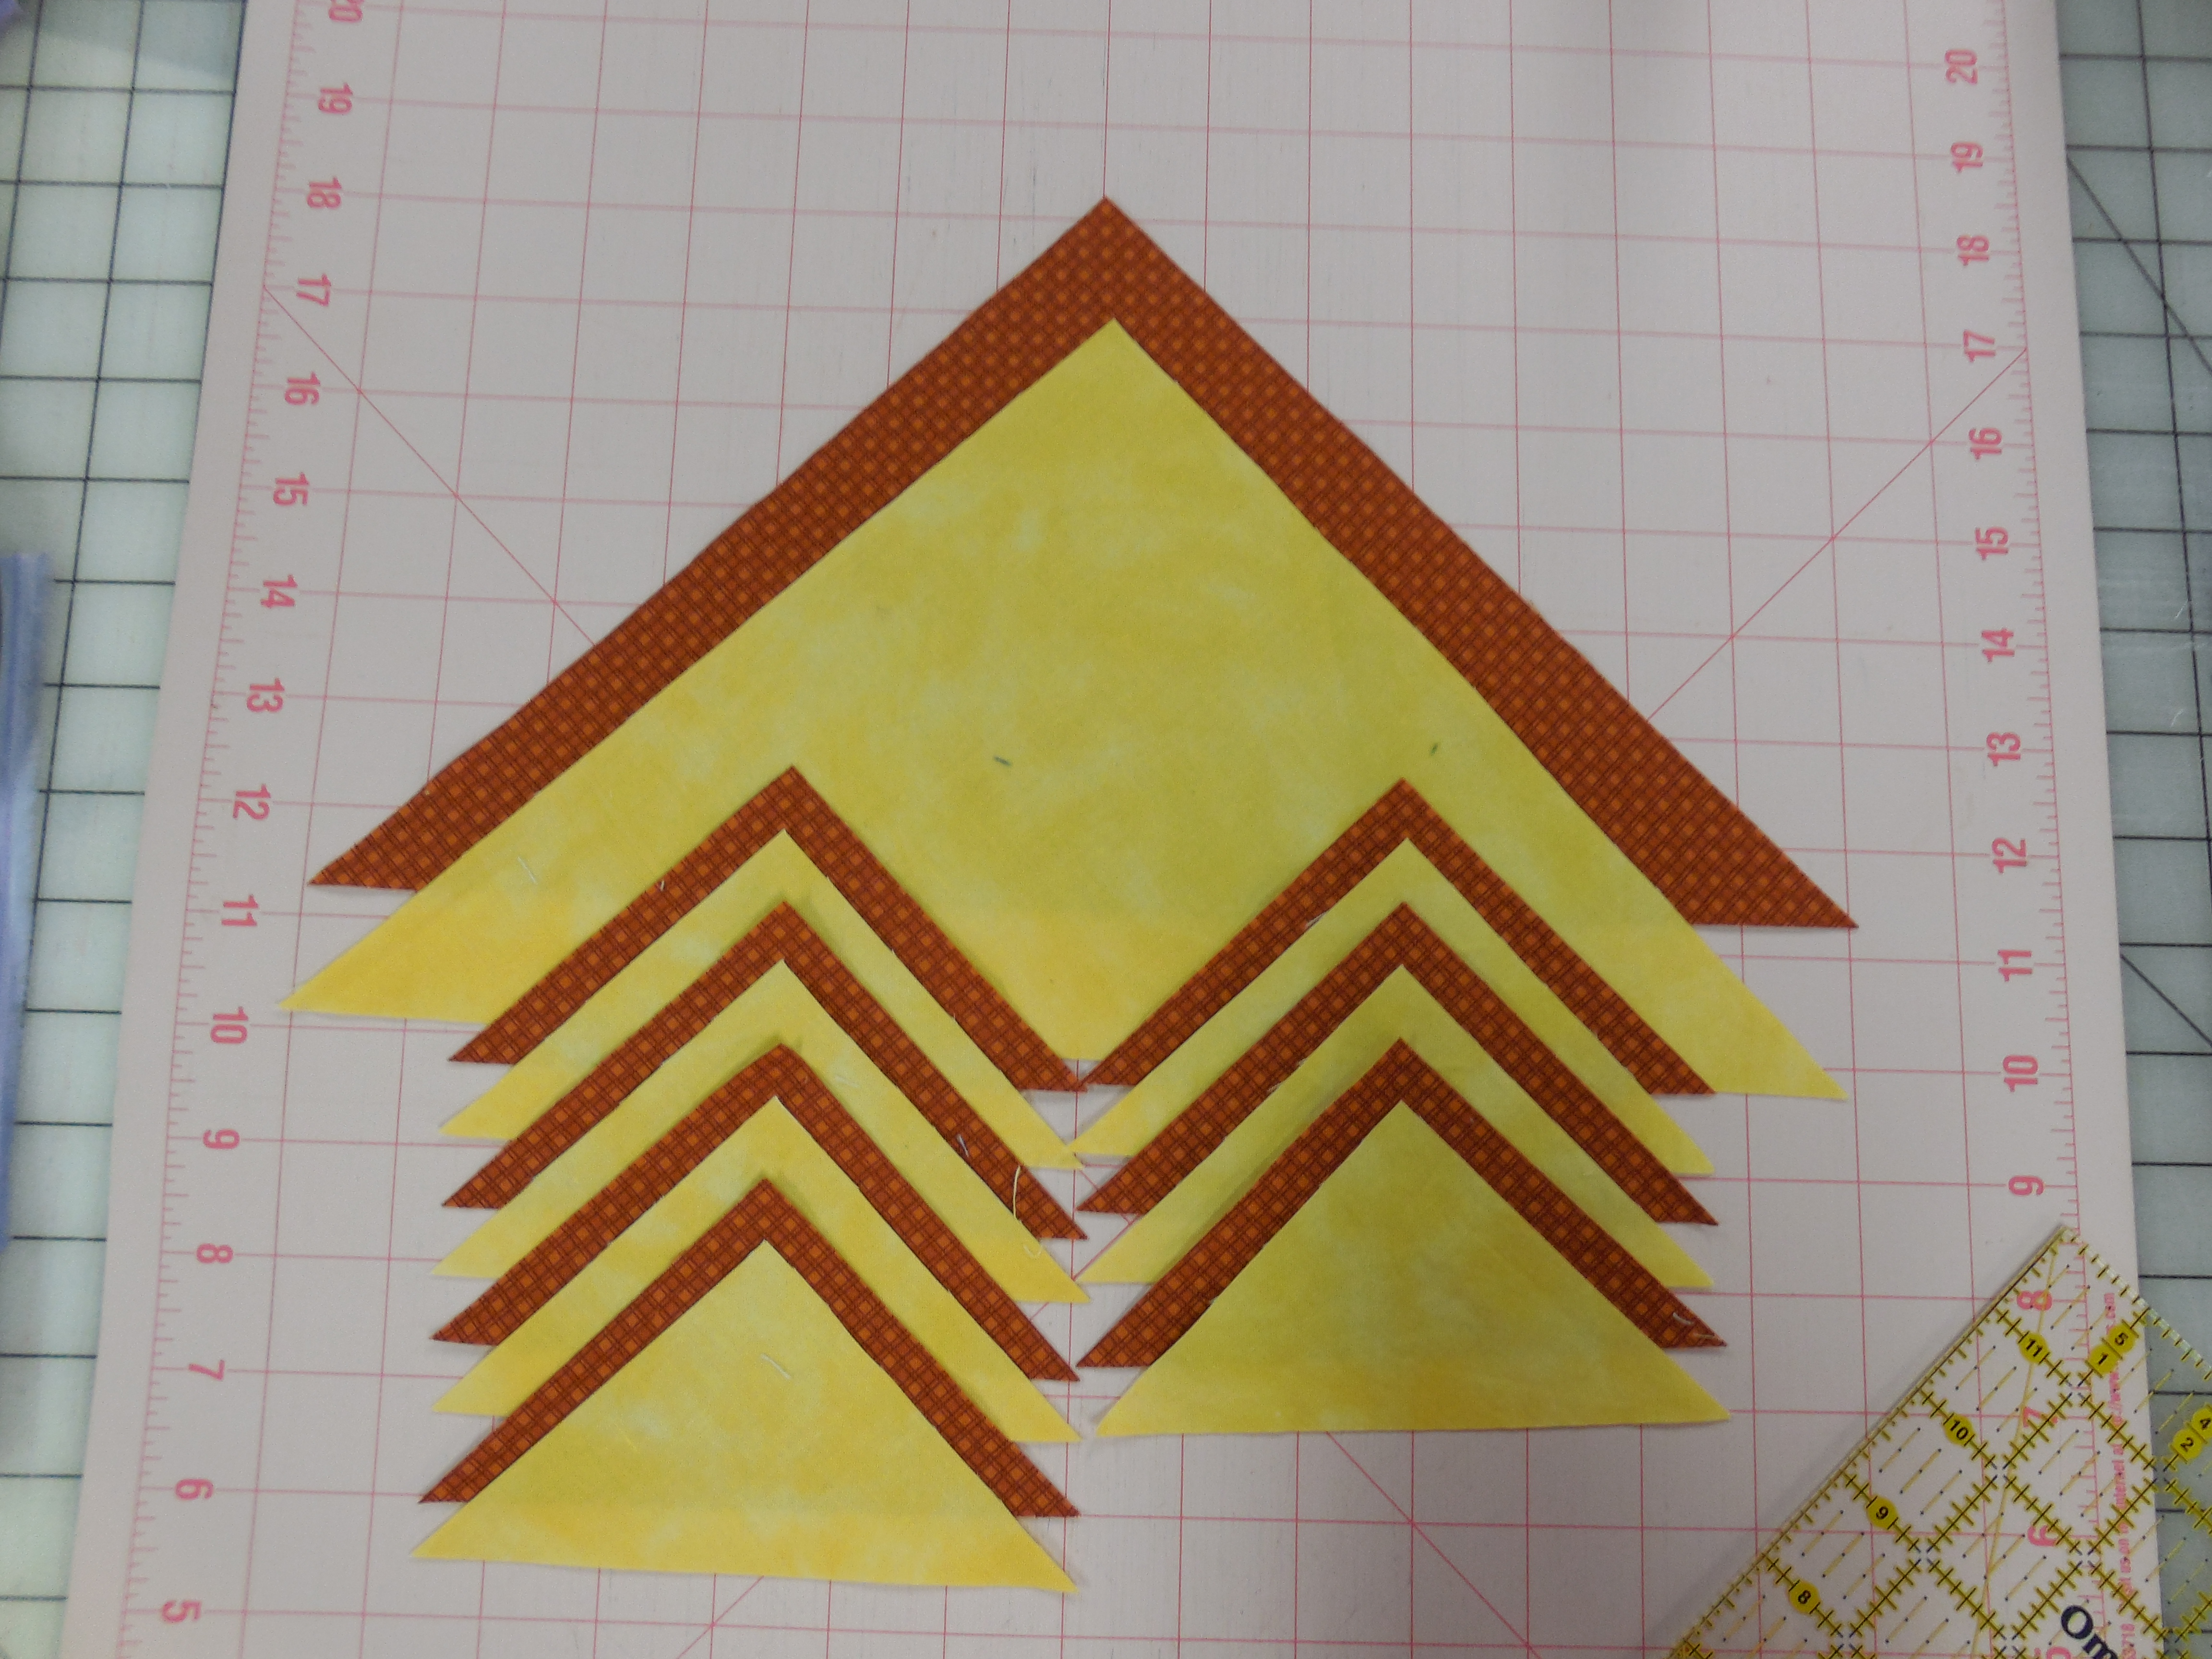
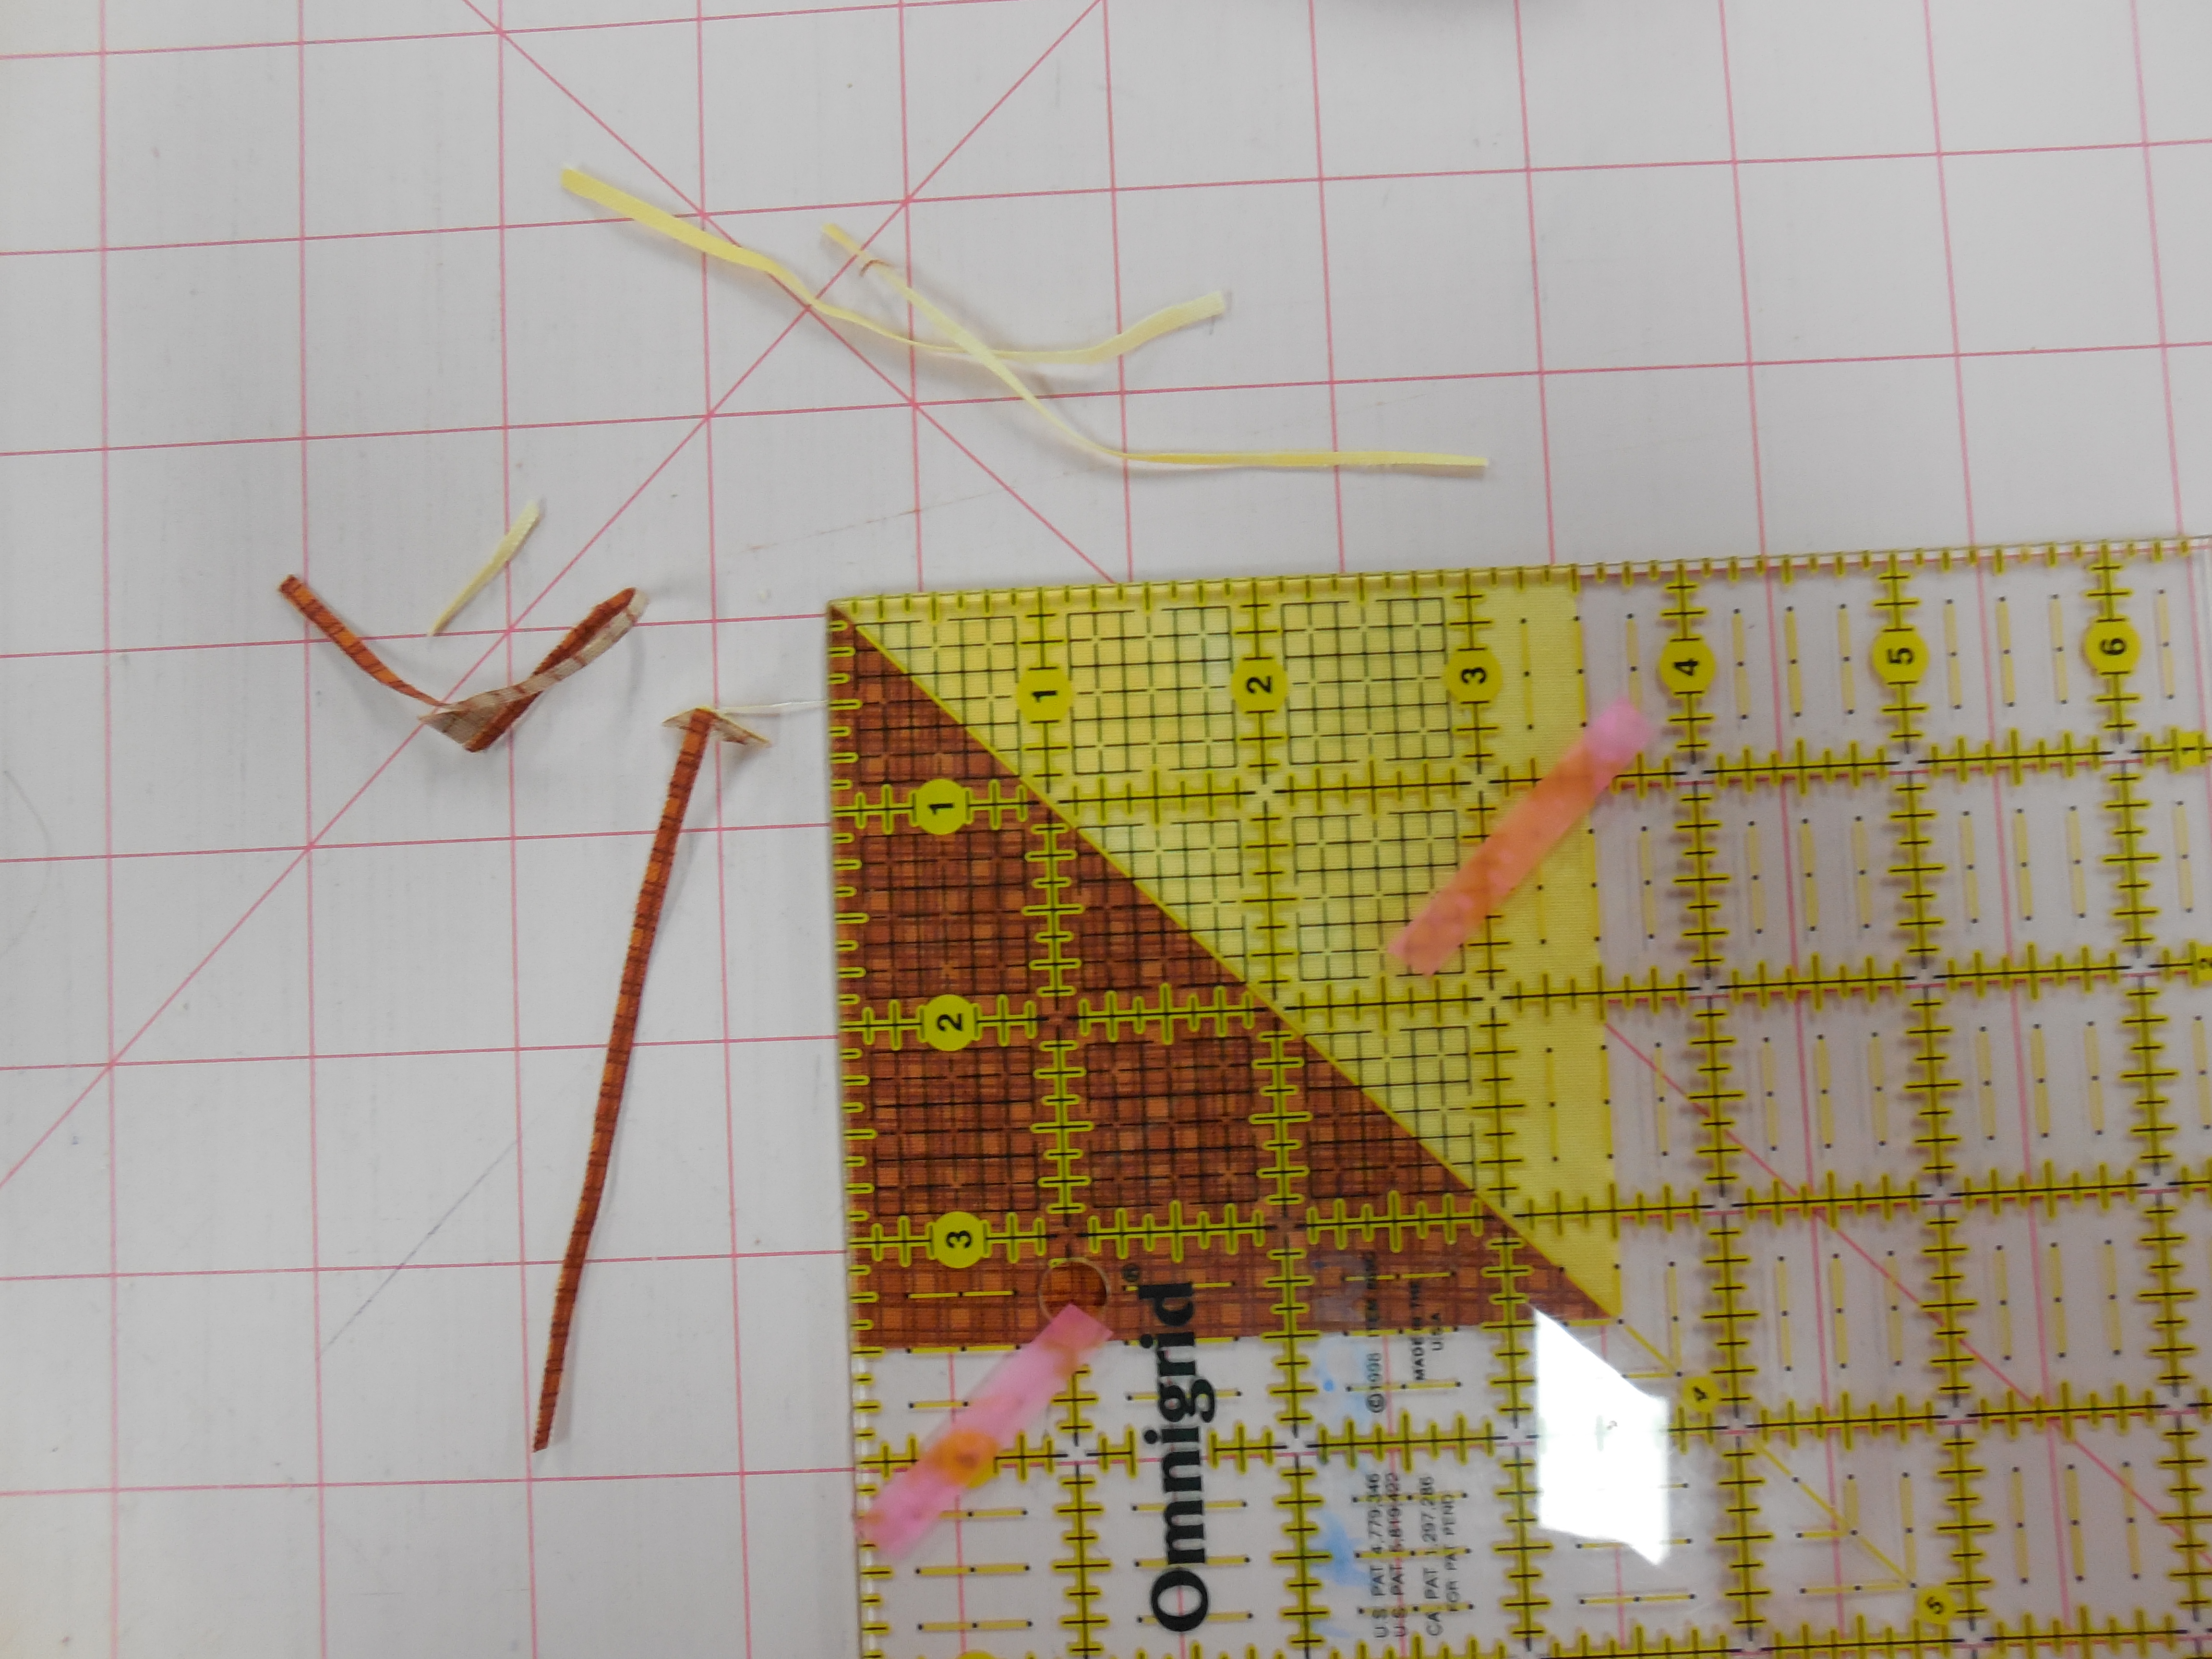
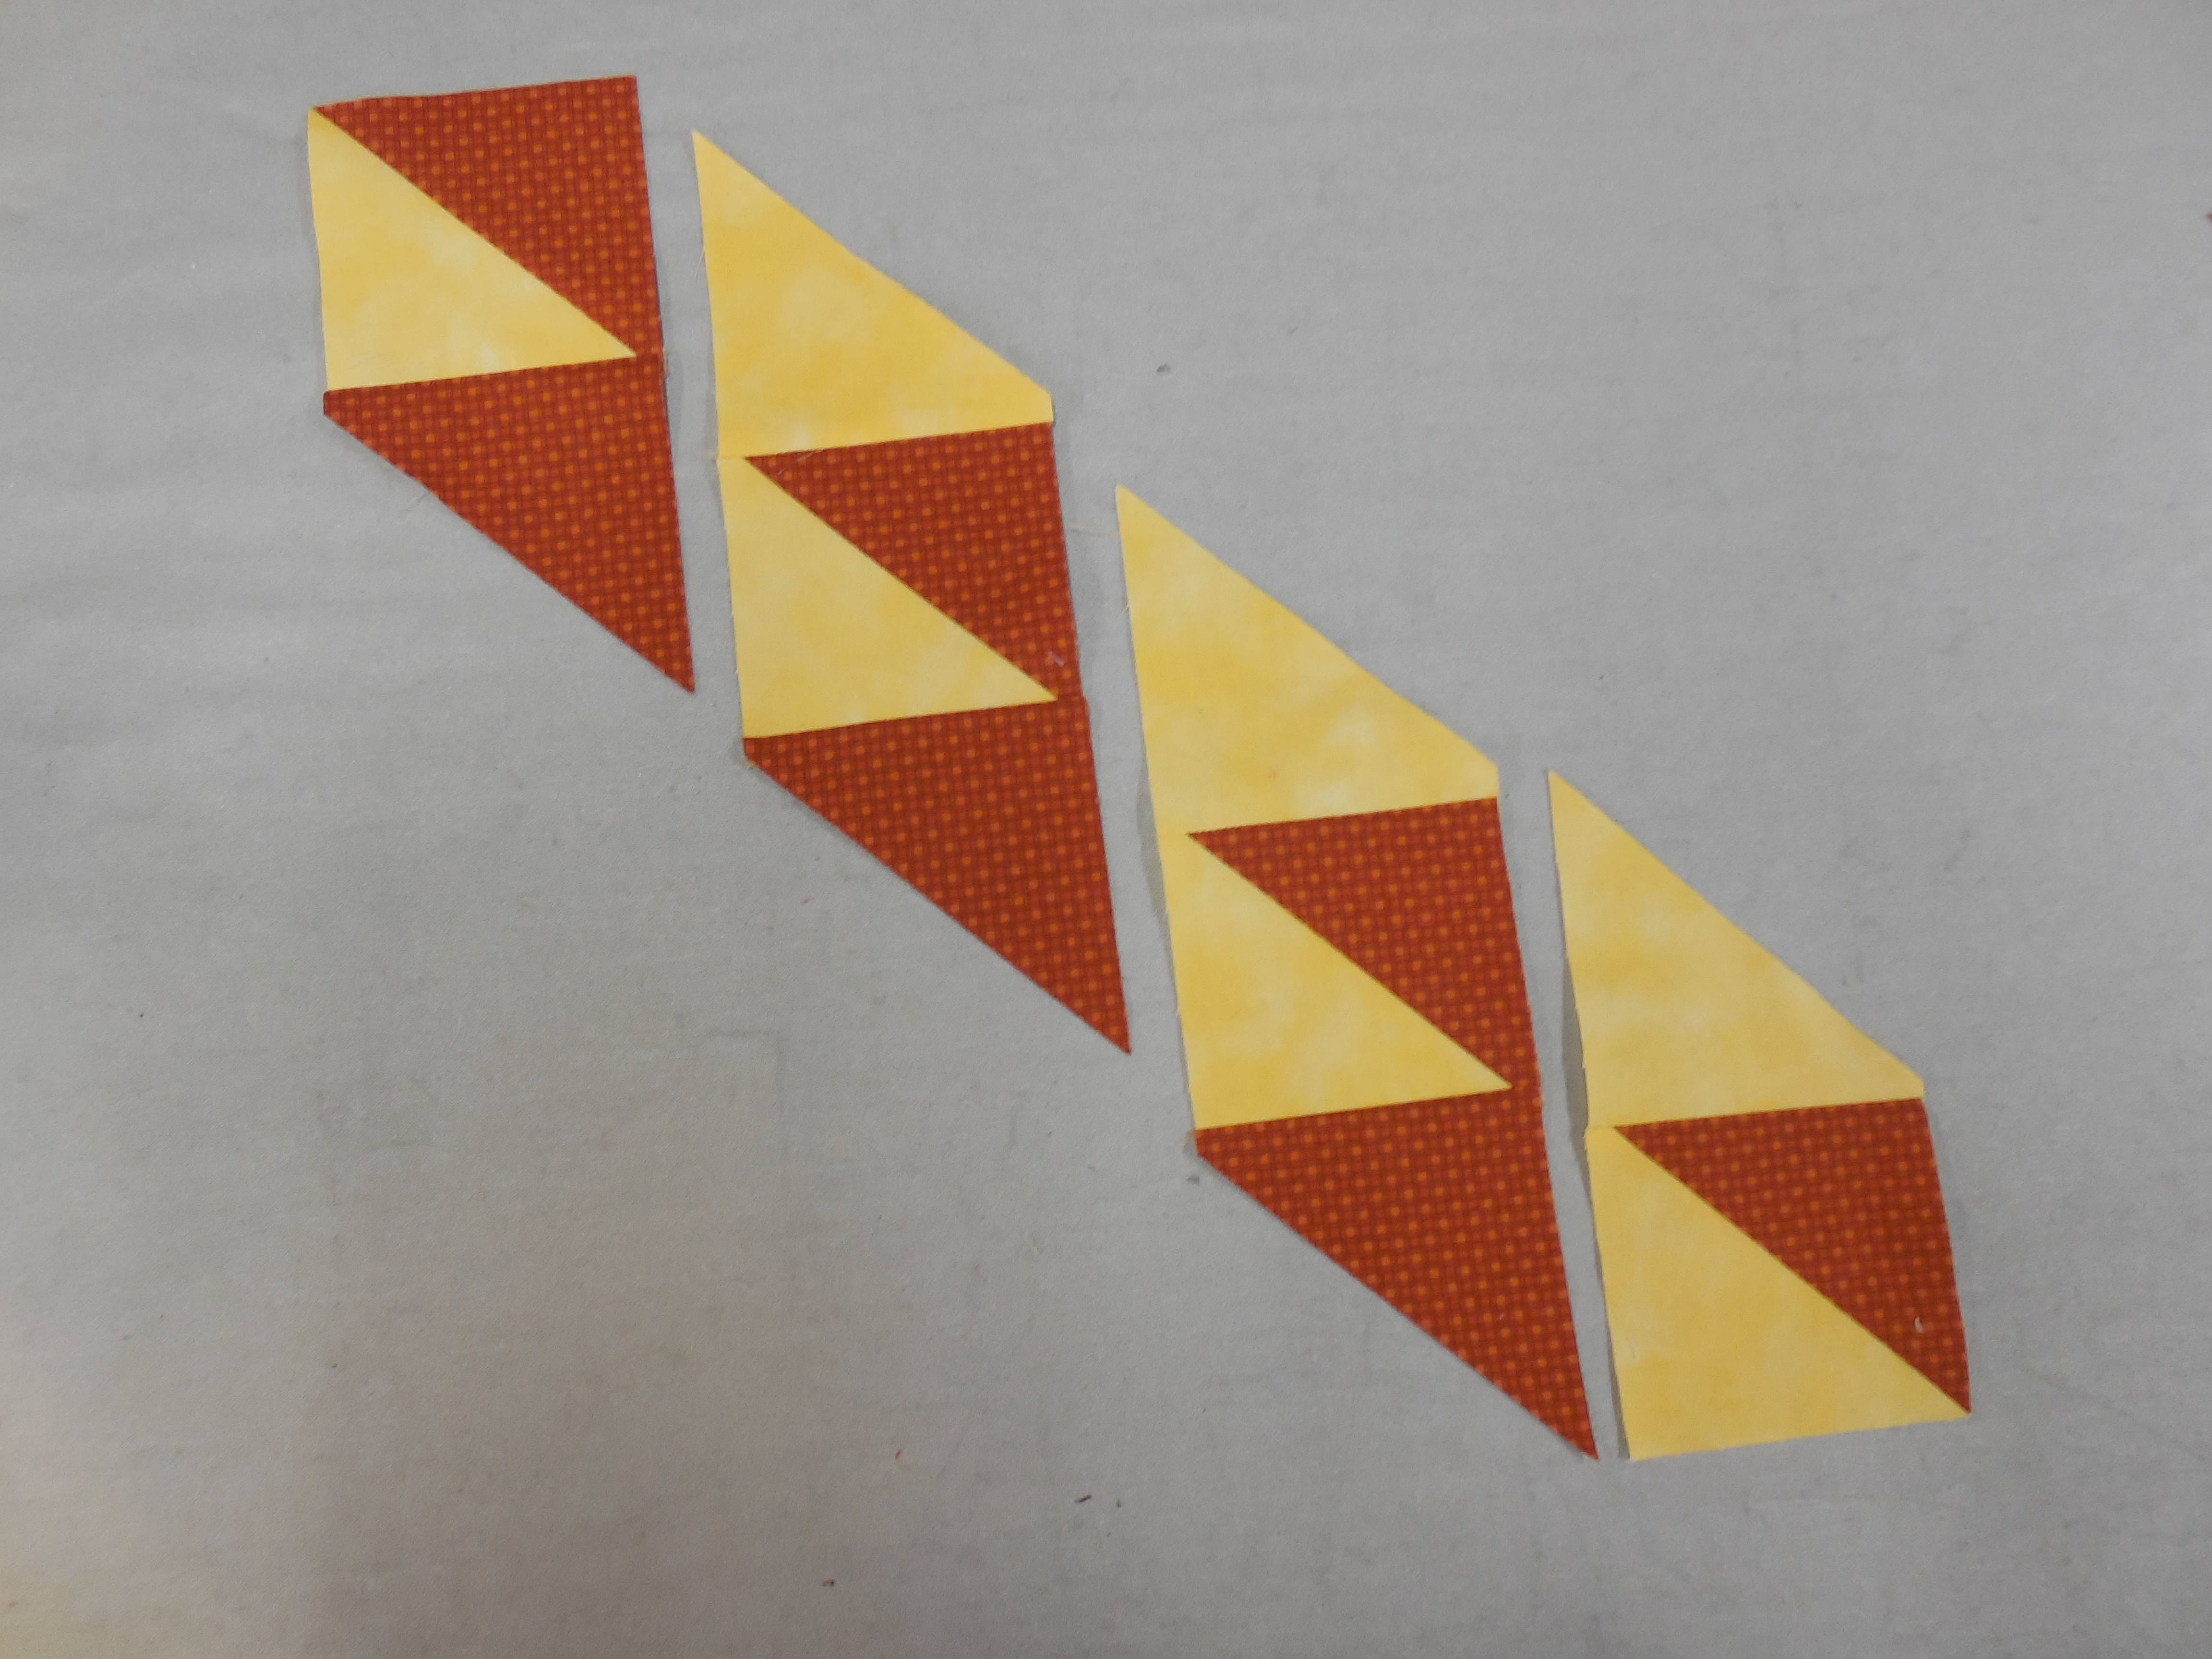
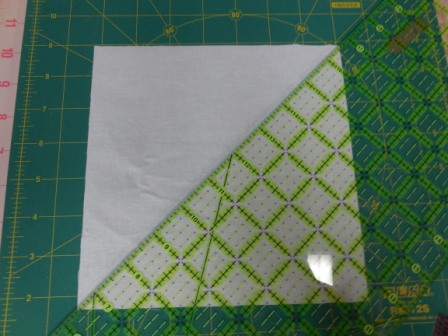
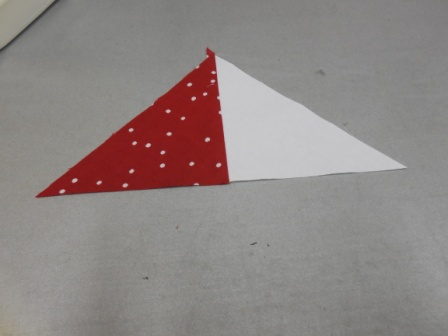
None of the blocks are hard, but they will require some accuracy.  Please do not skip trimming the units before putting them into the blocks.  For half square triangles (HST) I usually make my initial pieces a little larger than needed and then trim them down.  I have found this will typically give me very accurate pieces.  If you are not sure that your seams are 1/4″ I have some tips here:  https://quiltinkaboodle.com/2014/03/02/achieving-the-14-seam/ .

Also, I have worked out the yardage with very little waste.  That means you will be using the strips you cut for the first block in subsequent blocks.  If I cut a 4″ strip and have some leftover I put it in a sandwich bag and label it 4″.  Also, I may have you cut a strip bigger than what you need only to trim it down.  Eventually you will need that bigger size, so don’t trim down the whole strip–cut your pieces off first and then trim them down to the designated size.

I can’t wait to see how yours turn out!  When you finish your blocks each time you can email them to me at lawsonxxxx@gmail.com .  (replace the xxxx with 7616 for the correct email address–trying to avoid more spam.)  When I receive your pictures I will post them on this site.

Please comment below if you don’t understand anything I stated on this post.  If you don’t understand what I mean, I’m sure you won’t be the only one.  Thanks!


Tammy


Yardage for Quilt Along

Standard

Have you decided on the colors for your quilt along yet?  Here is the required yardage.

Background                  6 1/2 yards

Color 1                           2 yards

Color 2                           2 yards

Inner Border                  1/2 yard

Outer Border                  1 5/8 yards


Although my electronic samples all have solid borders, I have chosen a medium-large scale print for my outer border.  I have broken down the border yardages should you decide to do the same.  I hope you will join us.

I will post the first blocks next Wednesday, February 17.

Coming Soon!!

Standard

Quilt Along


Quilt Along 2016

This is a two color quilt.  You will only need a background neutral and two other fabrics.  You might want a third fabric for the outer border or just use one of the fabrics already in the quilt.  All the blocks are traditional blocks and a new block will be introduced every two weeks.

The quilt finishes at 74″ x 92″.  I will post yardage requirements next week.  In the meantime be thinking about which two colors and which neutral you would like to use.

Please comment below if you are interested in participating.  Also once you decide on your colors I’d love to know what those are as well.

Here are some other colorways:

Christmas colors

Christmas 2016

Red and Gold

Red and Gold

Patriotic/QOV

QOV 2016

and my personal favorite (but not the colors I’m using)

purple and yellow

El’s Kitchen #2

Standard

This is El’s Kitchen #2 (Carol’s quilt)

The real challenge with this quilt was to be sure the quilting was different but with the same quality.  A couple of the blocks just couldn’t be changed much at all but most of them were open for alternate quilting designs.  Here are the blocks, see what you think.

DSCN0787c DSCN0785c

DSCN0784c DSCN0781c

DSCN0780c DSCN0779c

DSCN0778c DSCN0777c

DSCN0776c DSCN0774c

DSCN0771c DSCN0769c DSCN0768c

Here is a pic of the quilt itself–it is huge and we weren’t able to get the whole thing with the borders too, but I have some pics of the borders too.

DSCN0740c

The center basket block was challenging, so instead of straight lines in the background I used little wiggly lines.  I like how it turned out.

DSCN0783c

The outer corners of the setting for the basket were feathered like El’s Kitchen #1 (June’s quilt) but the spines are shaped differently.  I LOVE doing freehand feathers!

DSCN0782c DSCN0772c

20150226_164349

Now for the borders!  I was thinking about how to do these long before I finished June’s quilt.  If you remember I did piano keys on it and loved how it looked, but didn’t want to do the same thing on Carol’s.  So here is the result!

DSCN0790c DSCN0745c DSCN0744c

I LOVE the borders!  I think Carol does too.

A big thank you to both June and Carol for allowing me to work on their quilts.  The workmanship of both quilts made them easy to work with.

El’s Kitchen #1

Standard

It took almost two weeks but I finally finished this quilt for a customer!  I enjoyed the challenge and creativity.  The quilt is 94″ x 94″ so it was difficult to get a full picture of it.

El's Kitchen1

Isn’t it pretty?

So the background behind the basket is double cross hatching while the border and the basket were quilted with a continuous curve in the white triangles.

Cherry Basket

I quilted feathers around the outside of the basket border.

20150226_164349

I used simple piano keys on the appliqued border

Border

I’ll show you a few of the blocks

Turkey in the Straw Turkey in the Straw Close up

Sugar Cone My Mothers Apron

Pork and Beans Pork and Beans close up

Memory Fruit Memory Fruit Close up

Crab Apple Broken Dishes

Now to go load El’s Kitchen #2!

London Square – November/December BOM

Standard

London Square

Please make this block in November to bring to the December meeting.

We will be using warm fall colors for this block.  Please use two different fabrics that contrast each other.

Cutting instructions:

You will cut the same pieces from both of your fabrics.

Out of each fabric cut a 9 7/8″ square.  Then cut the square in half diagonally.  You will have two extra triangles, one of each fabric.  (So you can make two blocks, right?  ☺)

Out of each fabric cut four 3 7/8″ squares.  Cut each of these diagonally.  You will need 7 triangles, so you will have one of each fabric left over.

**I tend to cut my squares a smidge larger and then trim them after I’ve assembled them.

DSCN0706

I first assembled four HST units using one of each color.  If you cut your triangles a little bigger you would trim the ones you used in the HST units to 3 1/2″

DSCN0707

I then added the triangles to these HST units as shown below.

DSCN0708

After adding the additional triangles I trimmed them even with the HST unit.

Next begin piecing these units together matching the points as well as possible.

DSCN0709

Once all four units are pieced together, you will sew the dark triangle to the side of the strip that has the light triangles.  You will sew the light triangle to the other side.  It should look something like this.

DSCN0710

I left mine untrimmed to give the winner of the blocks a little extra room to play if they need it.

October/November BOM — Balkan Puzzle

Standard

Please make this block in October to bring to the November meeting.

When the block is complete it should be 12.5″ x 12.5″

We will be using white fabric for the background and two other colors within the primary/secondary color range.  These colors include red, blue, yellow, green, purple and orange.  Please try to stay within the purest of these colors that you can to make the final quilt cohesive.

Cutting directions

White fabric         One 7 1/4″ x 7 1/4″ square

Two 3 7/8″ x 3 7/8″ square

Color A (square in the middle, blue in the sample)

Four 9 3/4″ x 2 5/8″ strips

Color B (outside color, red in the sample

One 7 1/4′ x 7 1/4″ square

Piecing Instructions

Cut the large white square diagonally both ways without moving the pieces between cuts.

DSCN0690cDSCN0691c

Cut the two smaller white squares in half diagonally.

Using your ruler with a 45 degree angle cut both ends of your Color A (blue) in opposite directions

DSCN0693c

Now you will assemble one of the four sub-blocks as follows

DSCN0696c

Sew one large white triangle to one Color B triangle (Red) as shown above.  (Sorry, I didn’t get that picture centered very well.)

Sew the small white triangle to the short side of the Color A strip (blue)

DSCN0695c

Sew the two units you just made together at their long edges

DSCN0697c

Make four of these units and assemble as follows

DSCN0698cDSCN0699c

I hope you have enjoyed this trip to the Balkans–no passport needed!

Spiraled Squares by Trisch Price

Standard

The November 14th issue of American Quilter has arrived in my mailbox!!  I am especially excite because my sister Trisch Price is featured inside.  I was also privileged to quilt one of her newest quilts.  She has also provided a pattern for this quilt.  In her book she identifies 6 elements of negative space that modern quilters use in their quilts.  She created all new quilts for this article so if you have purchased “Accentuate the Negative” you know they won’t be the same ones as in the book.

Here is a picture of Spiraled Squares

20141001_125240

When it arrived I knew immediately how I was going to quilt it!

My inspiration came from my childhood.  I remember one of my favorite coloring activities was to take a black crayon, close my eyes and sort of scribble on the paper.  Then I would color in the segments that were created with all of my favorite colors.  I knew I wanted to create segments to use different filler designs but also knew that I didn’t want to “scribble” all over the quilt.  (Pretty sure that wasn’t what Trisch had in mind either).  I pulled out all of my circle templates and started making what looks like Venn diagrams to create my segments.  I placed those somewhat randomly in the negative space.  As I got closer to the squares I stopped to secure each of them by stitching in the ditch.  They were so perfectly lined up and I didn’t want my quilting to distort them.

2014-02-05 17.52.17 2014-02-05 21.43.35

The diagonal lines were a lot more challenging than I anticipated and I doubt I will ever do them on another large quilt unless it is block based.  The squares however were a fun respite from the lines.  Using mostly swirls and pebbles I filled in the center blocks.2014-02-11 18.39.08 2014-02-11 18.39.18

I simply used wavy lines in the first border and a ribbon-like motif with loops around the outer border of each square.

I truly enjoyed quilting this beautiful quilt.  I am always inspired by my sister’s creativity.  You can check out her blog at Hadley Street Quilts .  On her blog you will find some handy quilting tips as well as some of her beautiful quilts.

If your local quilt shop doesn’t have her book “Accentuate the Negative” ask if they might order it for you.  We love to support our local quilt shops!

September/October BOM

Standard

I apologize for this being so late.  My laptop was out of service for a few weeks and I’m up and running again now.

This block is to bring to the October 2nd meeting.

The block for this month is the Greek Key.  Please use Blue and White to make this block.

All pieces will be 2″ wide.

Cut 2″ strips into the following lengths:

11″ — 1 white, 1 blue

9.5″ — 1 white, 1 blue

12.5″ — 1 blue

8″ — 1 white, 1 blue

6.5″ — 1 white, 1 blue

5″ — 1 white, 1 blue

3.5″ — 1 blue

2″ — 3 white, 1 blue

2014-08-19 13.34.53

Begin with the center 4 squares.  There will be 3 whites and 1 blue.  Piece them as a 4-patch.

2014-08-19 13.39.01

I laid out the next few pieces to be sure I was getting them placed correctly.

2014-08-19 13.39.462014-08-19 13.43.16

Keep adding the strips in the order shown in the following pictures.

2014-08-19 13.47.072014-08-19 13.47.55

2014-08-19 13.52.102014-08-19 13.54.42

2014-08-19 13.57.132014-08-19 13.58.52