Author Archives: lawson7616

February/March 2014 BOM

Standard

This block will be made in February to bring to the March meeting.

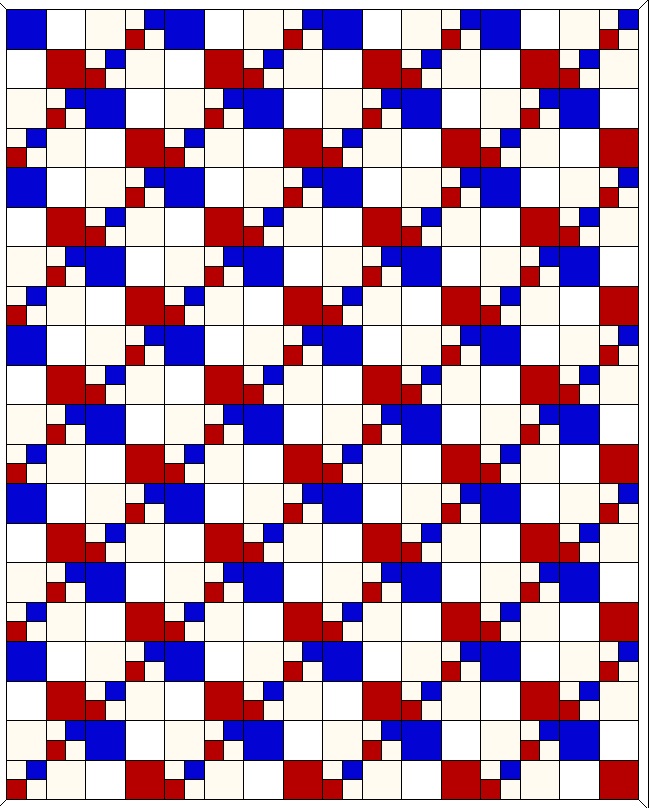
I know this post is way early, but with the big, snowy day we are having I thought you might want to get a head start and make lots of these fun blocks.  This block looks a lot harder than it really is.  It seriously took me maybe 15 minutes to make–and I was going slowly and taking pictures.  It is called Delectable Mountain and there are several ways you can lay this block out to achieve different looks.  This process will actually make two of the blocks that will end up being a little taller than they are wide.

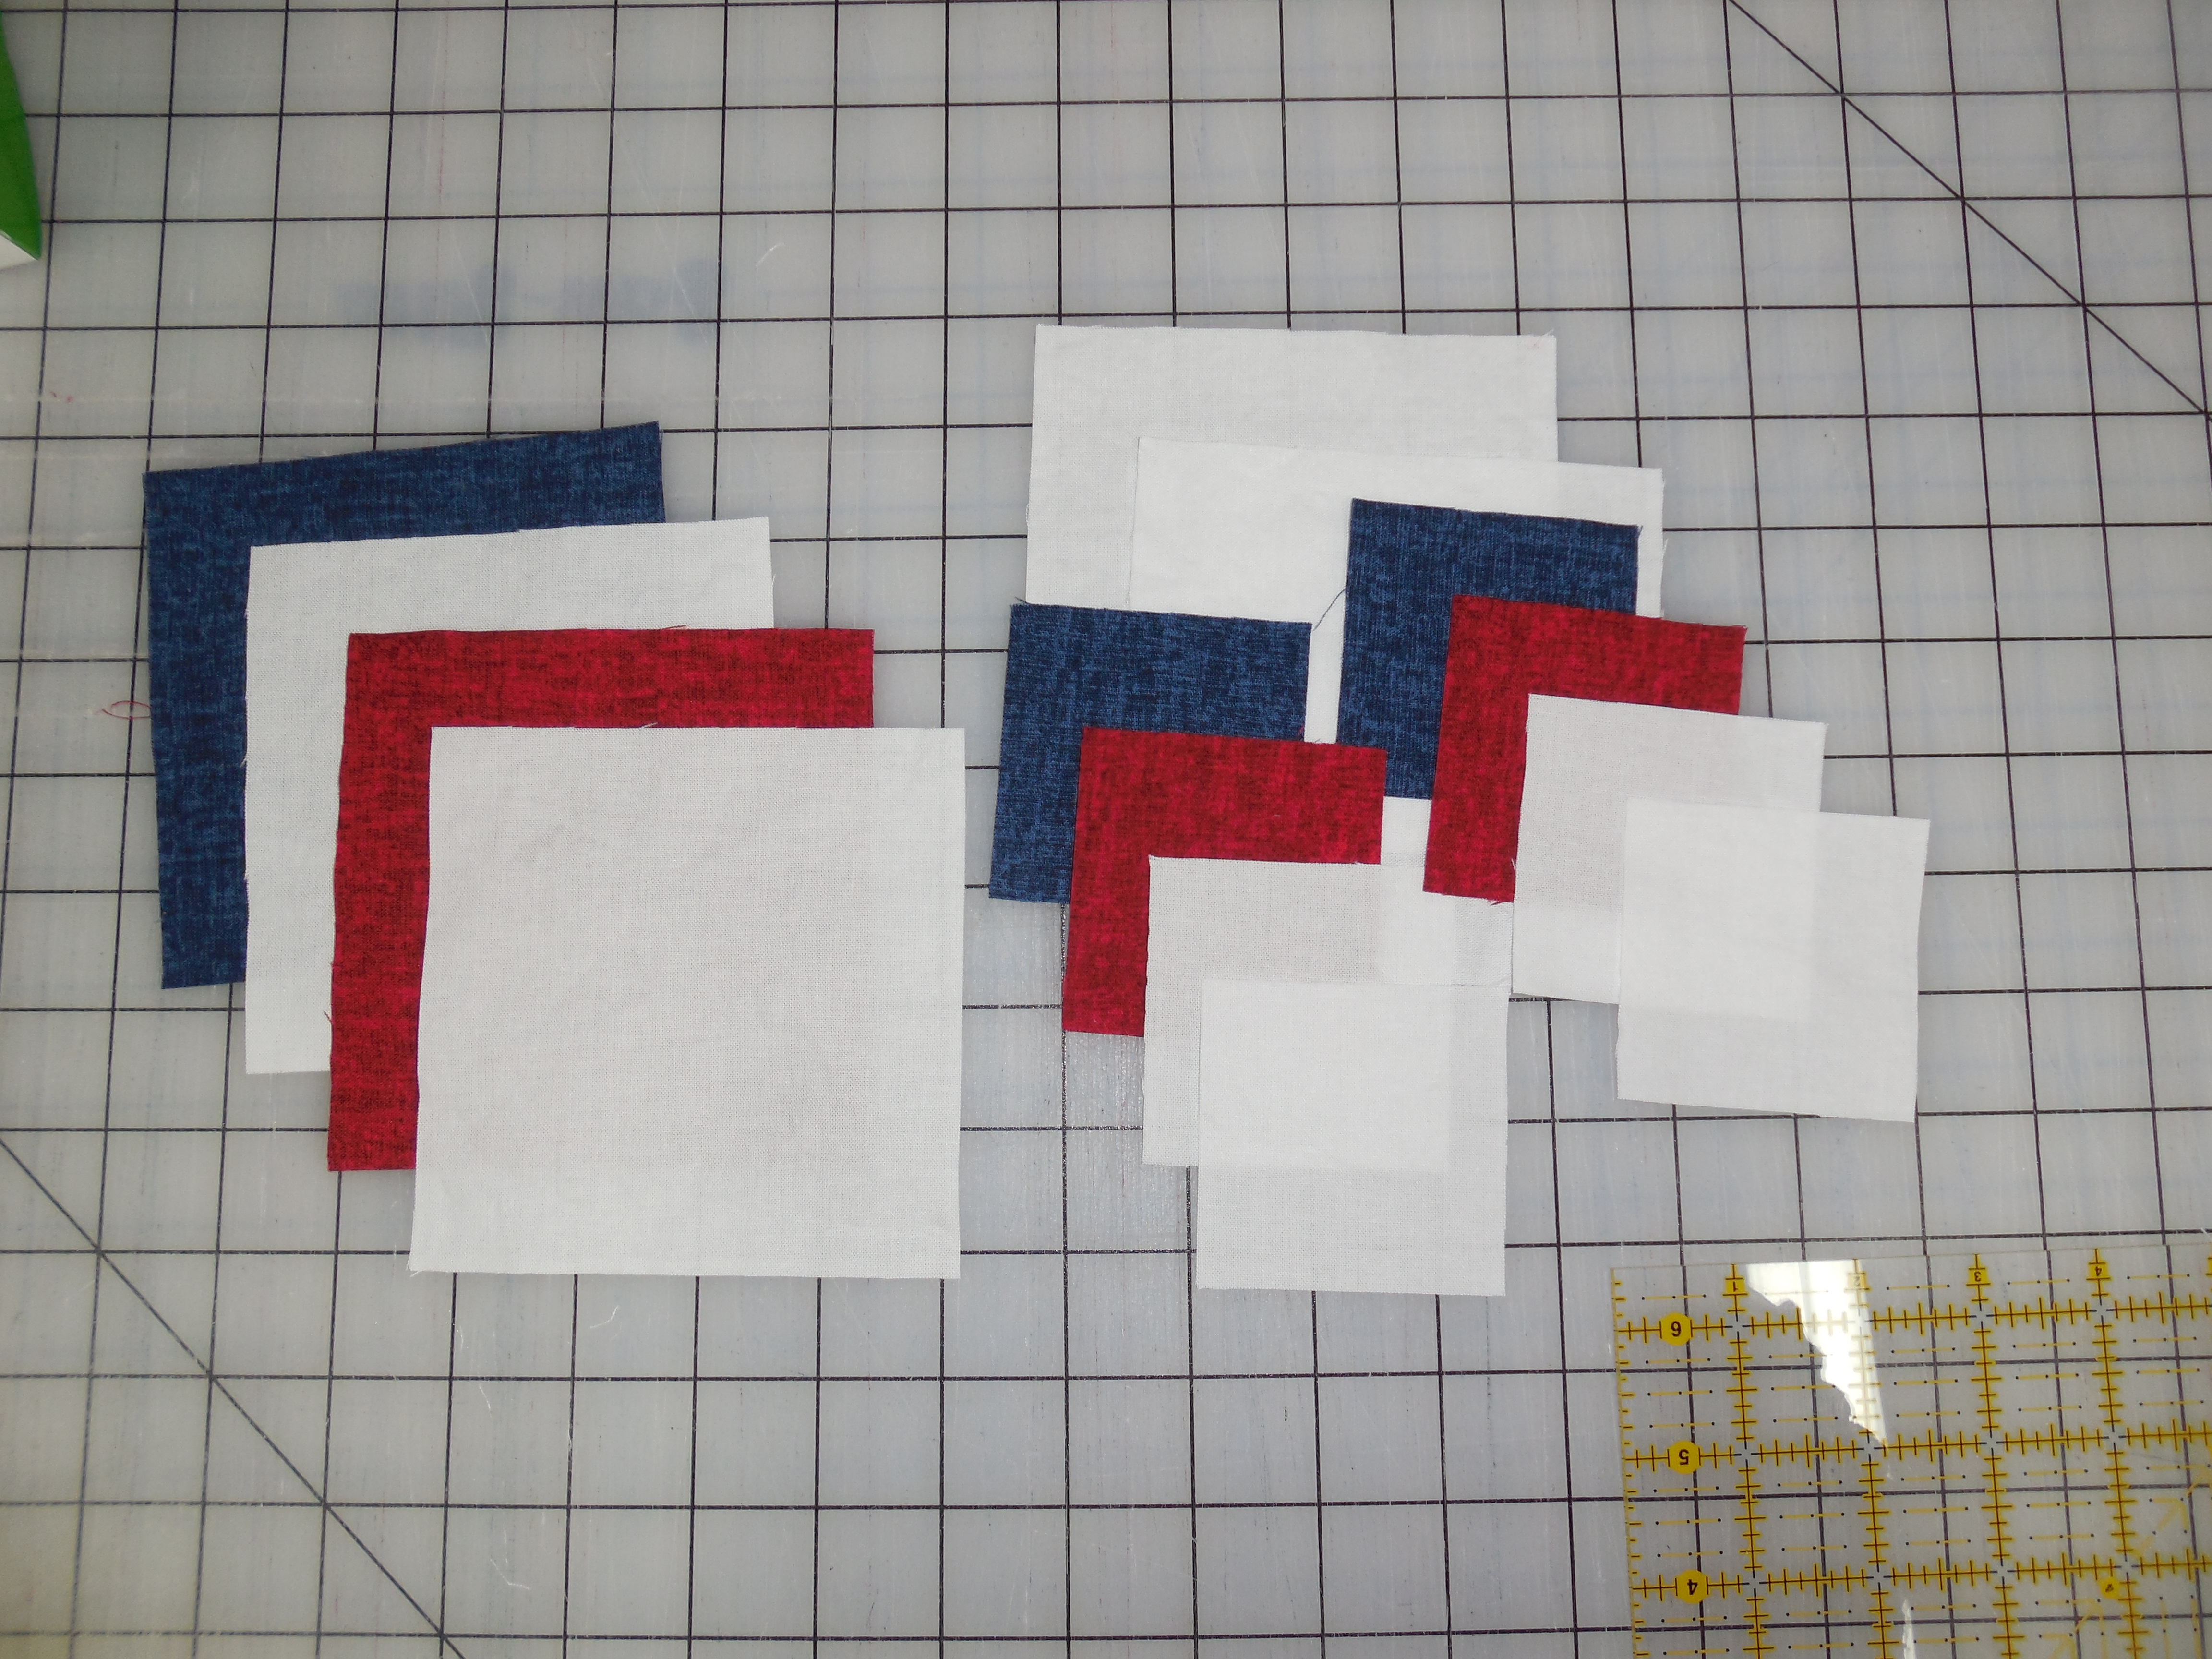
We will be using two fabrics:

1.  a white or cream that is either solid or reads as a solid.

2.  a medium to dark print or solid.

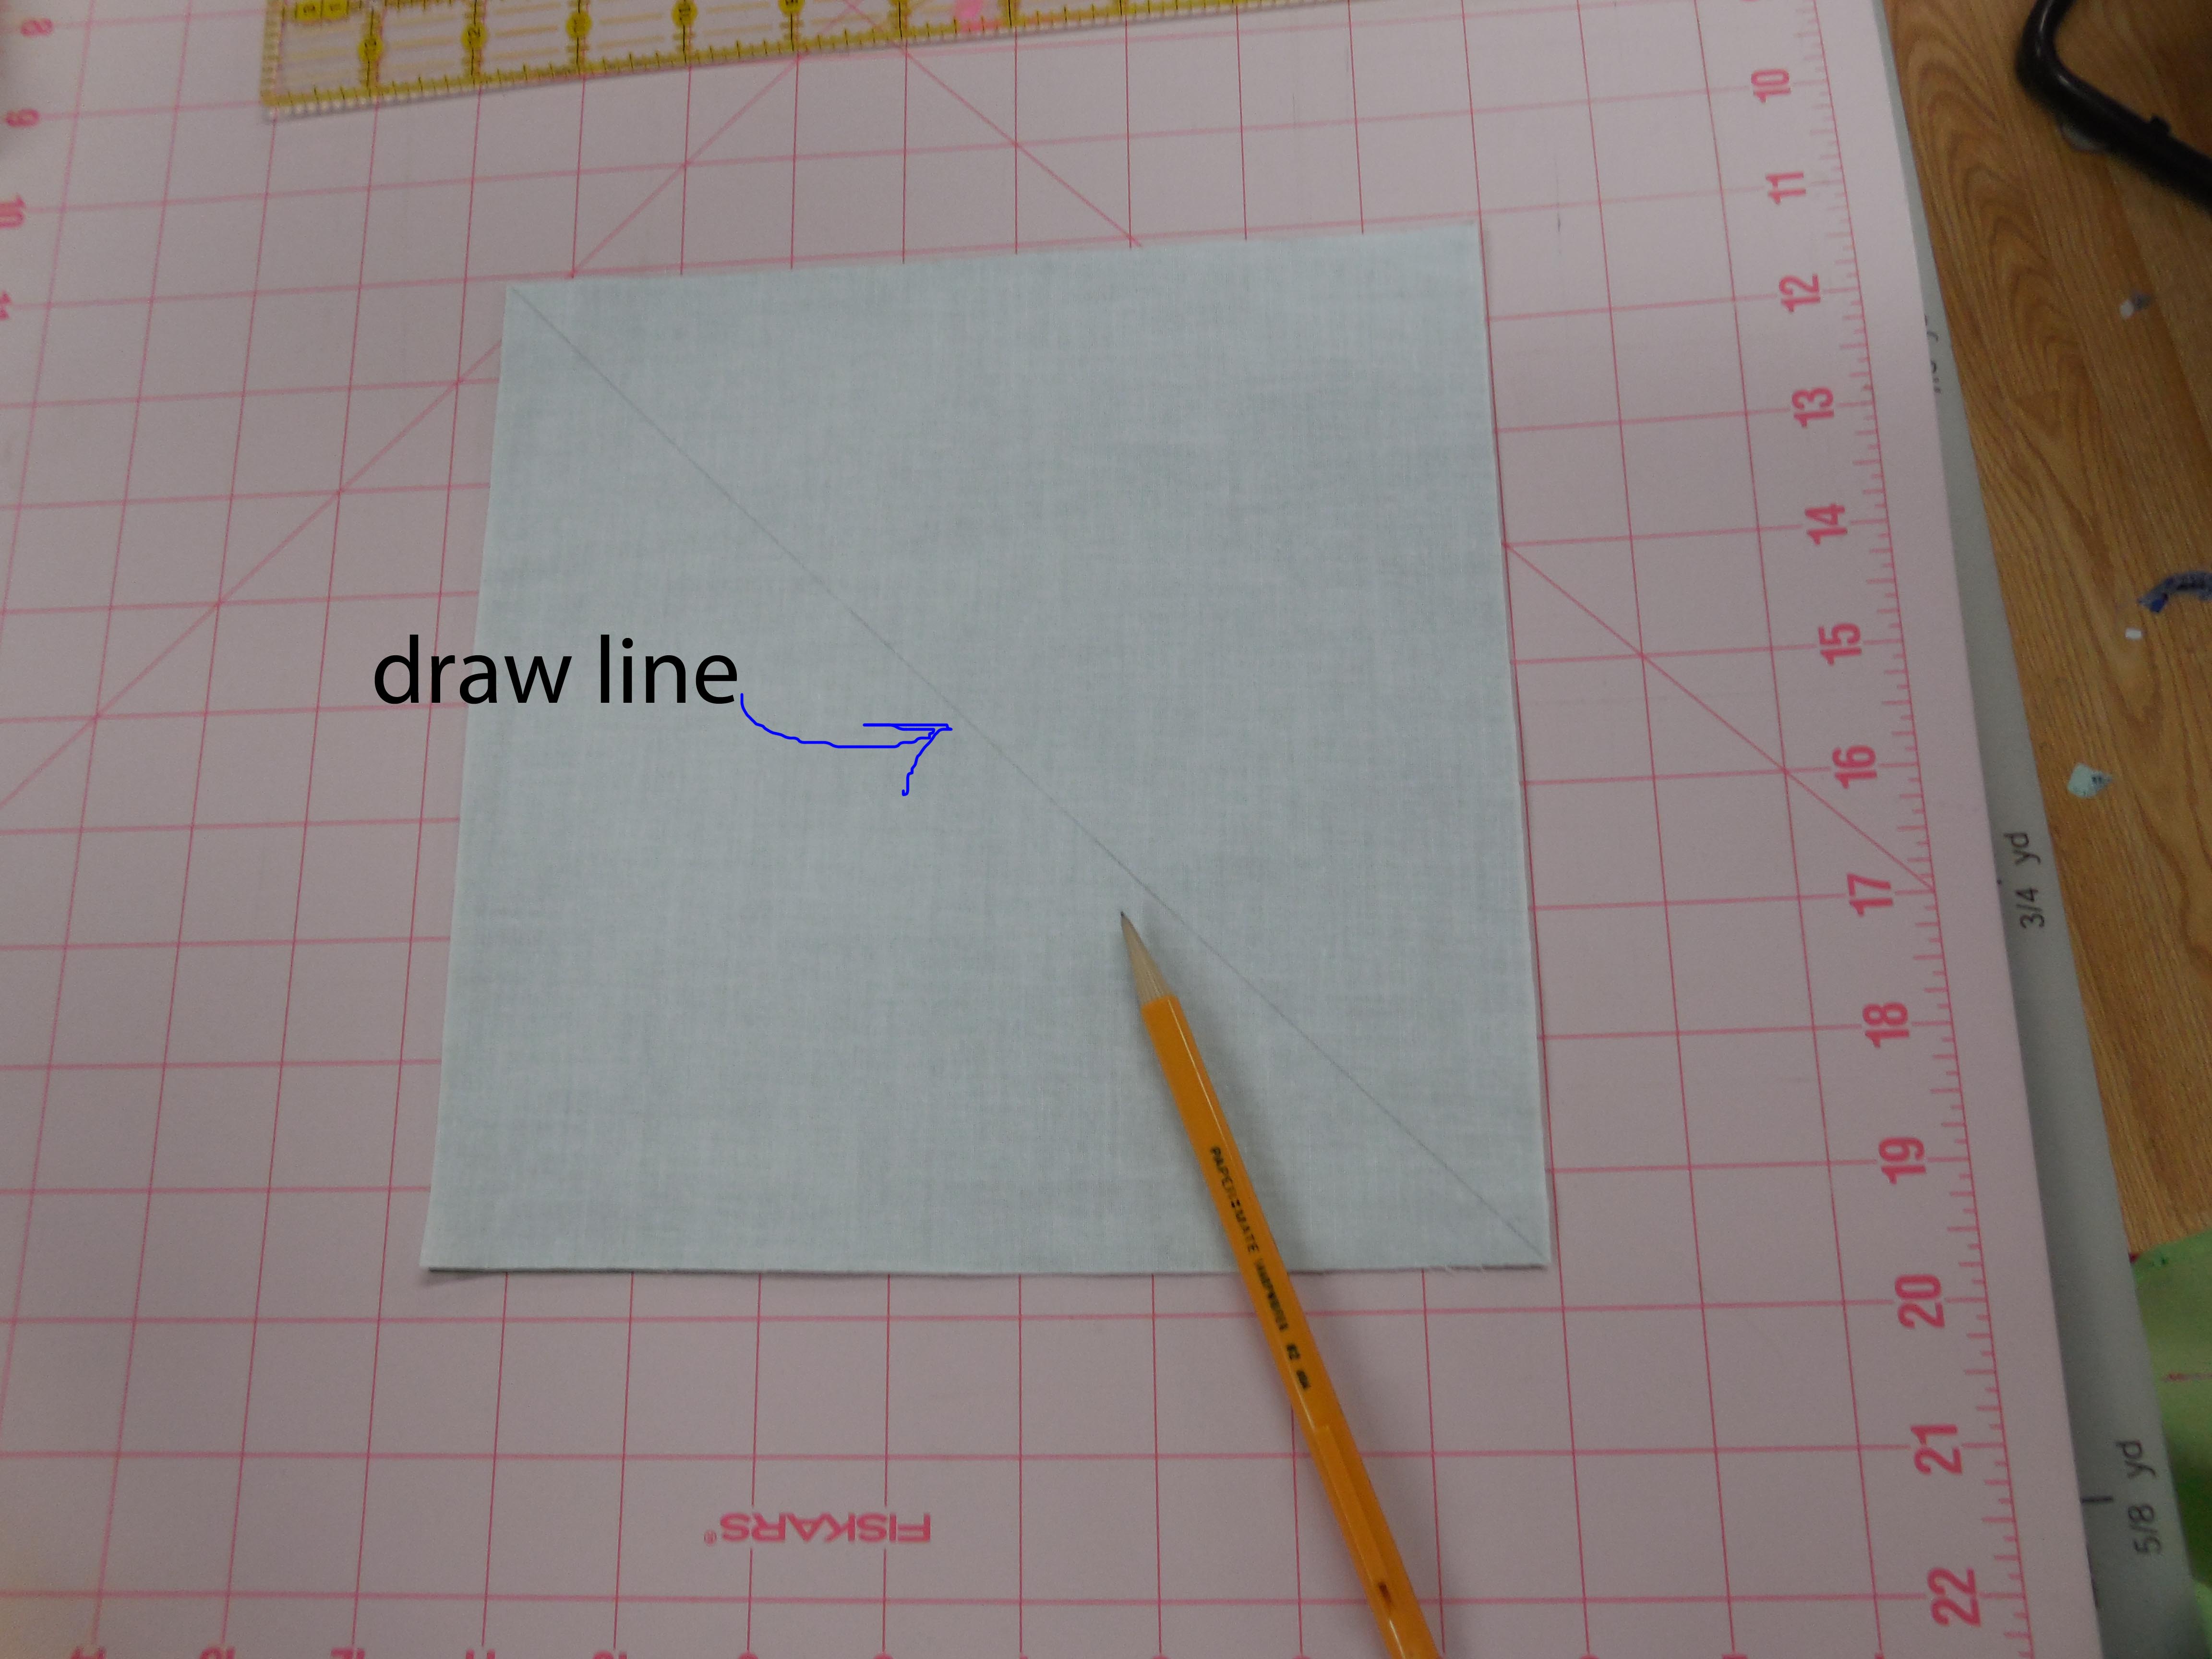
You will need to cut an 8 1/2″ square from each of your fabrics

DSCN0324

It is hard to see in the photo below, but you will carefully draw a diagonal line on the back of the neutral fabric.  (I was so excited to do this picture.  I actually photoshopped my first picture for the blog.)

DSCN0326_edited-1

Then stitch 1/4″ on each side of the line.  (We’ve used this method before.)

DSCN0327

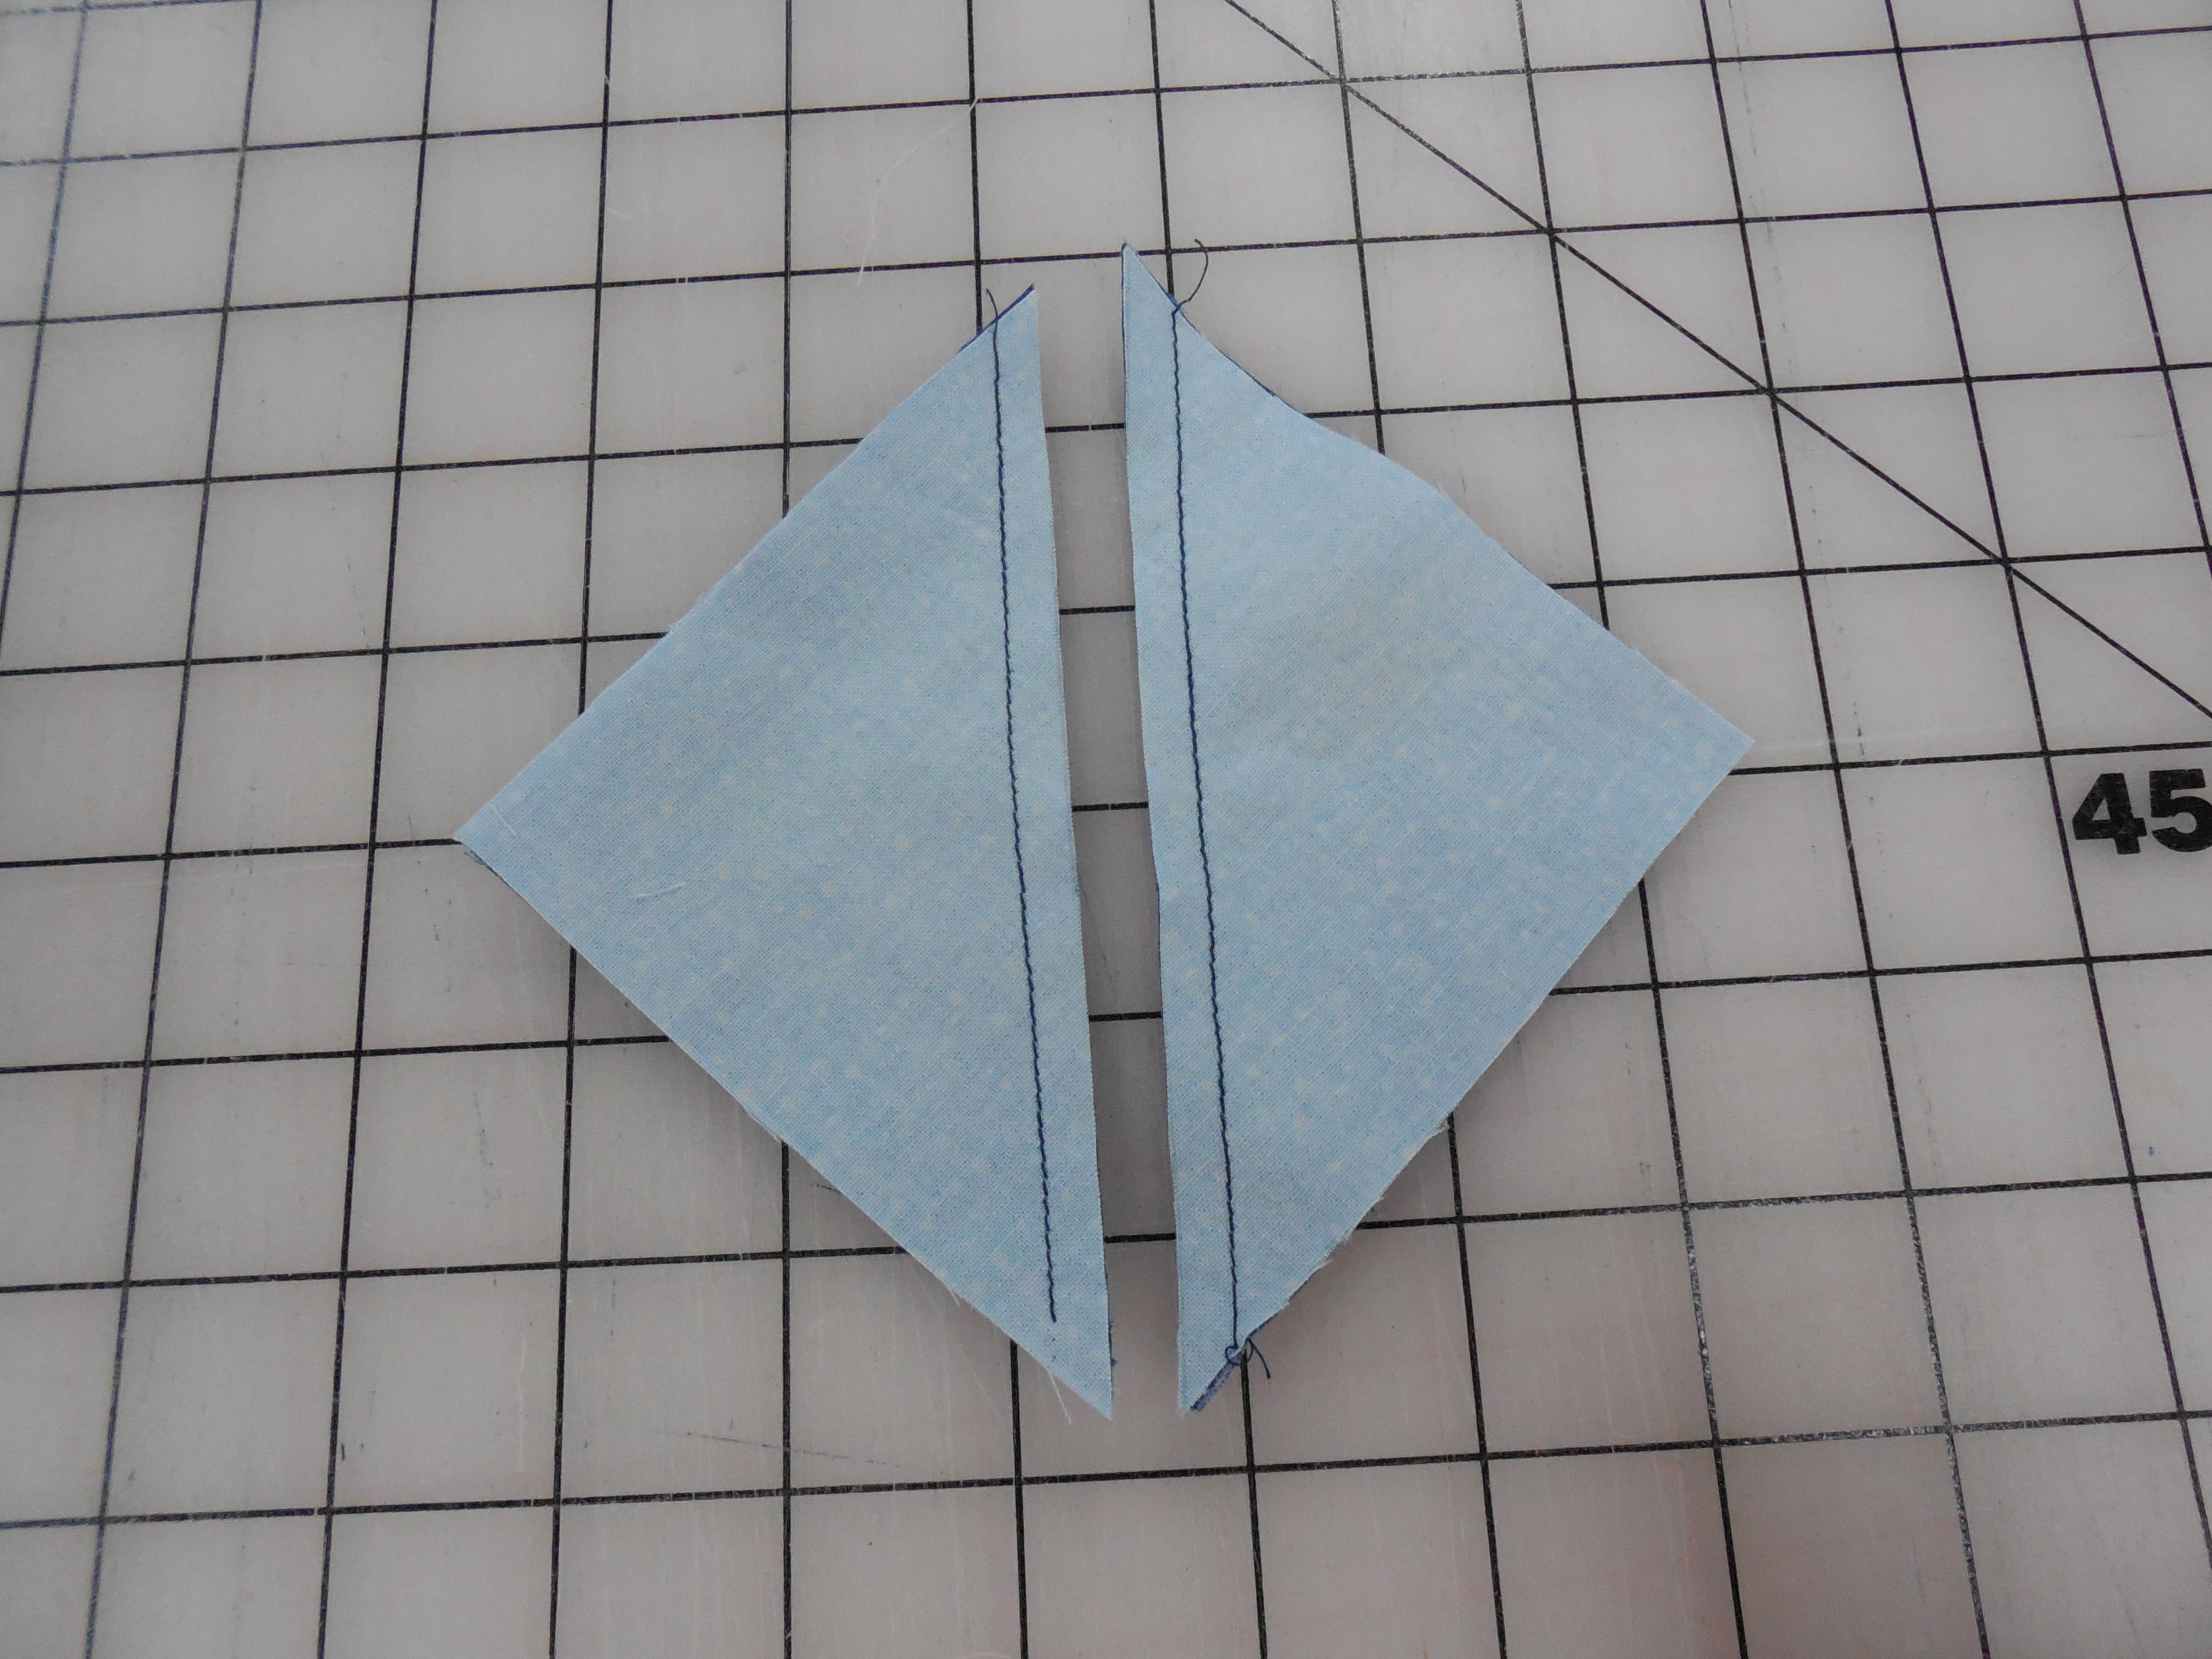
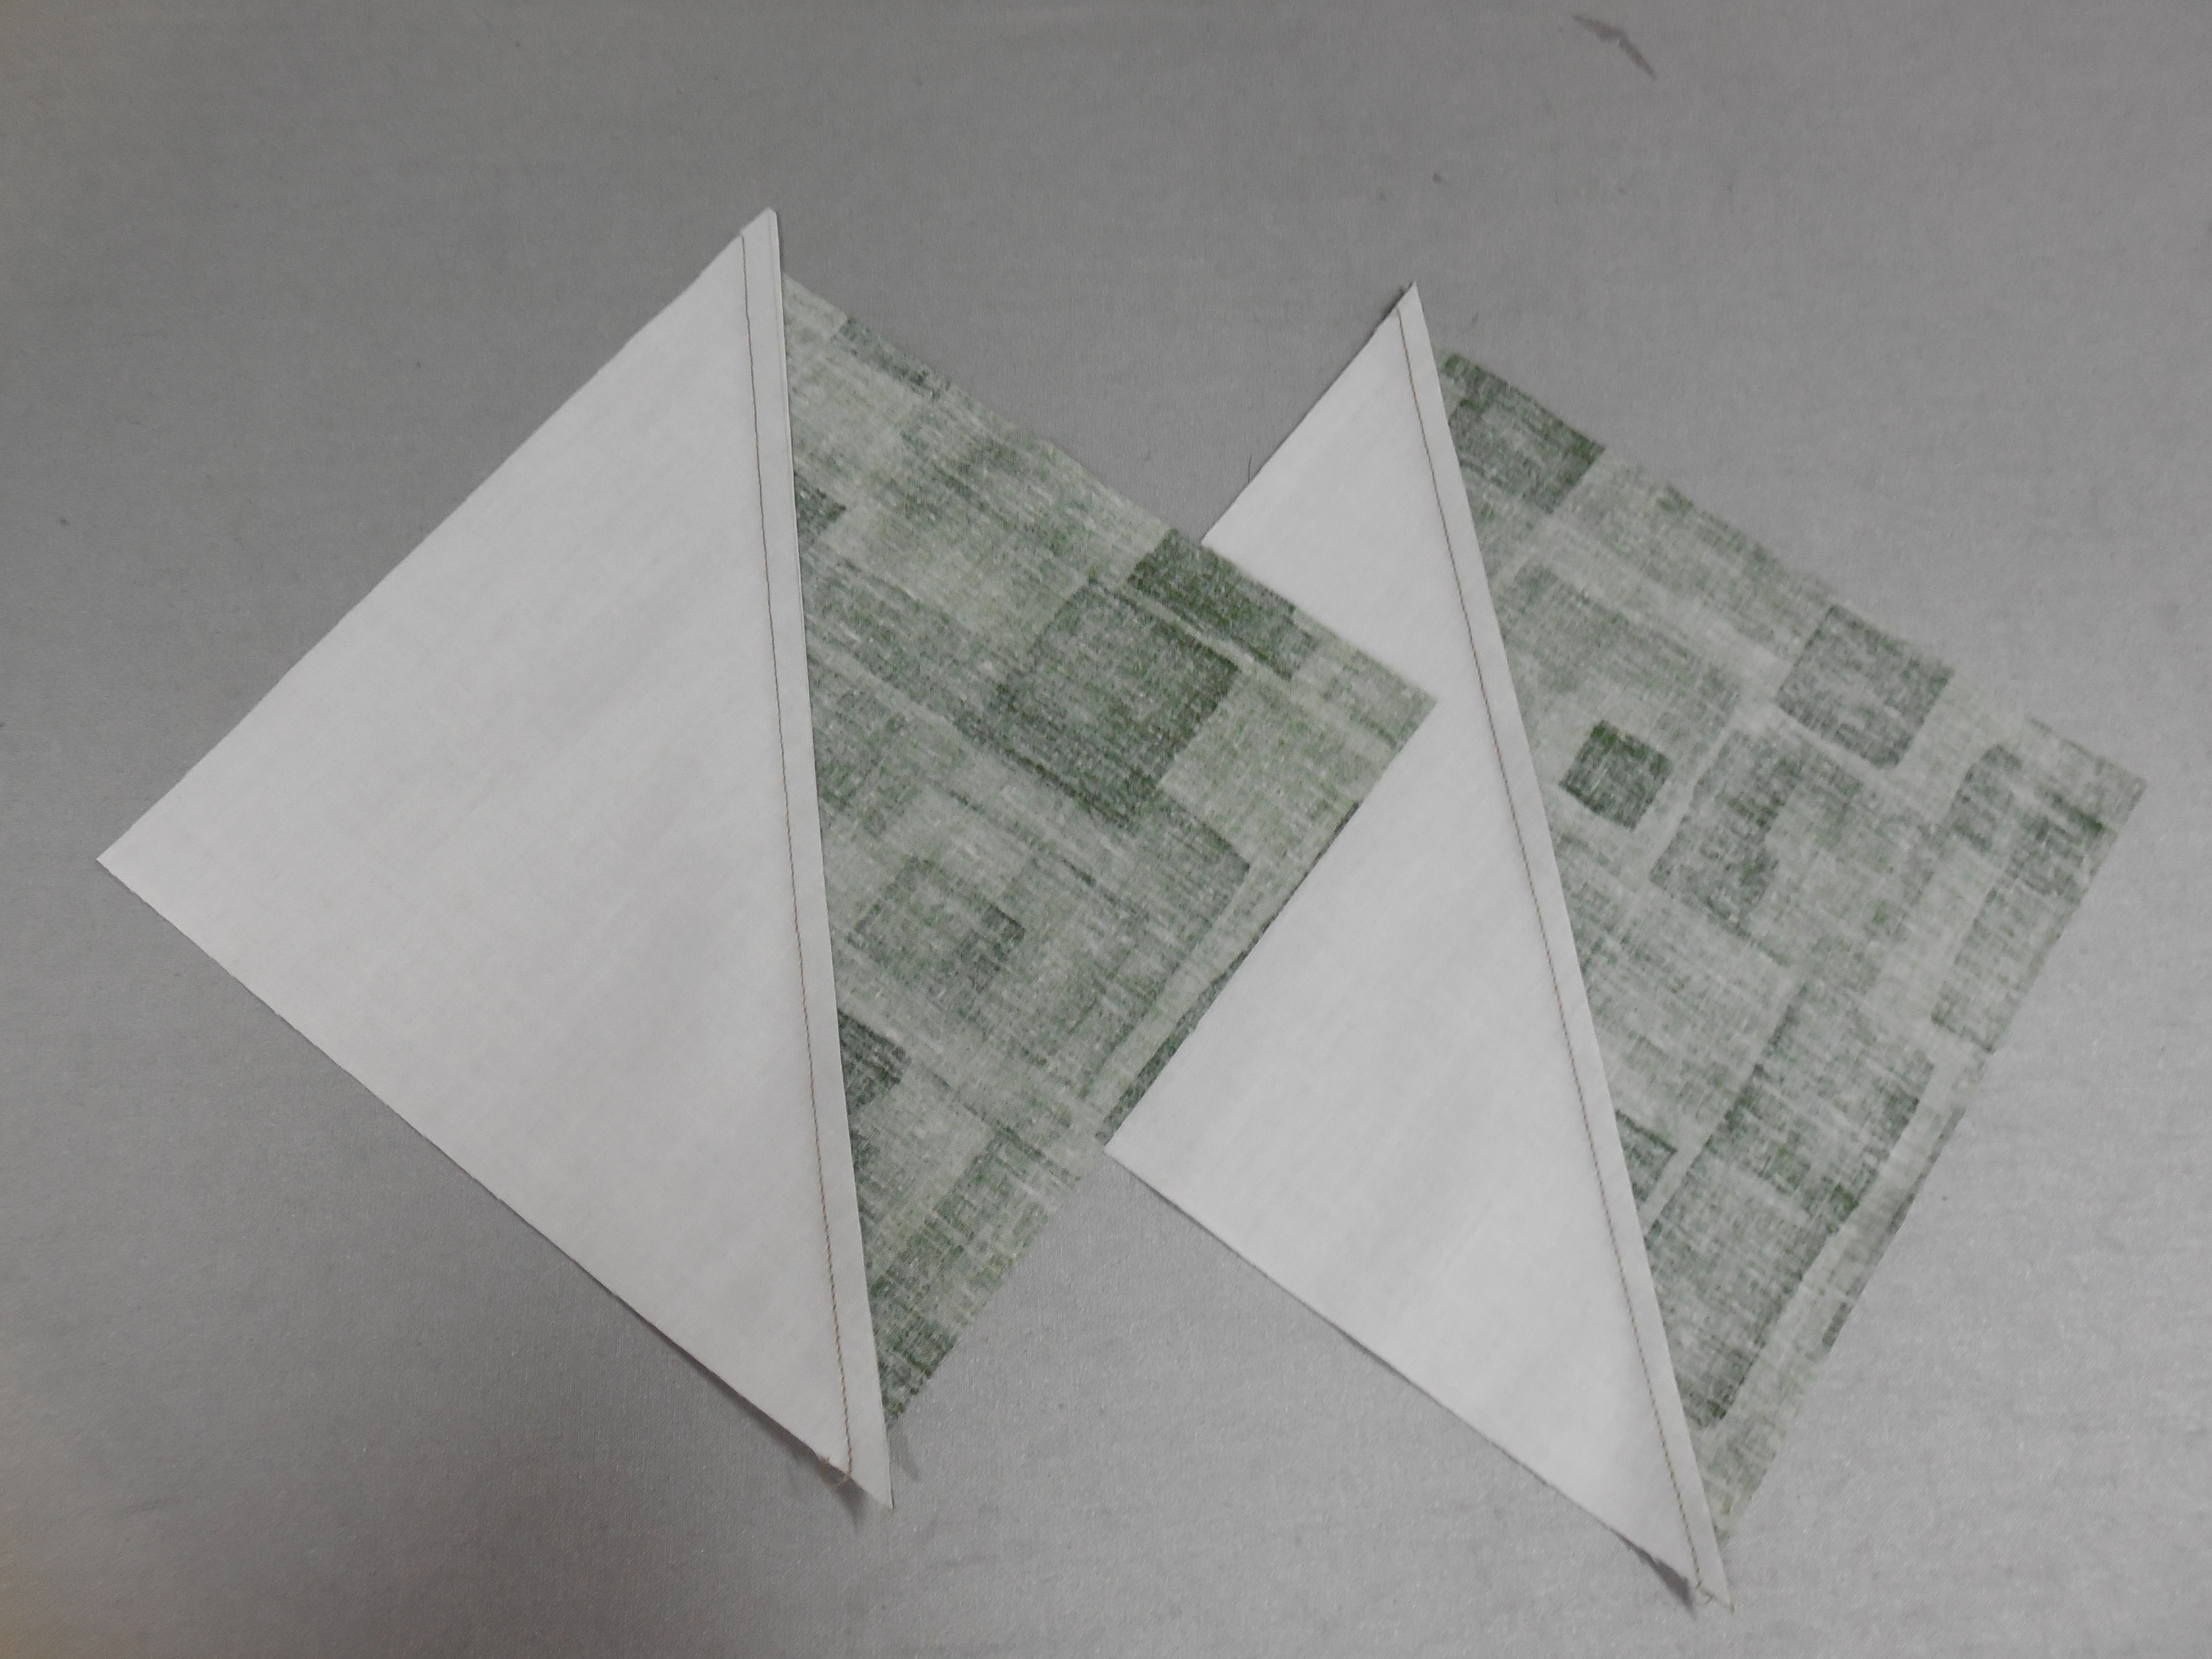
Cut the piece in half along the drawn line between the seams

DSCN0329

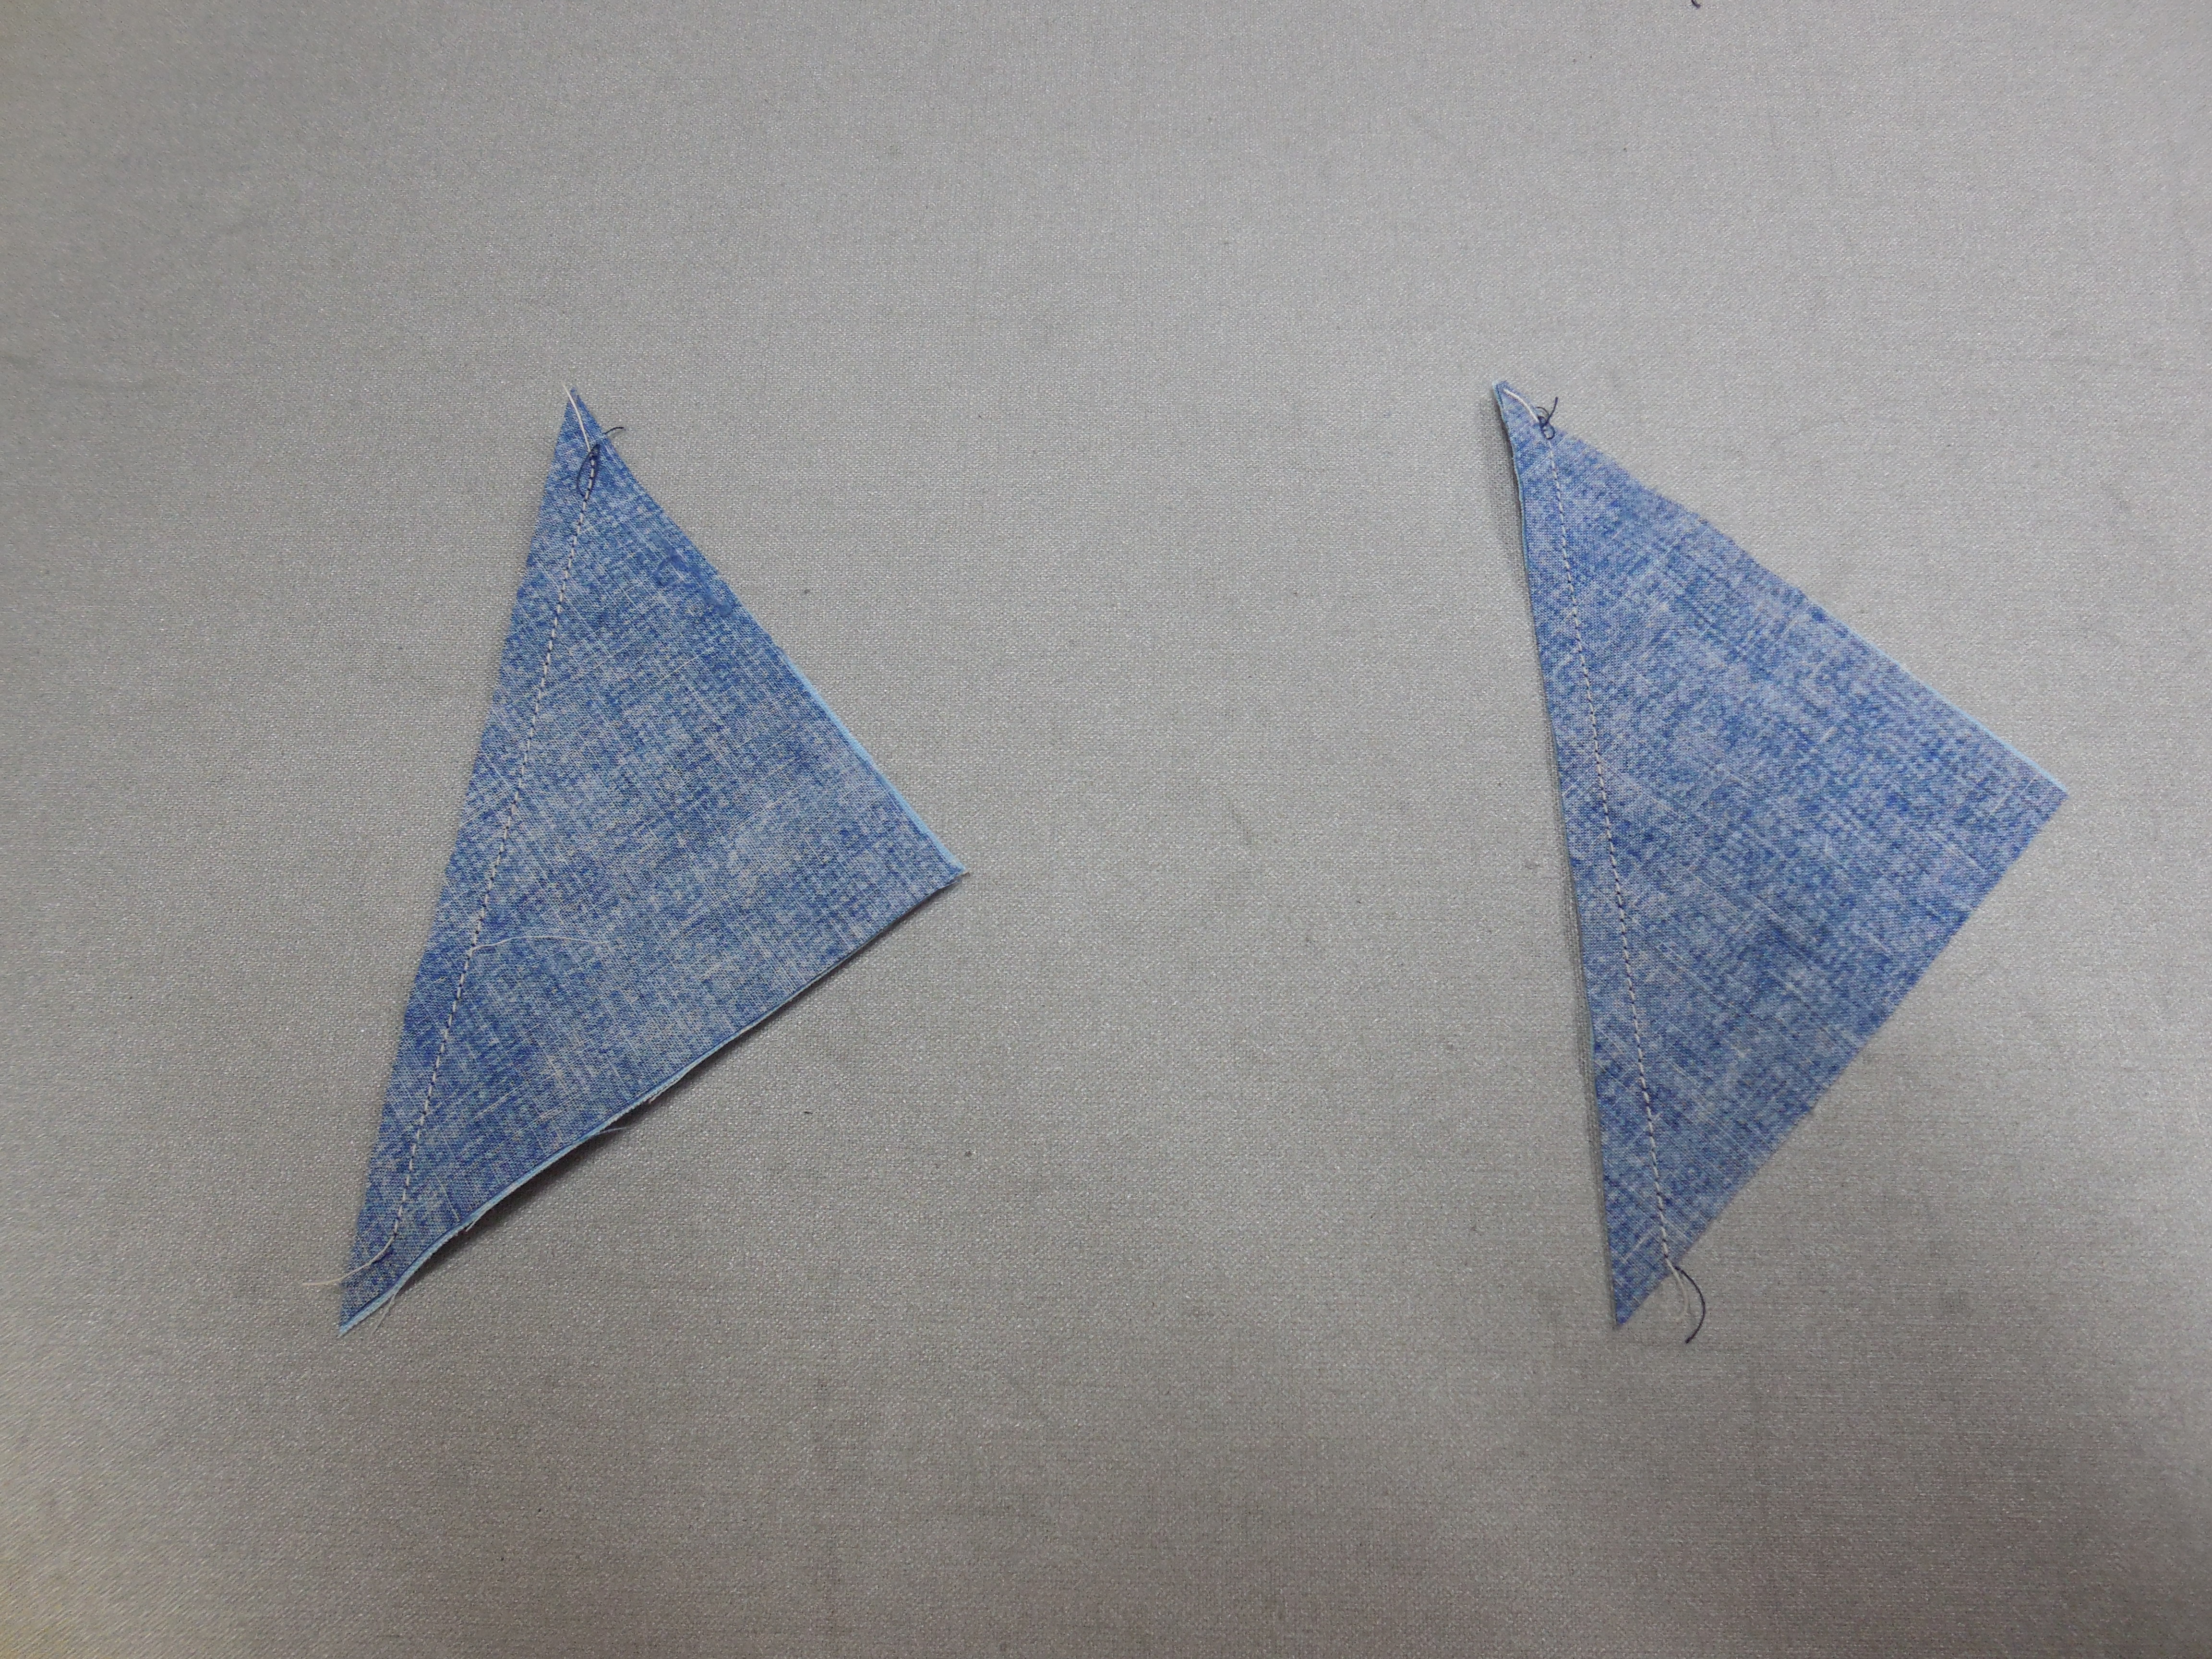
Press seams toward the dark fabric

DSCN0330

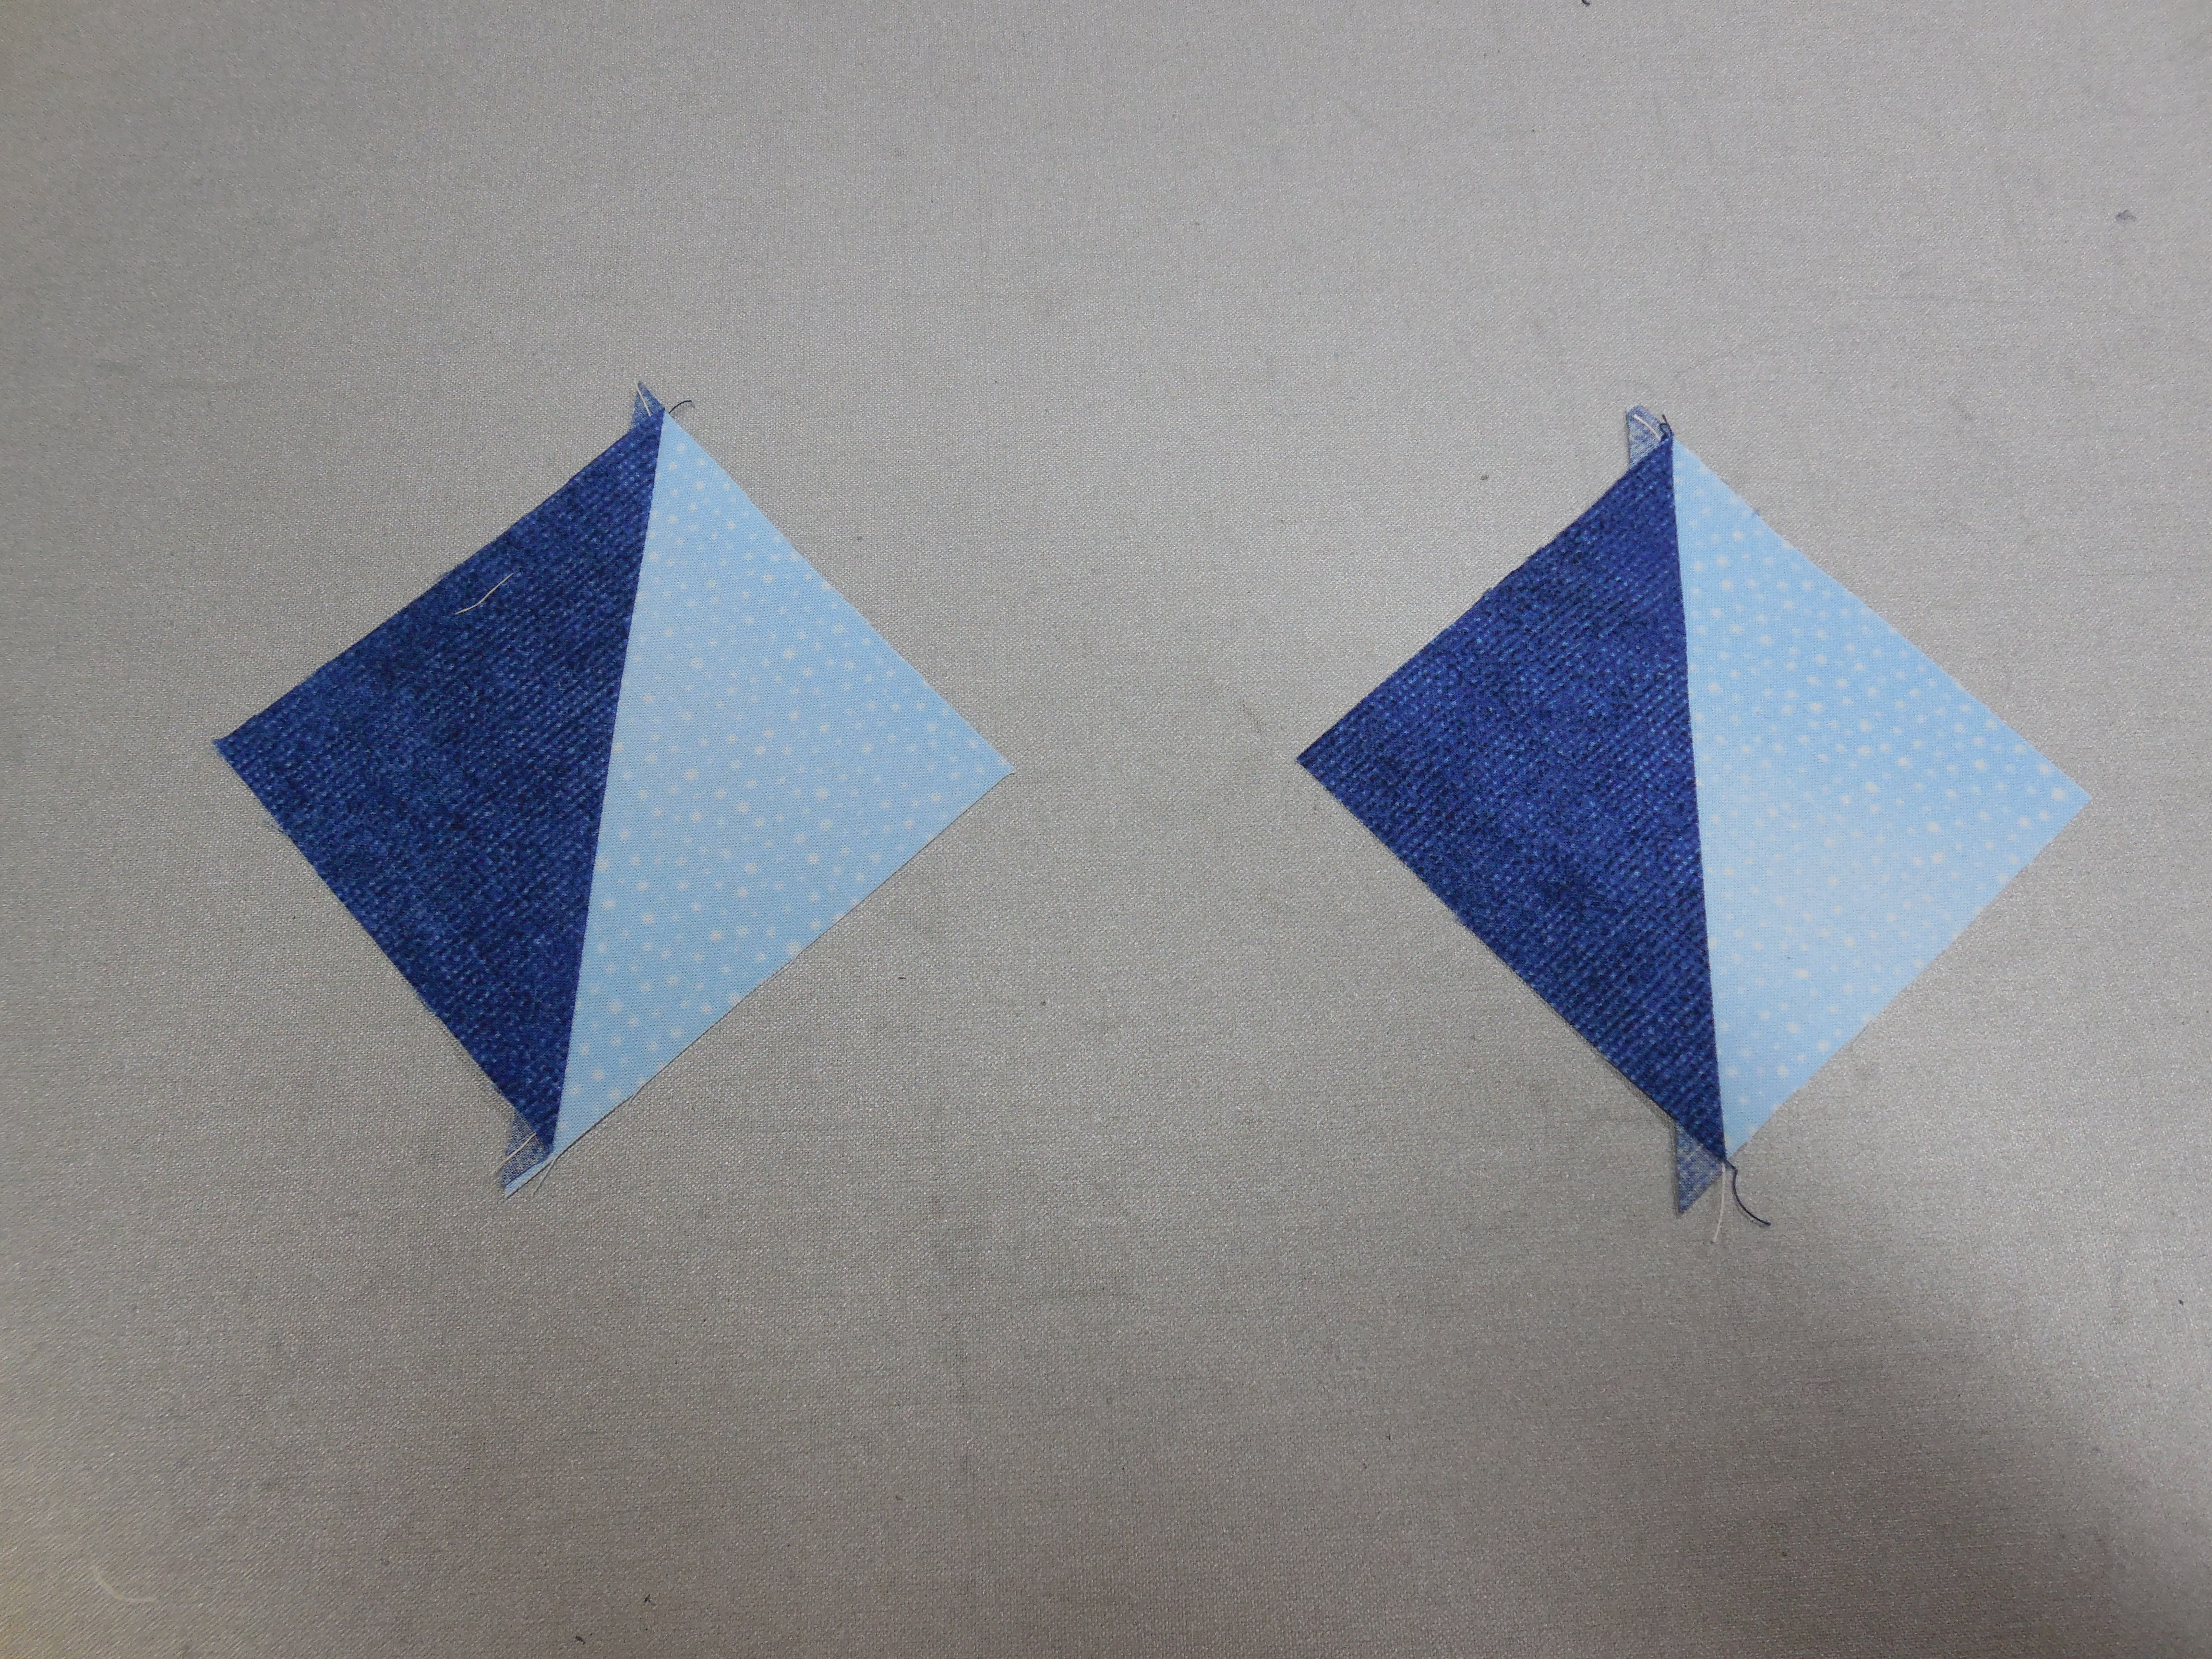
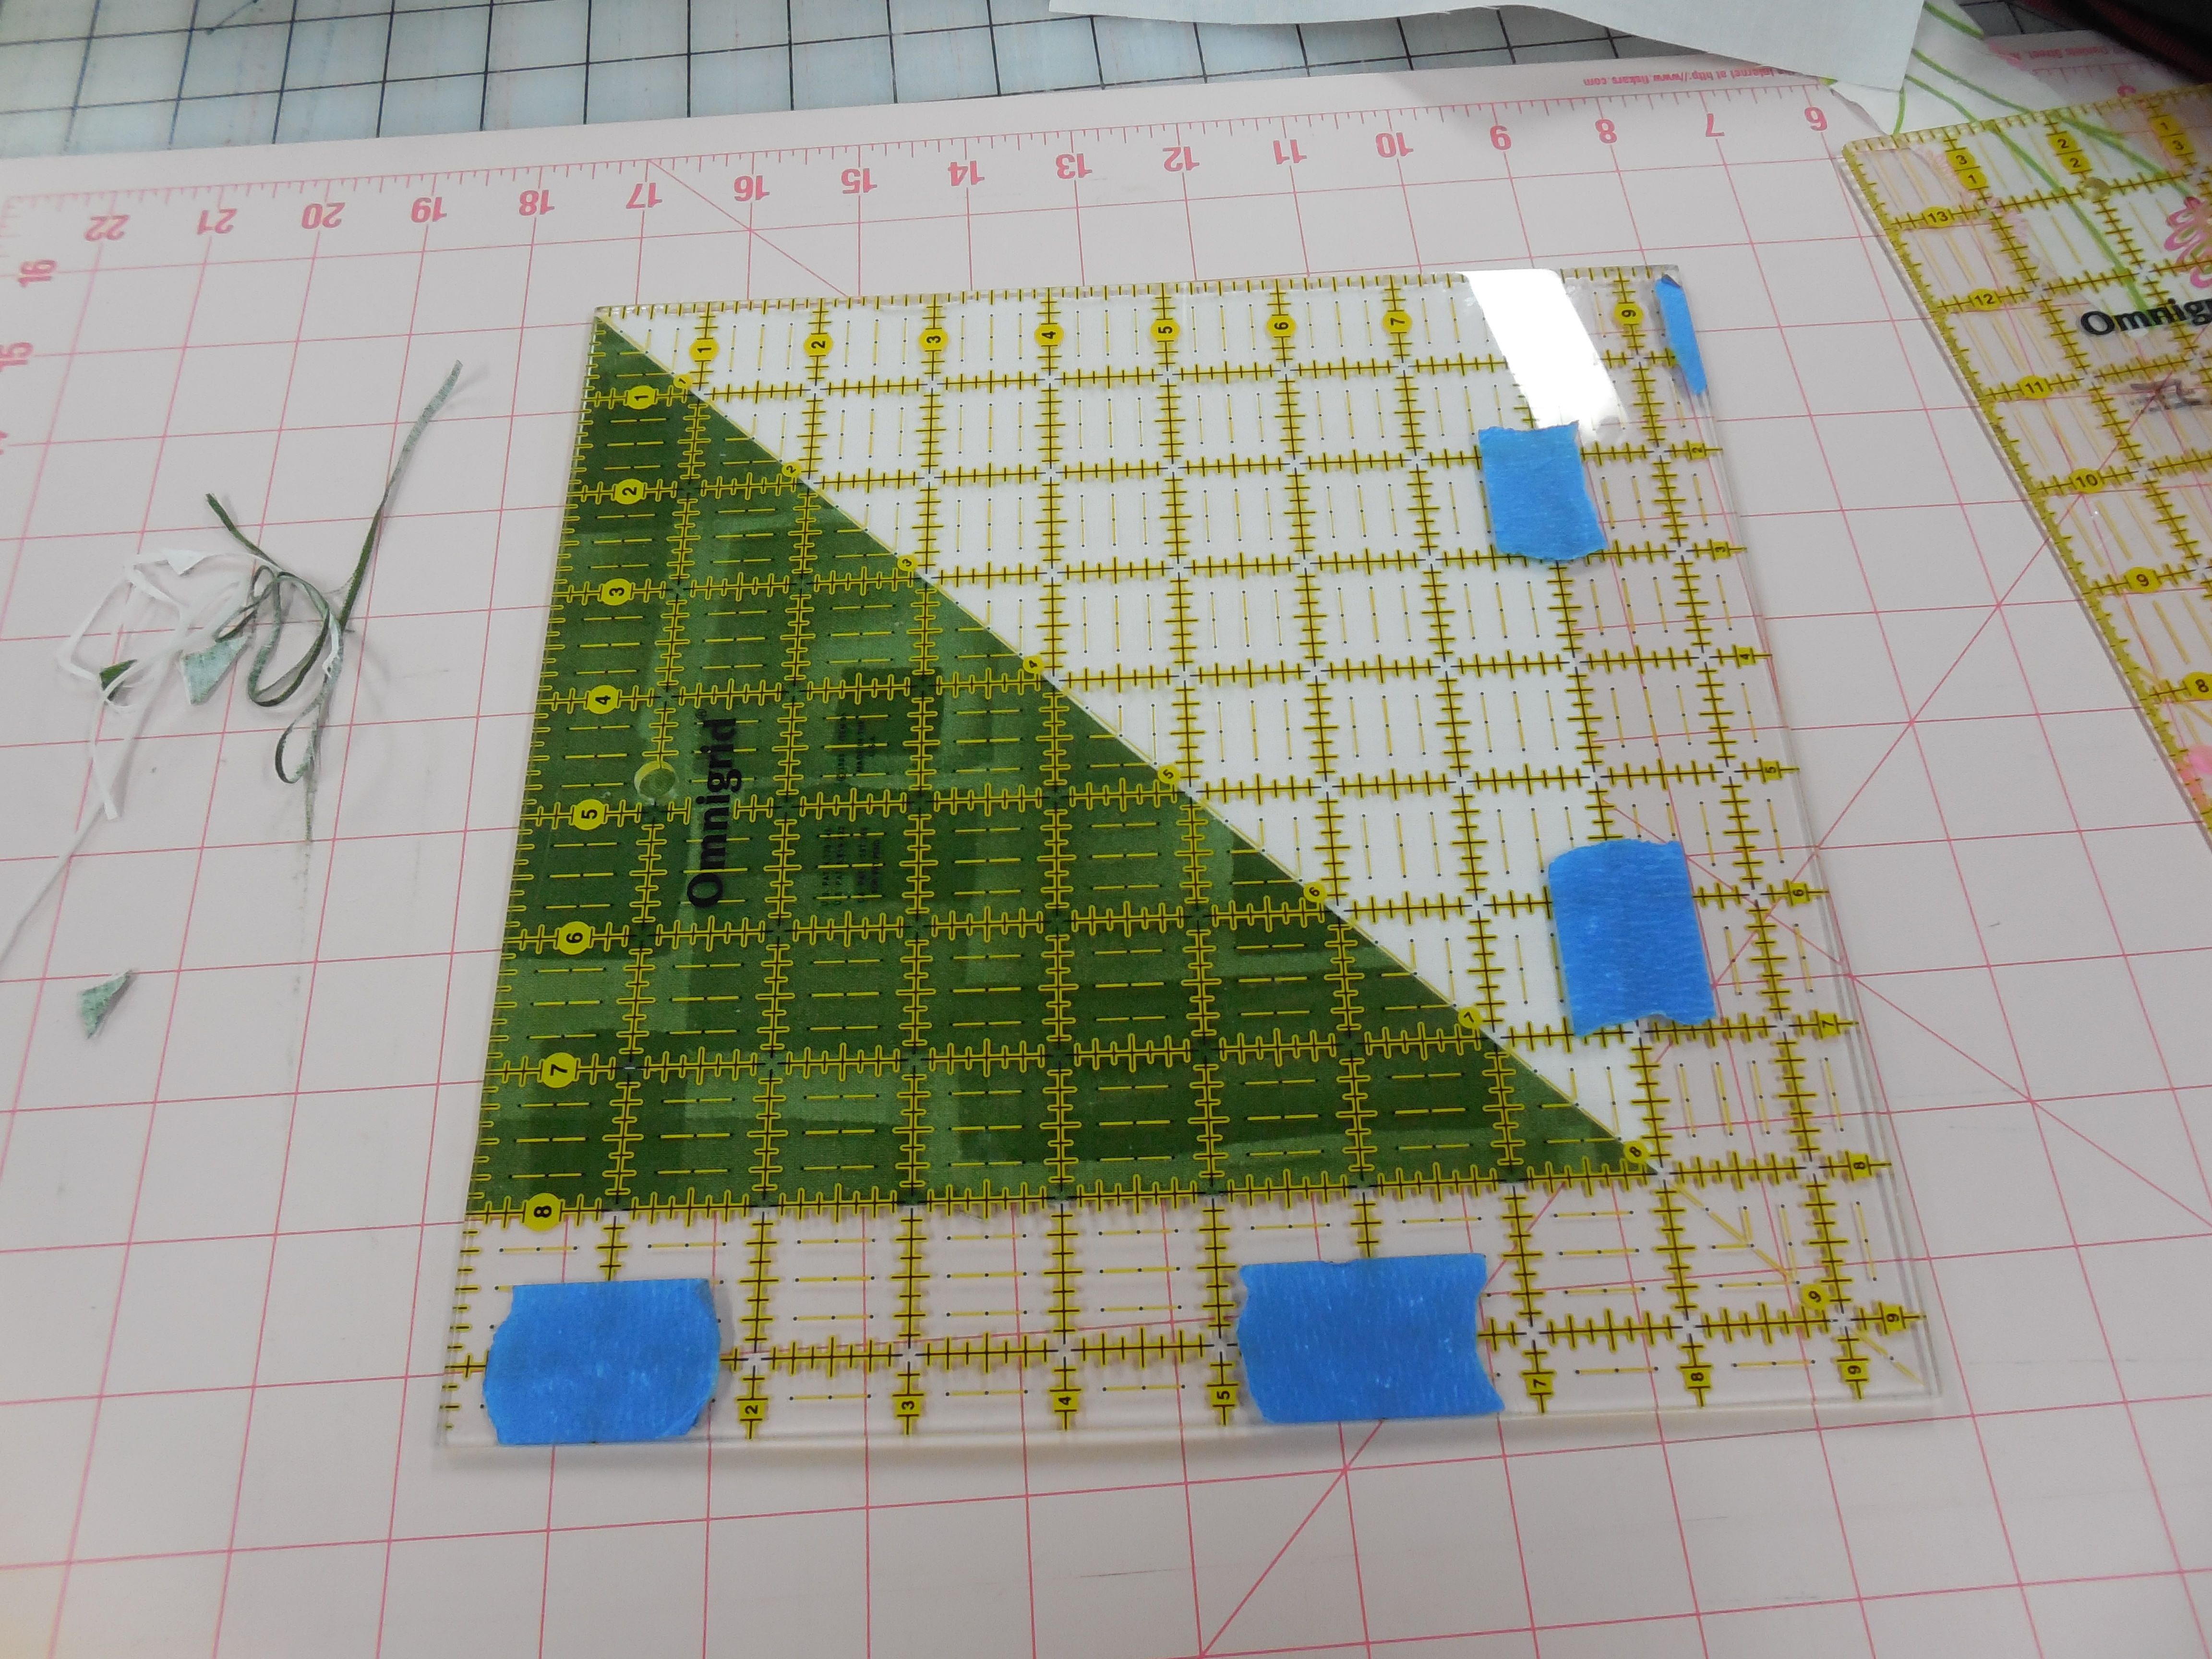
Trim up the squares to exactly 8″ both ways

DSCN0331

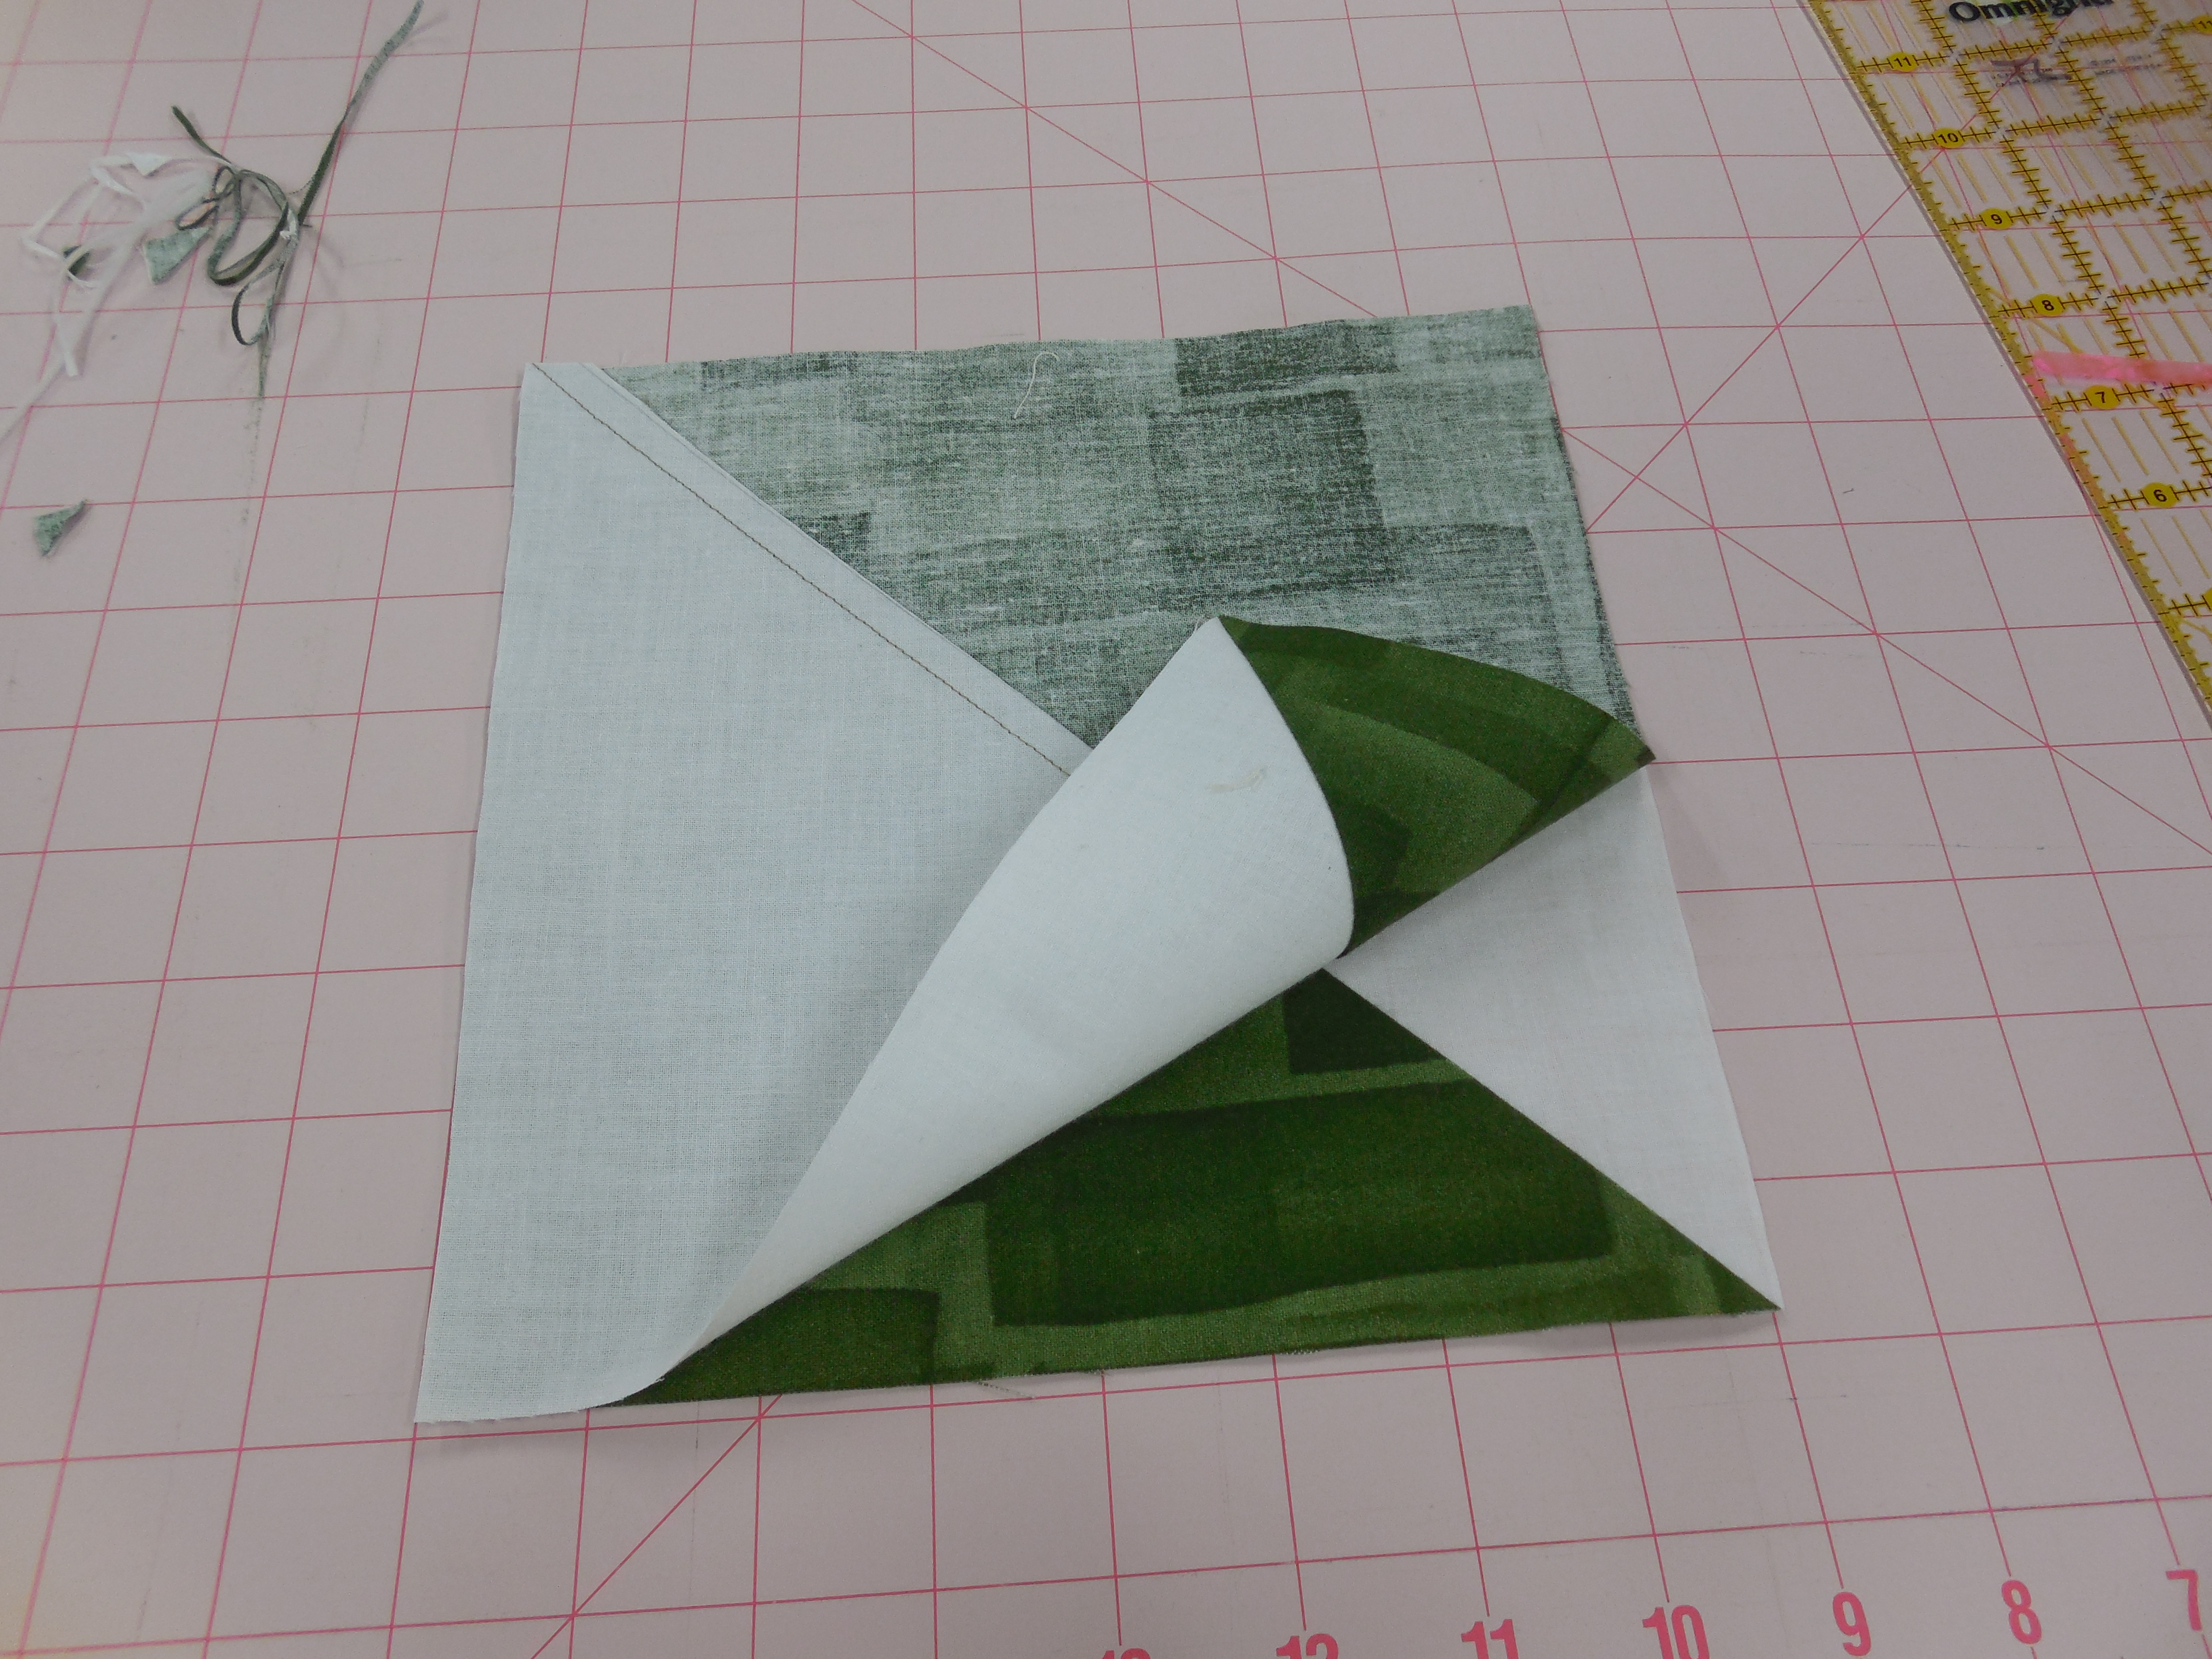
Place the squares right sides together with the dark fabric opposite the neutral fabric.  Try to nest the seams together, but it is most important that they are lined up exactly on the sides.

DSCN0332

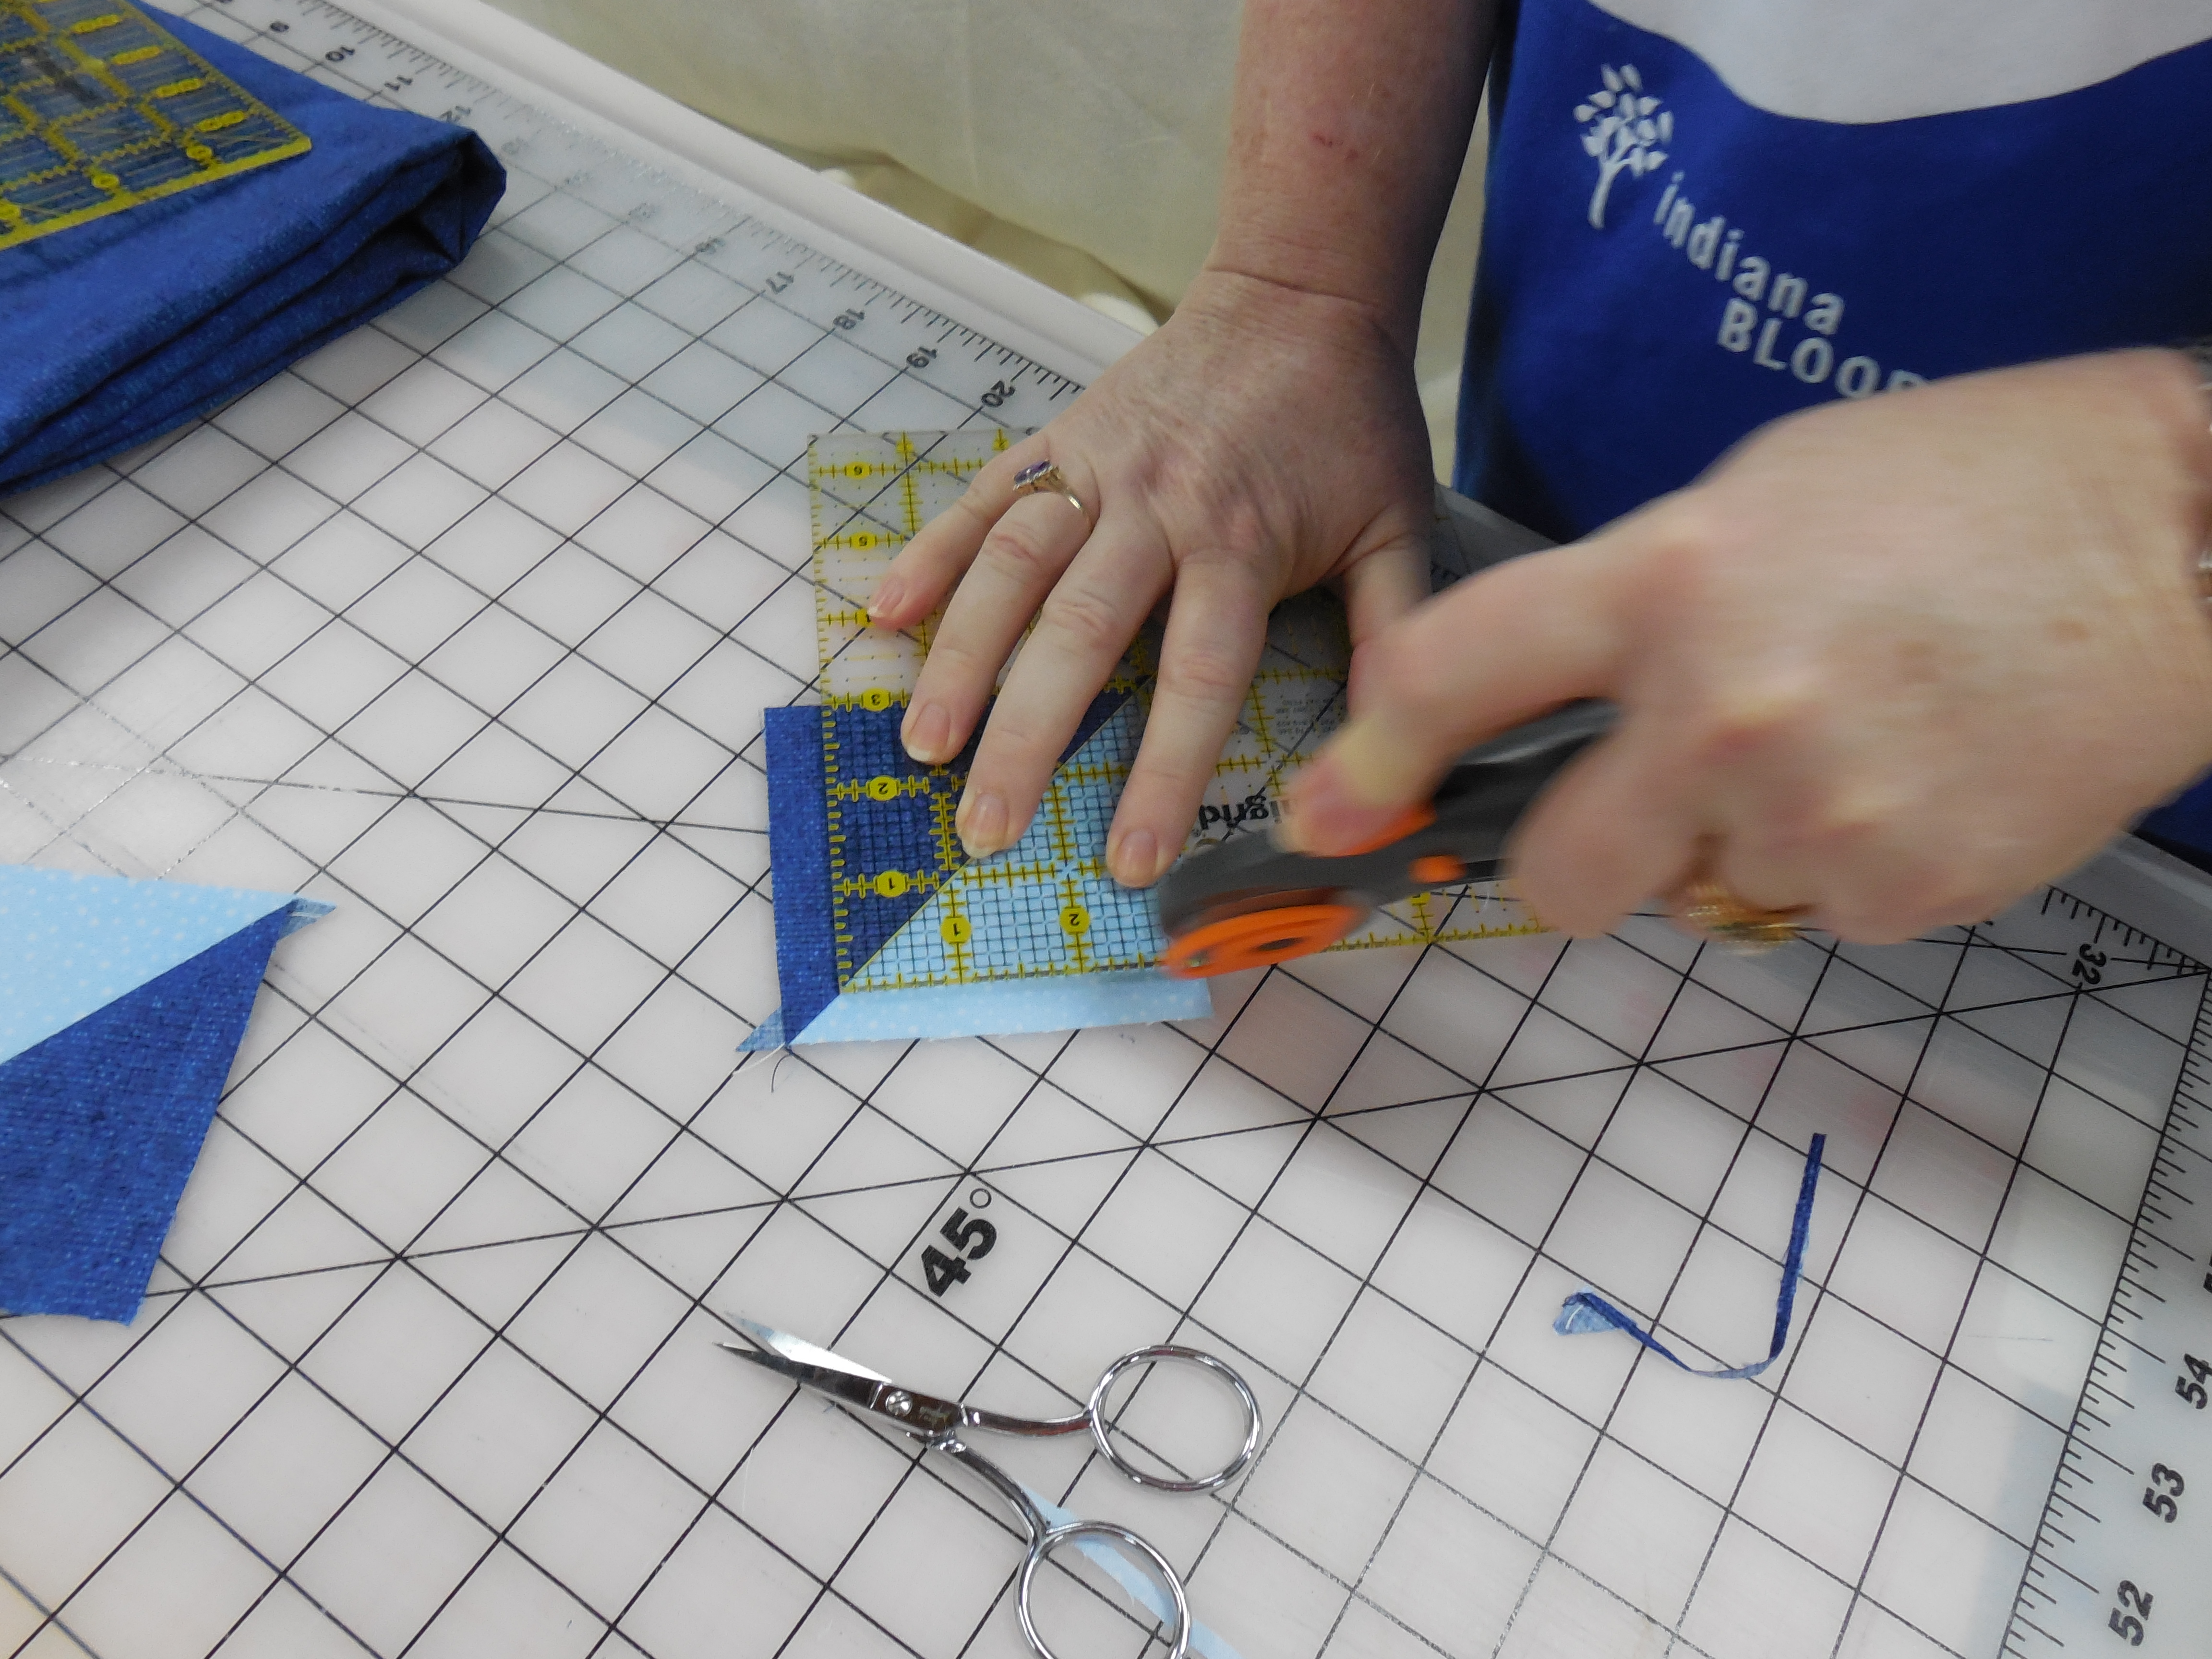
Now for the fun part!  Using your ruler and rotary cutter, cut the layered square into 2 inch segments.

DSCN0333

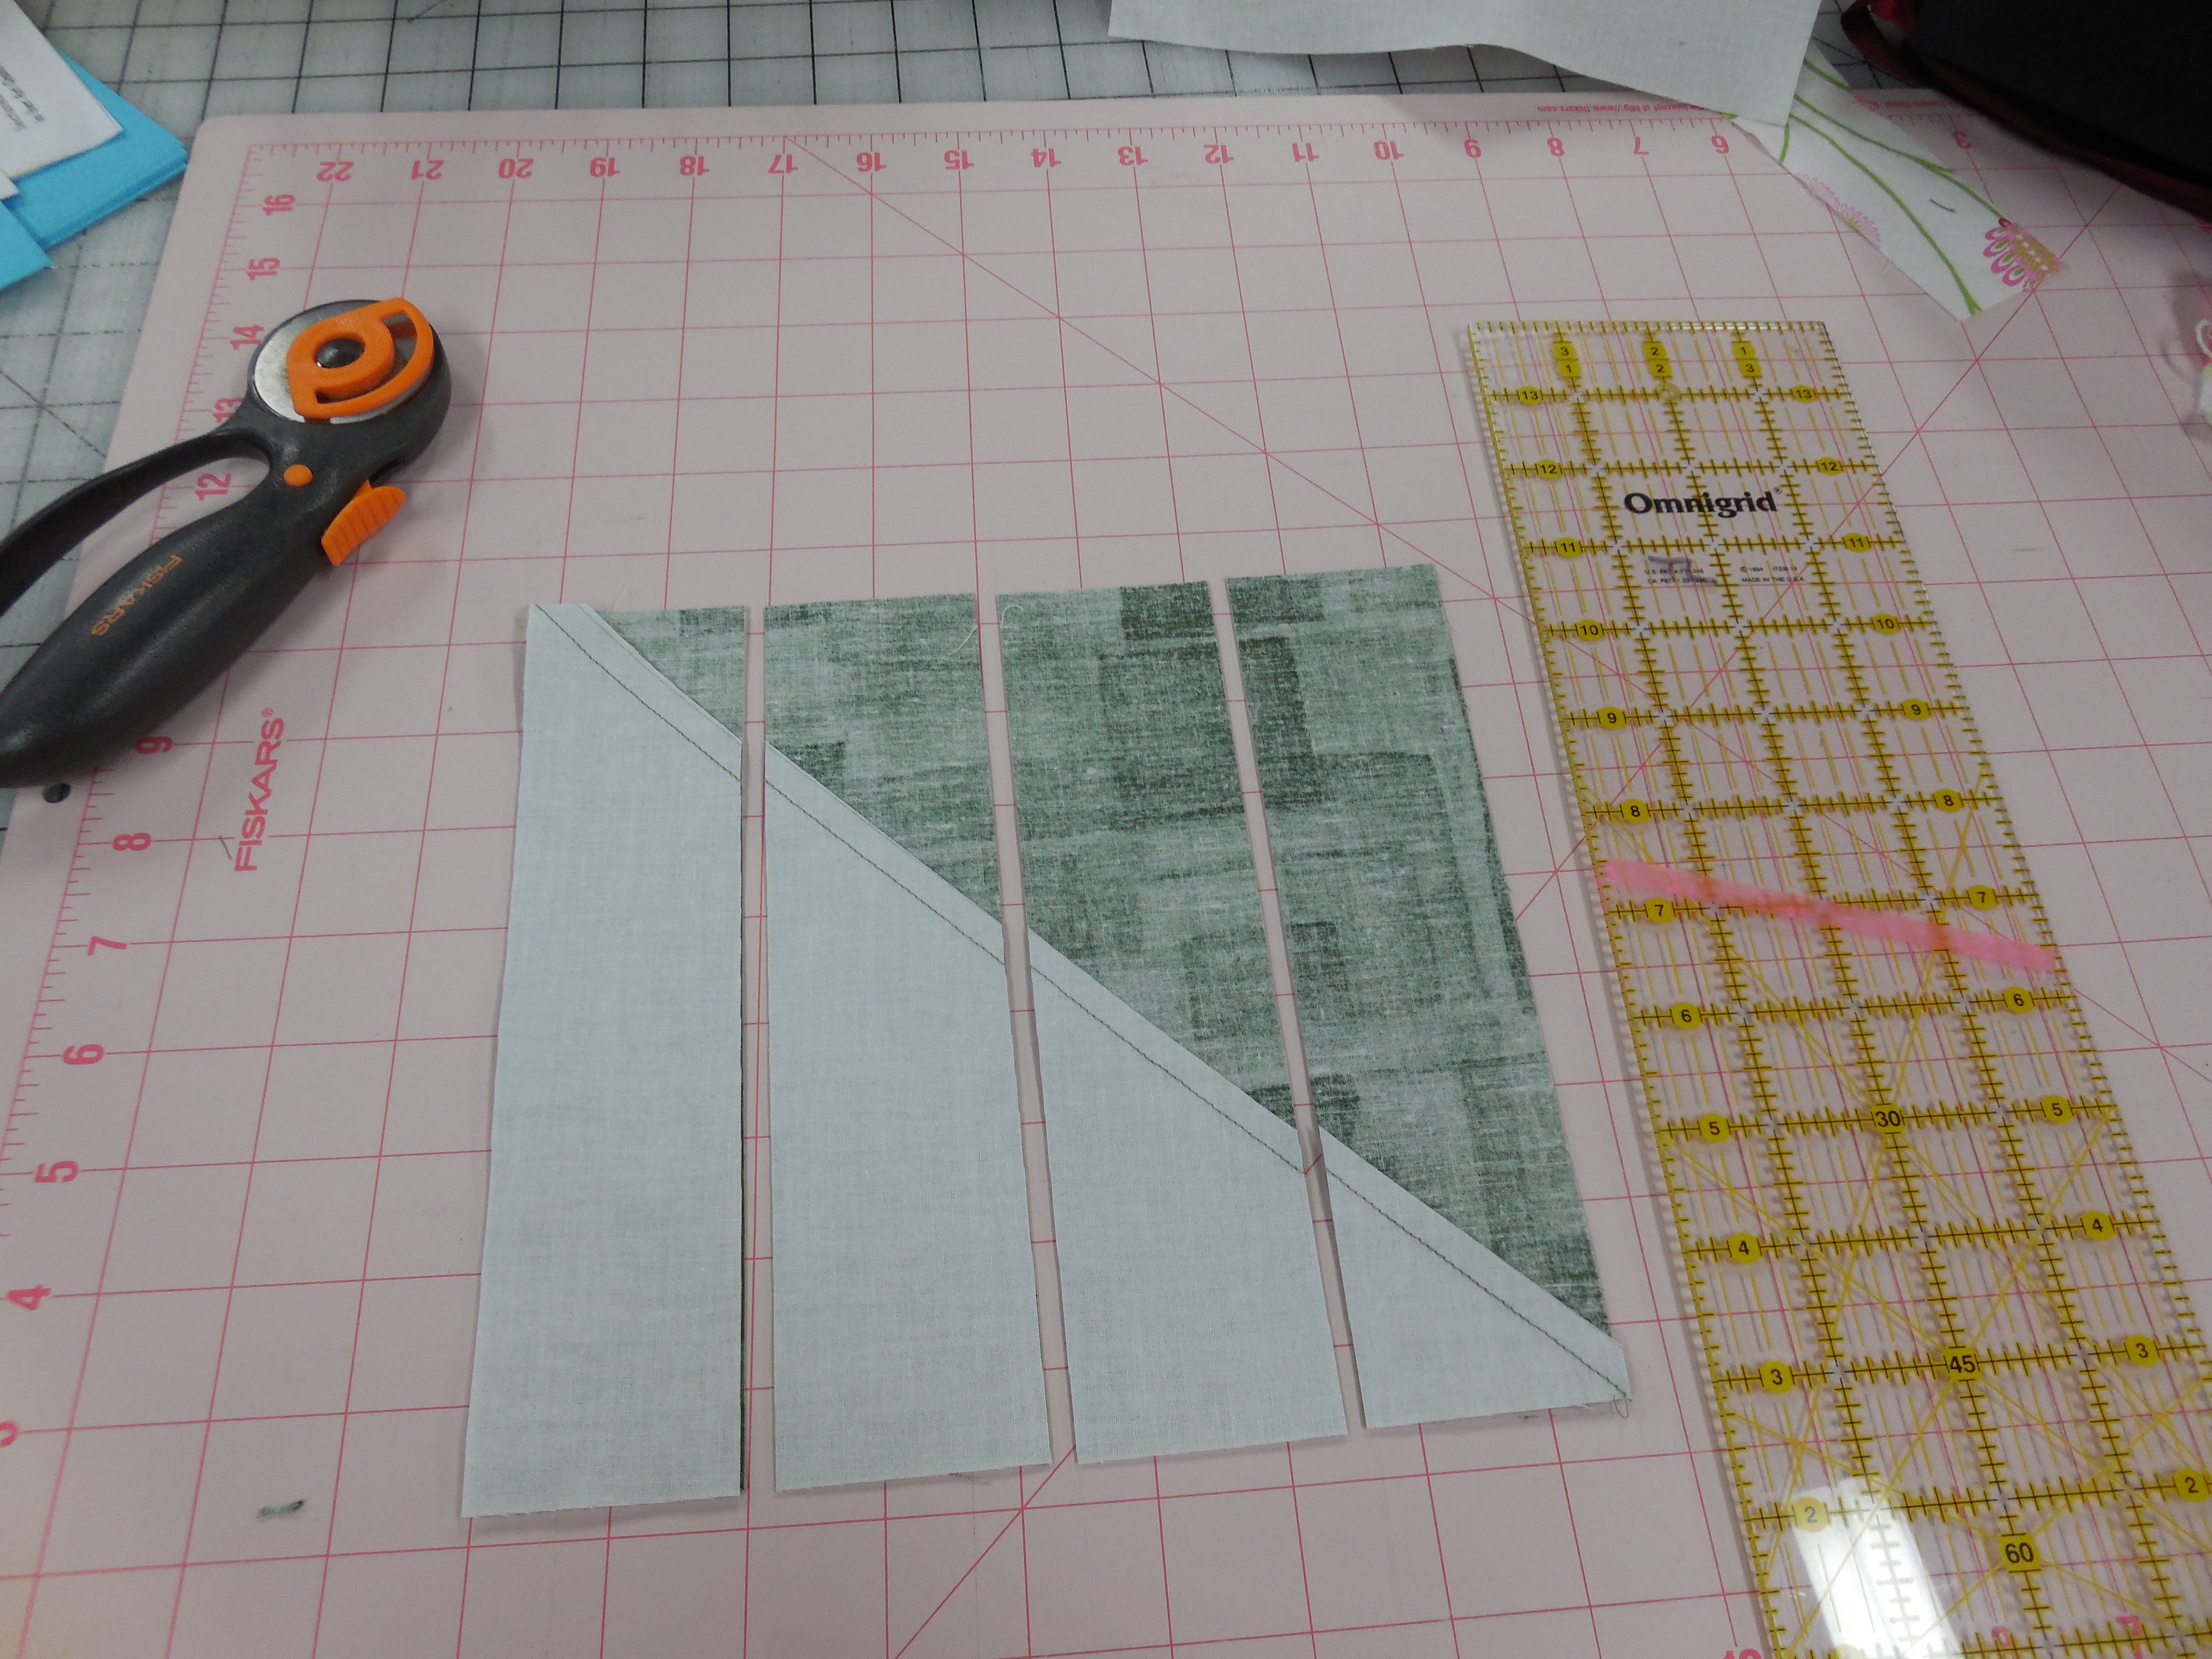
When you turn the top pieces over this is what you will have

DSCN0334

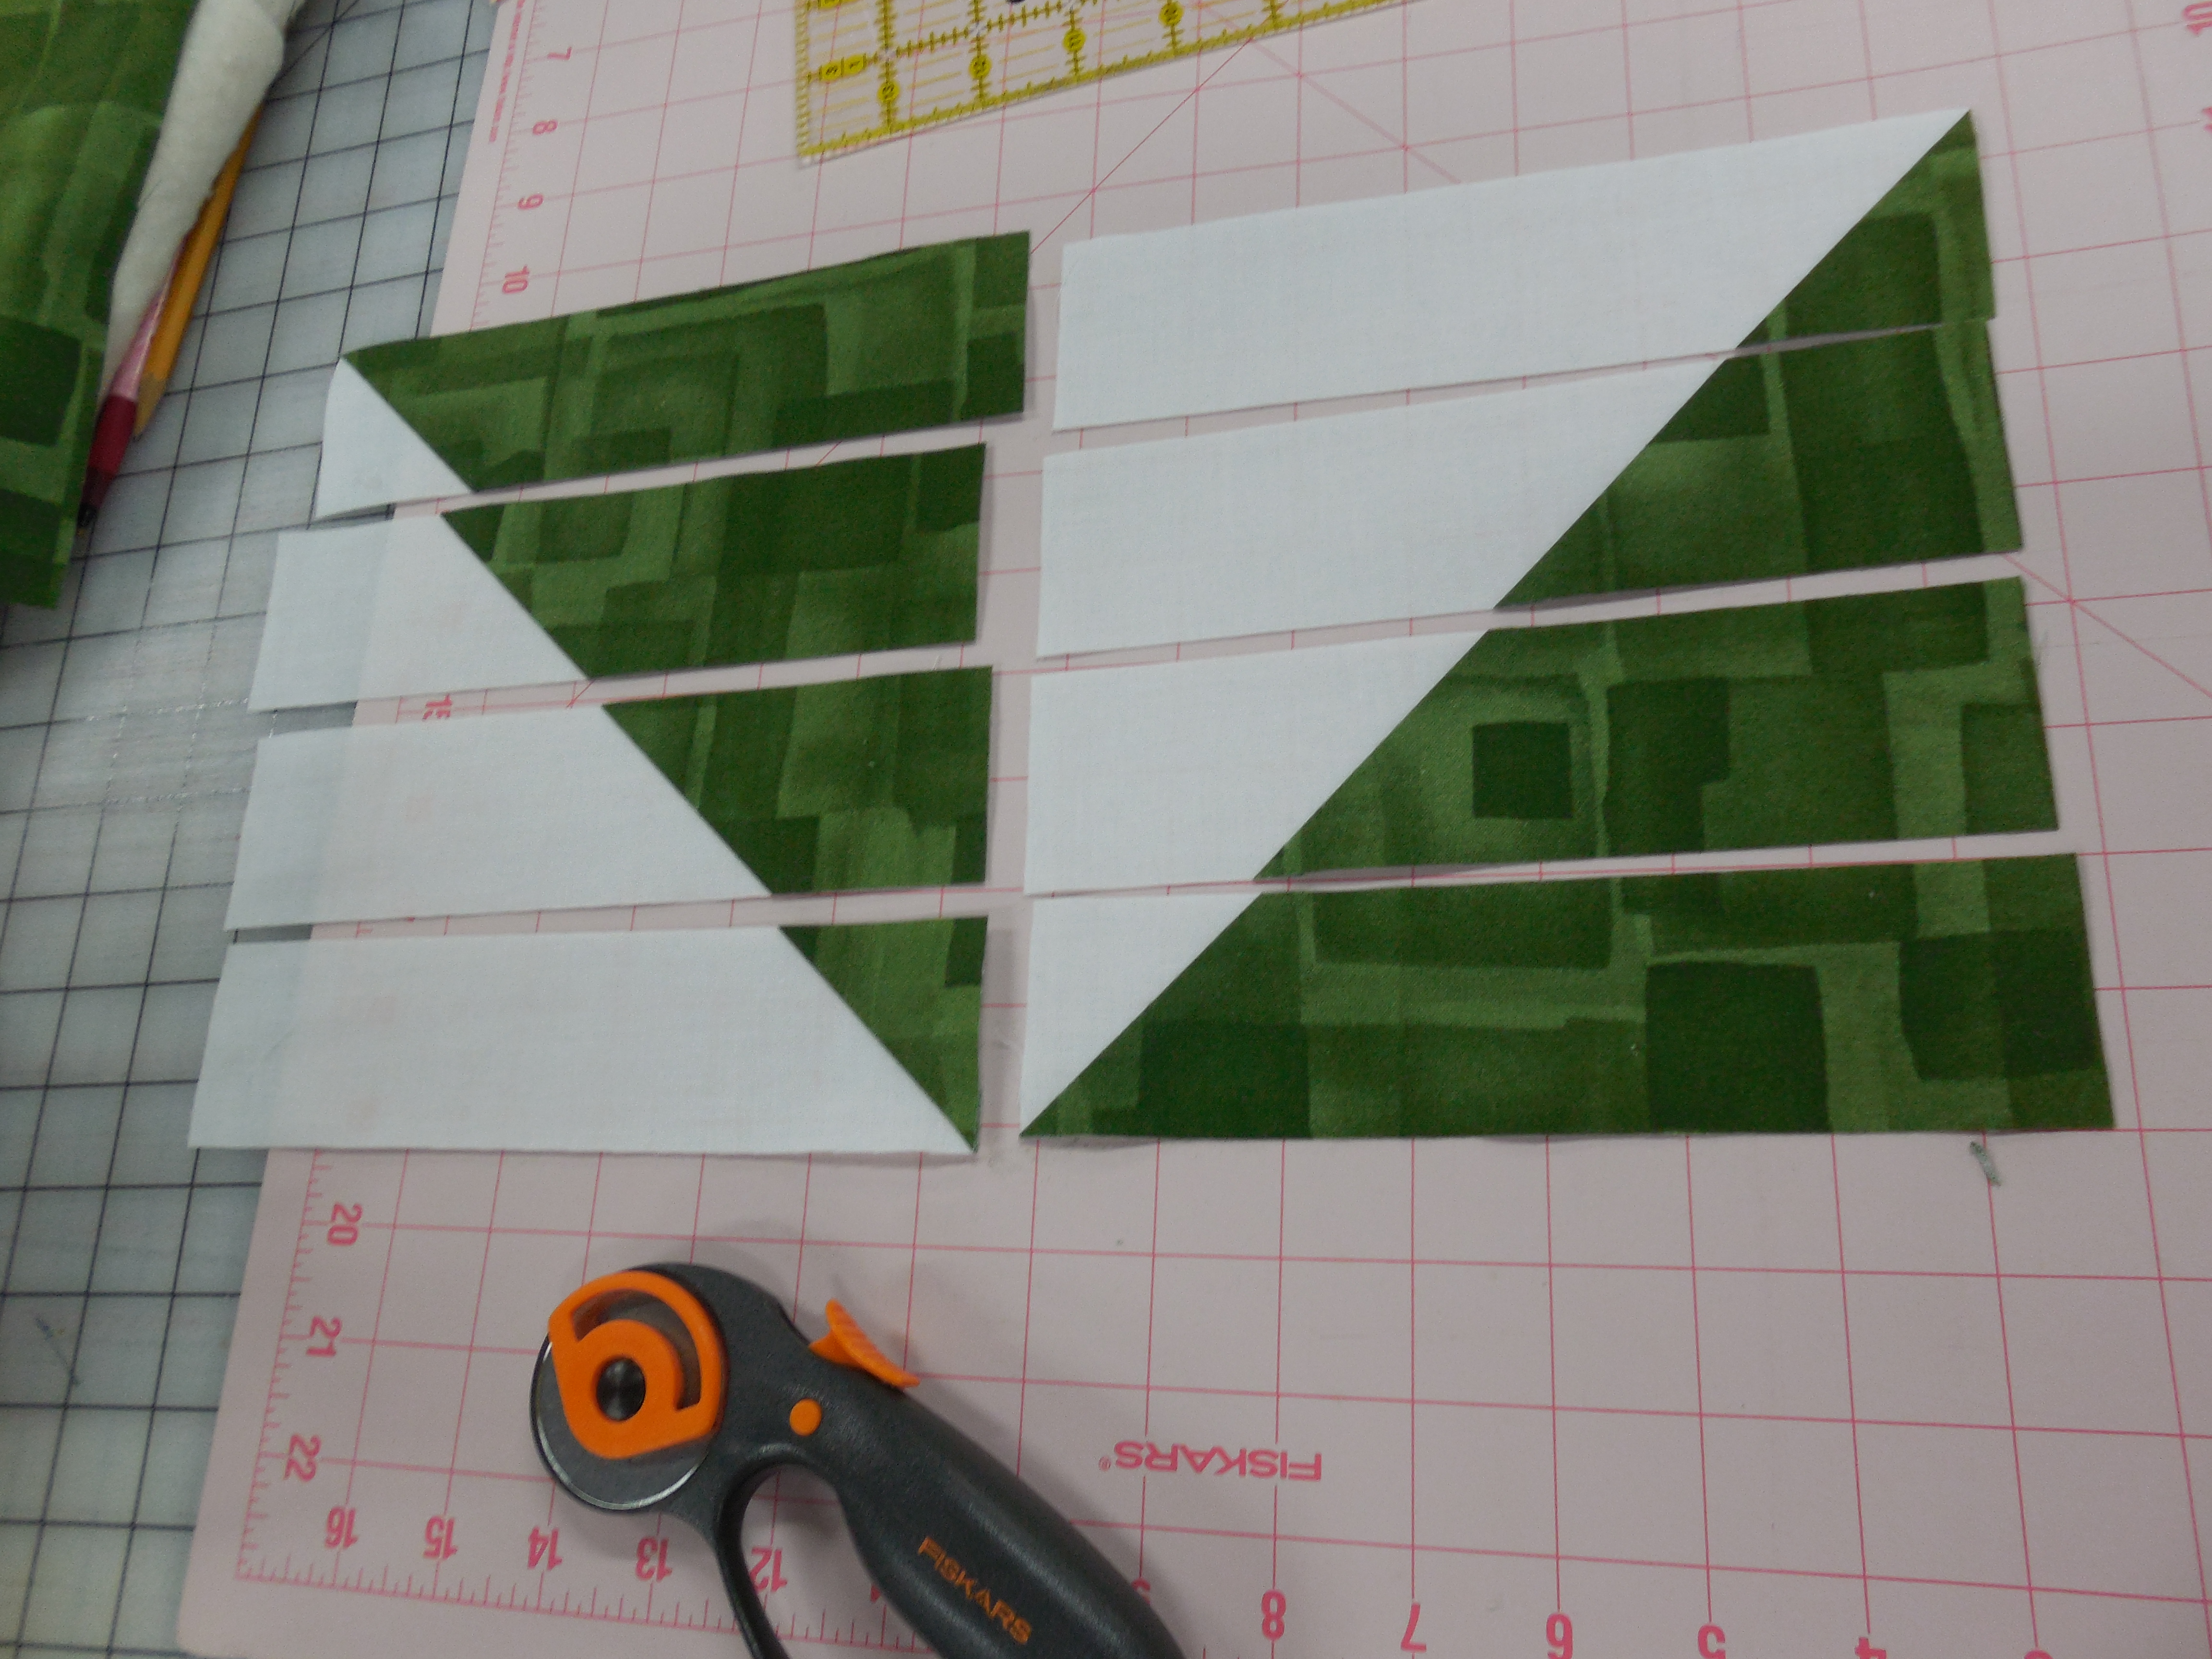
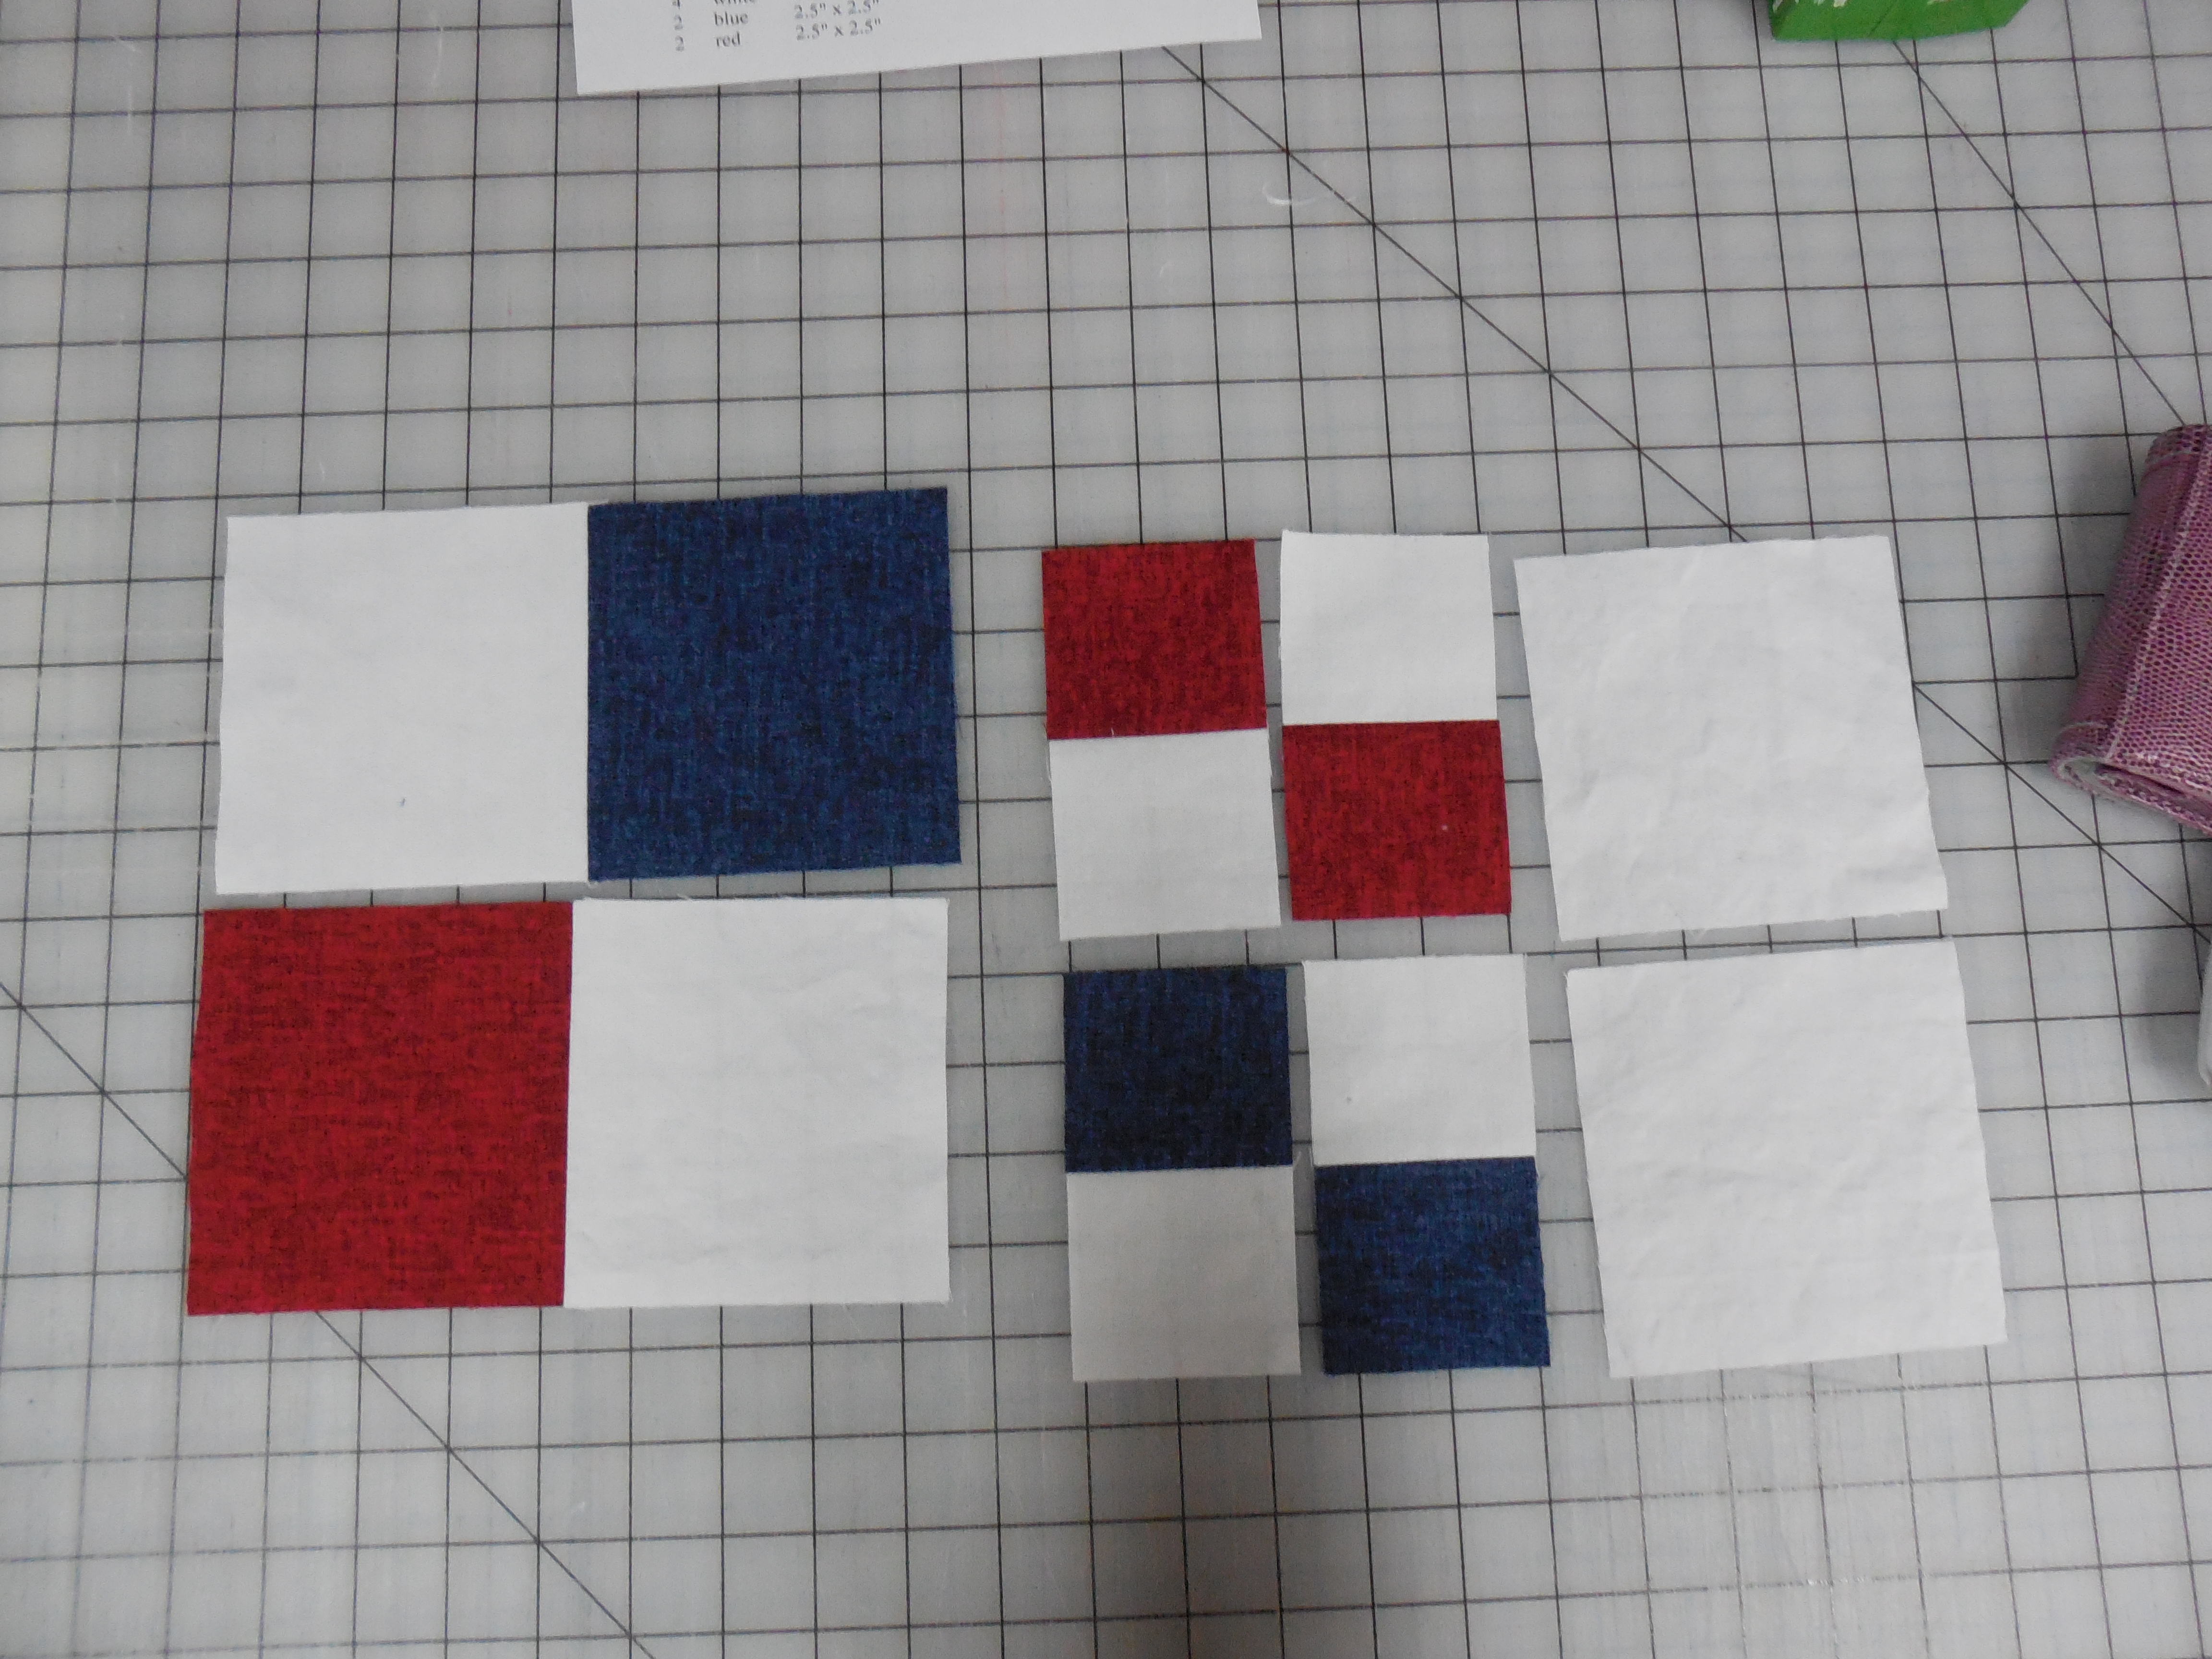
Now just rearrange the pieces.  Basically if you number each of the segments 1-4 from the left, 1 will switch places with 4 and 2 will switch places with 3.  Do this for both of the squares.

DSCN0335

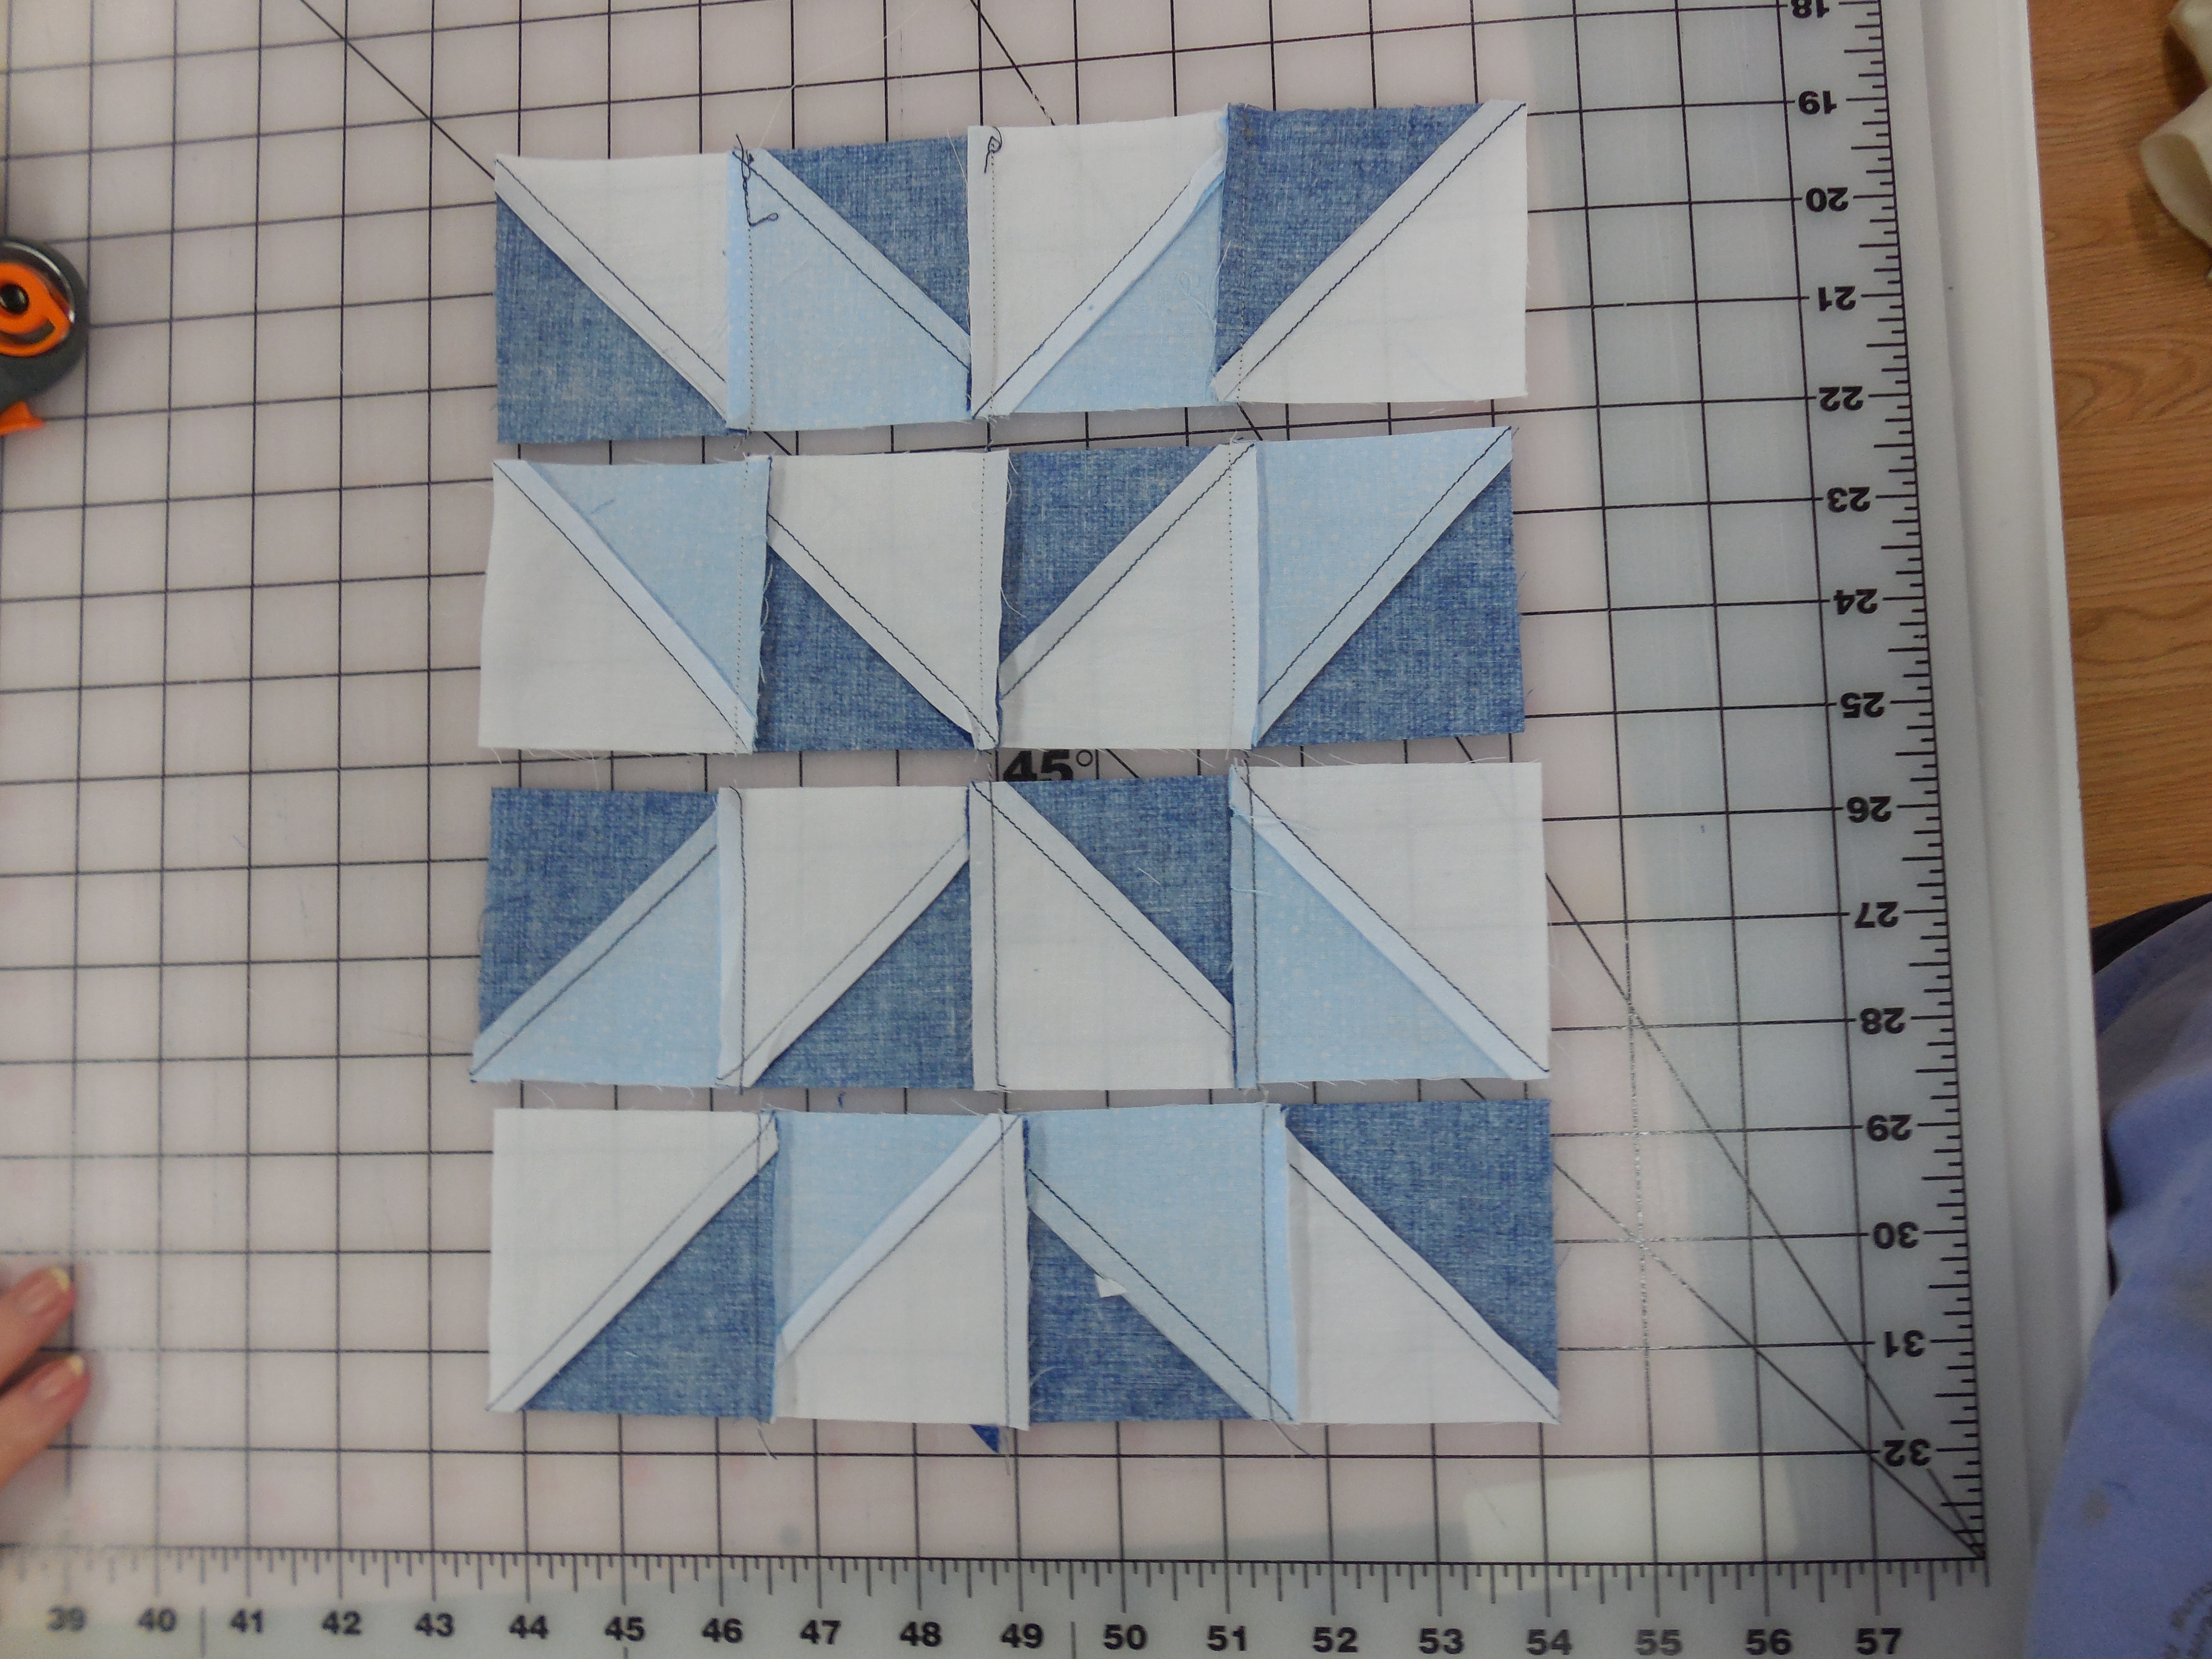
Sew the pieces together the way they are now laid out.  They will look like this.

DSCN0336

And voila!  You have 2 Delectable Mountain blocks–one going up and one going down.

Enjoy and stay safe and warm!


January BOM – Quilts of Valor project

Standard

We had a great response to the Quilts of Valor project last night!  We had 39 block kits made up and every one of them were signed out.  If you were not at the meeting or didn’t get a block kit, you can still participate!  You can still make a set of blocks (or more) out of your fabric (red, white & blue please) to bring to the January meeting.

DSCN0260

We would like to make a couple of quilt tops for Quilts of Valor at the January meeting.  The first one will be made from our block kits and we are hoping to get enough scrappy blocks to make at least another quilt top.

So, on to the tutorial.

Here are the pieces that were in your block kits

DSCN0258

With this kit you will make two blocks.  They are made up of simple 4 patches.

DSCN0261          DSCN0262

When they are finished they will look like this

DSCN0263

In the block on the right the arrangement of the red and blue squares are not important.

The final quilt will be laid out in one of the following ways.

QOV2          QOV1

If you would prefer to print out the block layouts they are here

QOV block 2          QOV block 1


AND look what Sherry Foster did!!  She typed up step-by-step directions for making the blocks.  Sherry, you are awesome!

(click the link below to open the file)

QUILT OF VALOR SET OF BLOCKS FOR GREENWOOD QUILT CONNECTION

Handy little fabric bin

Standard

So….if you haven’t heard already, my sister had a project published in the current issue of Quilting Arts Gifts.  I finally made not one, but two!  I was visiting my mother last weekend and made both of these.

2013-10-05 16.48.52

I was very surprised at my mother’s fabric choices–hers is on the right.

The little pockets on the front will hole a fat-handled seam ripper (upside down), a marking pencil, a stiletto and a small pair of scissors.  I’ll use the bin section for threads and scraps to be thrown away.  This will be very convenient for classes, as it also collapses.  It was very easy and inexpensive to make.  The only thing I did differently was to use plastic canvas for the rigid sides instead of cutting up old VHS cases.  I am looking forward to using mine next weekend at our local guild’s sew day.


Brown Bag Exchange

Standard

Recently I have found myself making a couple of small projects.  At the September meeting of the Quilt Connection Guild our newly elected president Linda R. asked us each to take a small brown bag home with us.  During the month we were to fill it with something fall-related.  It didn’t have to be quilt related, but we could spend no more than $5.  We were also encouraged to use part of this budget to decorate the bag.  At the October meeting we had the brown bag exchange.

I l keep a small stock of coffee cups in my studio.  When I see one that I like and it is $4 or less I will buy it for my cup stash.  I picked out a fall-colored mug and used that mug as inspiration for a quick mug rug.  The recipient (Mary H.) said that she loved her gift.

2013-09-28 18.07.57

The contents of my bag were from Ana S.  It was filled with lots of goodies!  A cute pin cushion, and handmade needle case and a fat quarter.  Also, a large flower pin was used to decorate the bag.

2013-10-09 15.12.15

I hope all who participated in the brown bag exchange were pleased with what they received.  It was a fun activity.

November BOM (make in October, bring to November meeting)

Standard

November BOM is made with a dark blue, a light, icy blue and white.  Please use fabrics that read as a solid.  The white can be either a solid or a white on white, but please, no ecru, beige, natural, off-white, etc.  Also please try to stay away from the greenish-blues & turquoises.

This block is called Margaret’s Choice.  It will be a 10″ finished block, so your completed block should measure 10.5″

Margaret’s Choice is made up of half square triangles in a 16 patch setting.  Each patch measures 2.5″ (finished).  Typically to make a 2.5″ half square triangle you would start with squares that are 3 3/8″.  It has been my experience that using that exact measurement rarely gives me a perfect half square triangle unit so we decided to make the squares bigger and trim them down to the correct size.  If you prefer to start with a 3 3/8″ square, you are most welcome to do so.  Be sure to trim the triangle units to 3″ so they will finish at 2.5″.

So…..we begin by cutting 4″ squares.  You will need 6 dark blue, 4 light ice blue and 6 white.

DSCN0173

Your squares will be paired up as follows:

2 dark blue/2 light ice blue

2 light icy blue/2 white

4 dark blue/4 white

DSCN0174

Using a pencil and ruler, draw a diagonal line on the wrong side of the lightest square of each pair.  Then place each square with it’s partner, right sides together.

DSCN0176             DSCN0177

Stitch 1/4″ from both sides of the drawn line.

DSCN0179             DSCN0182

Cut the two triangle units apart on the drawn line.

DSCN0184             DSCN0185

Open the triangle units and press toward the darker fabric.  Trim each unit to 3″.

DSCN0186             DSCN0190

Lay the units out as shown below and sew into rows.

DSCN0192             DSCN0193

Press the seams in each row in opposite directions so the seam allowances will “nest” together as you sew them together.

DSCN0194             DSCN0195

Your finished block should look something like this.

DSCN0197


NOTE:  The printable is available in the post just below this one.